


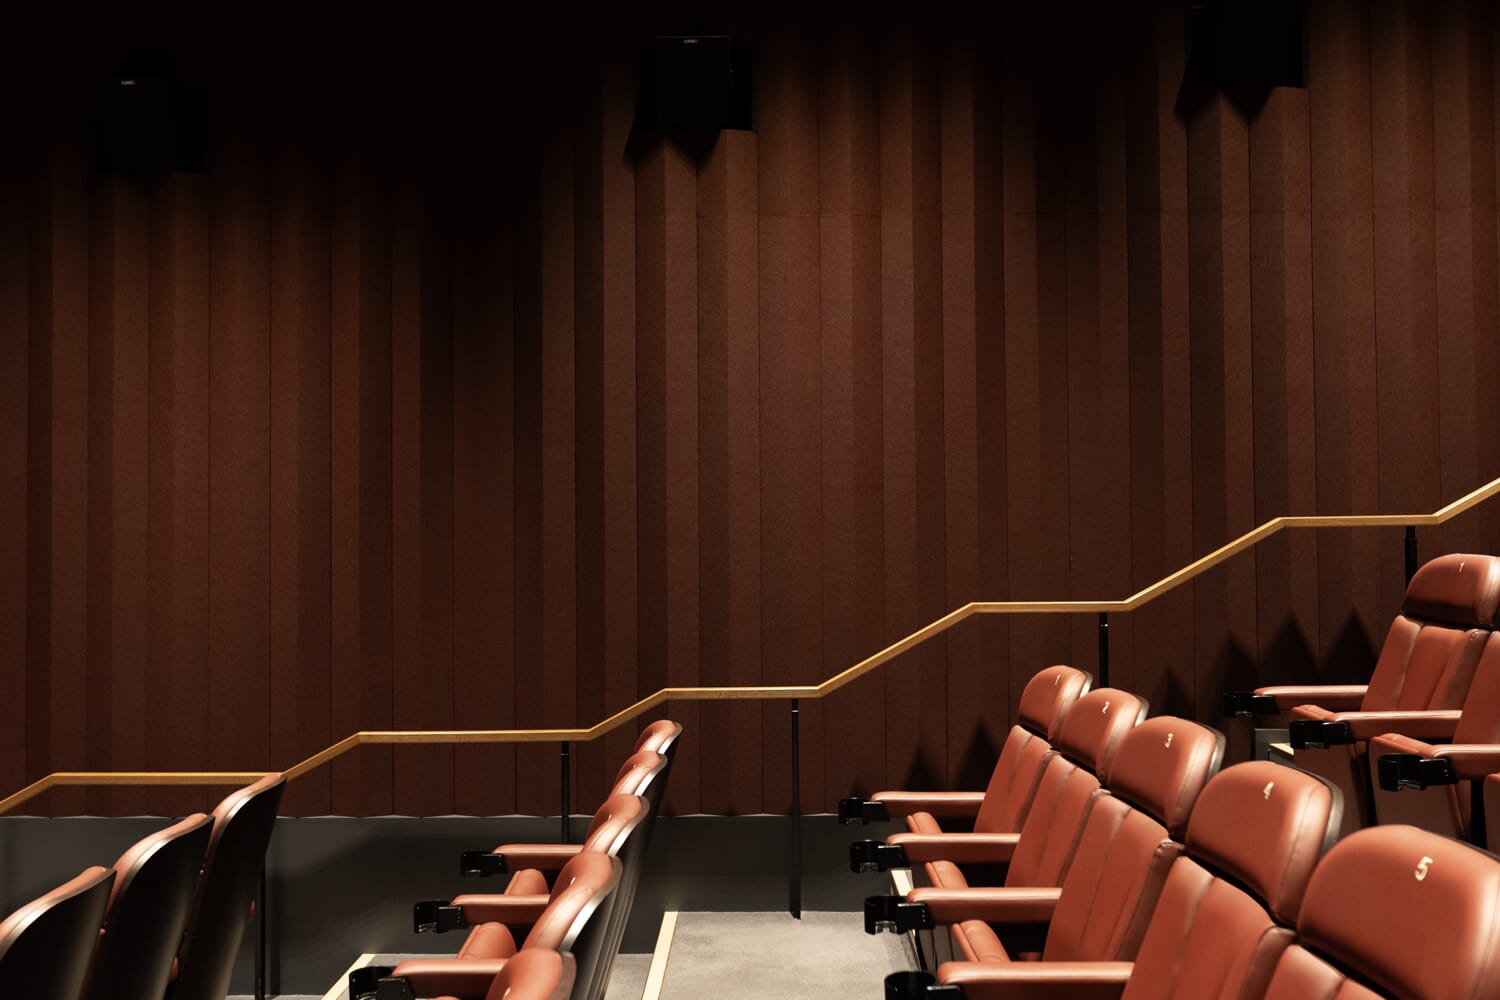
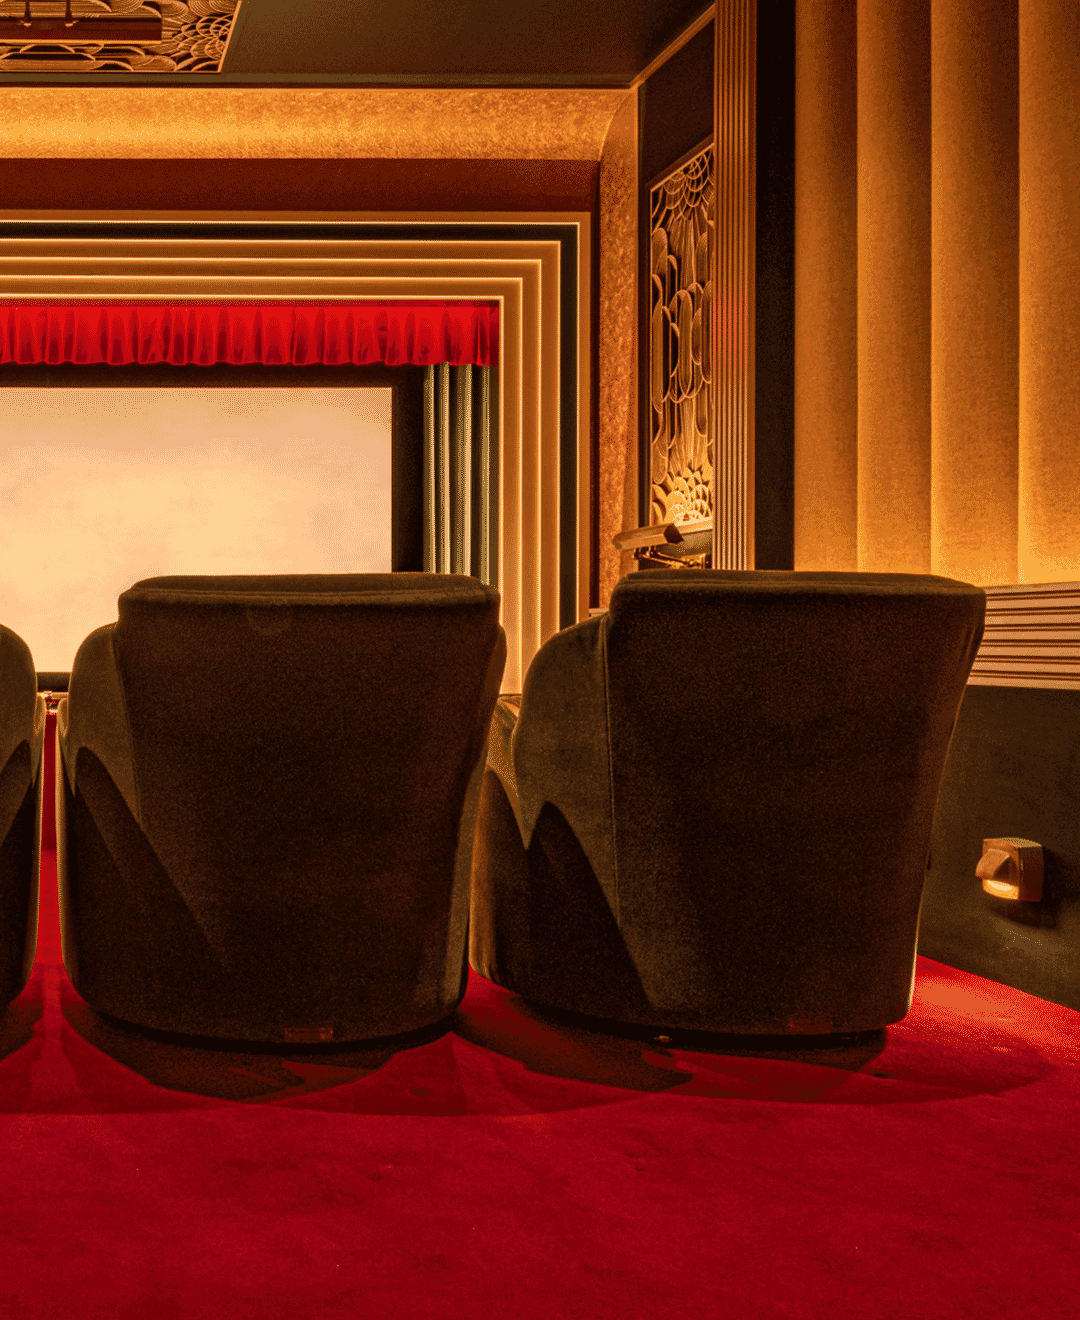
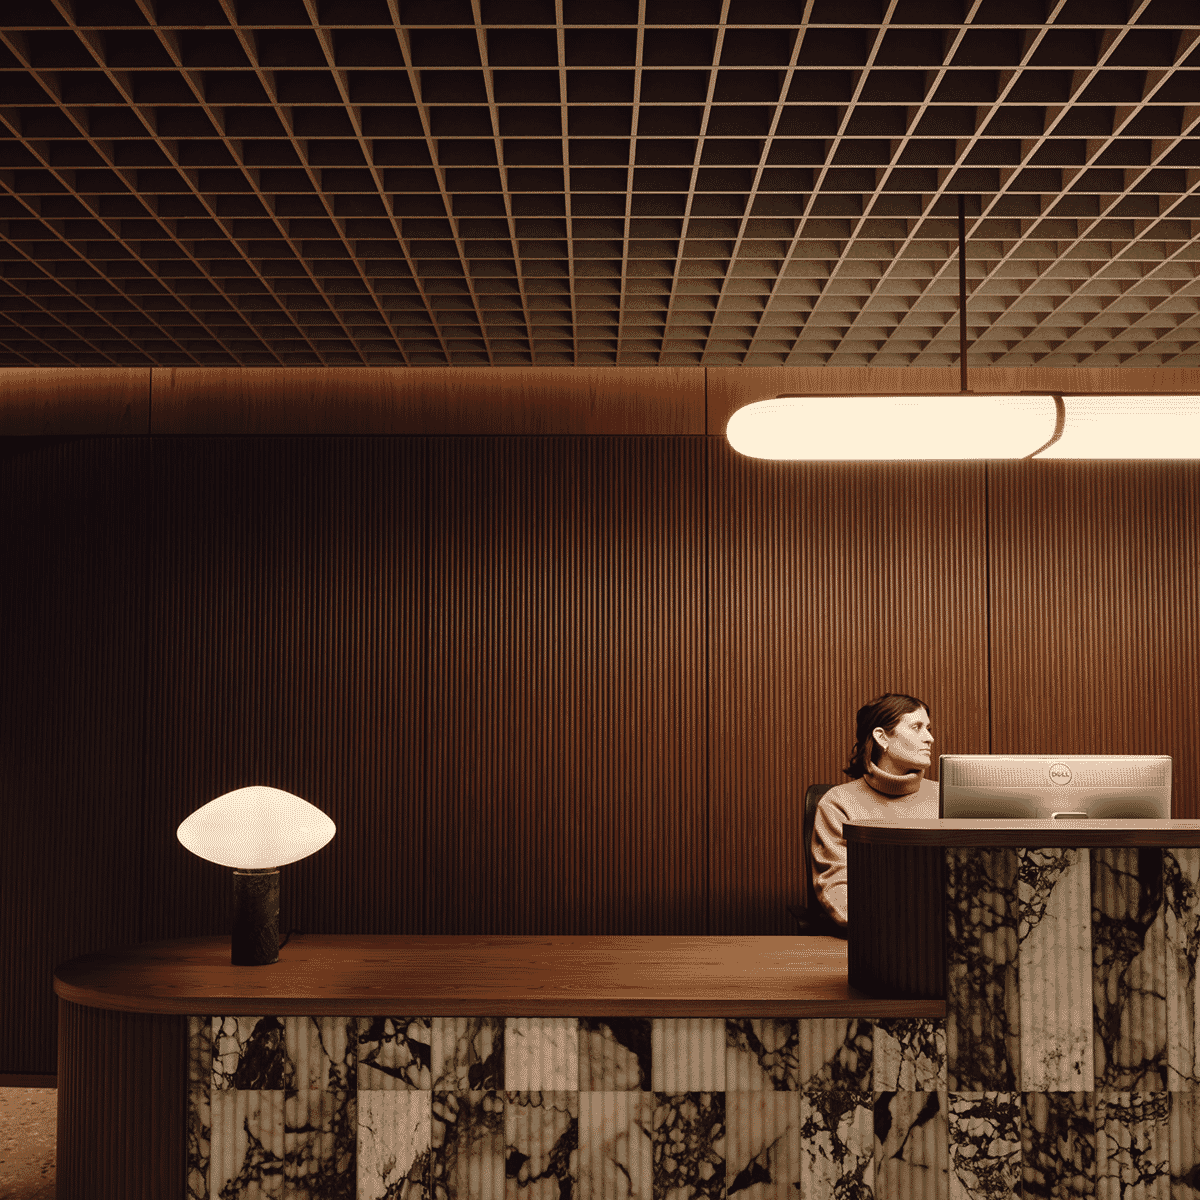
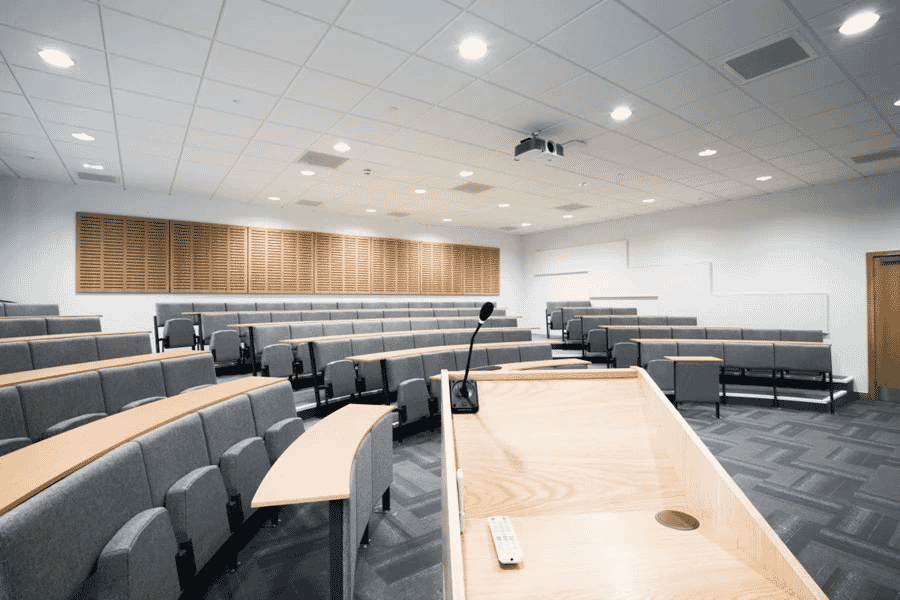
Acoustics in Auditoriums & Theatres
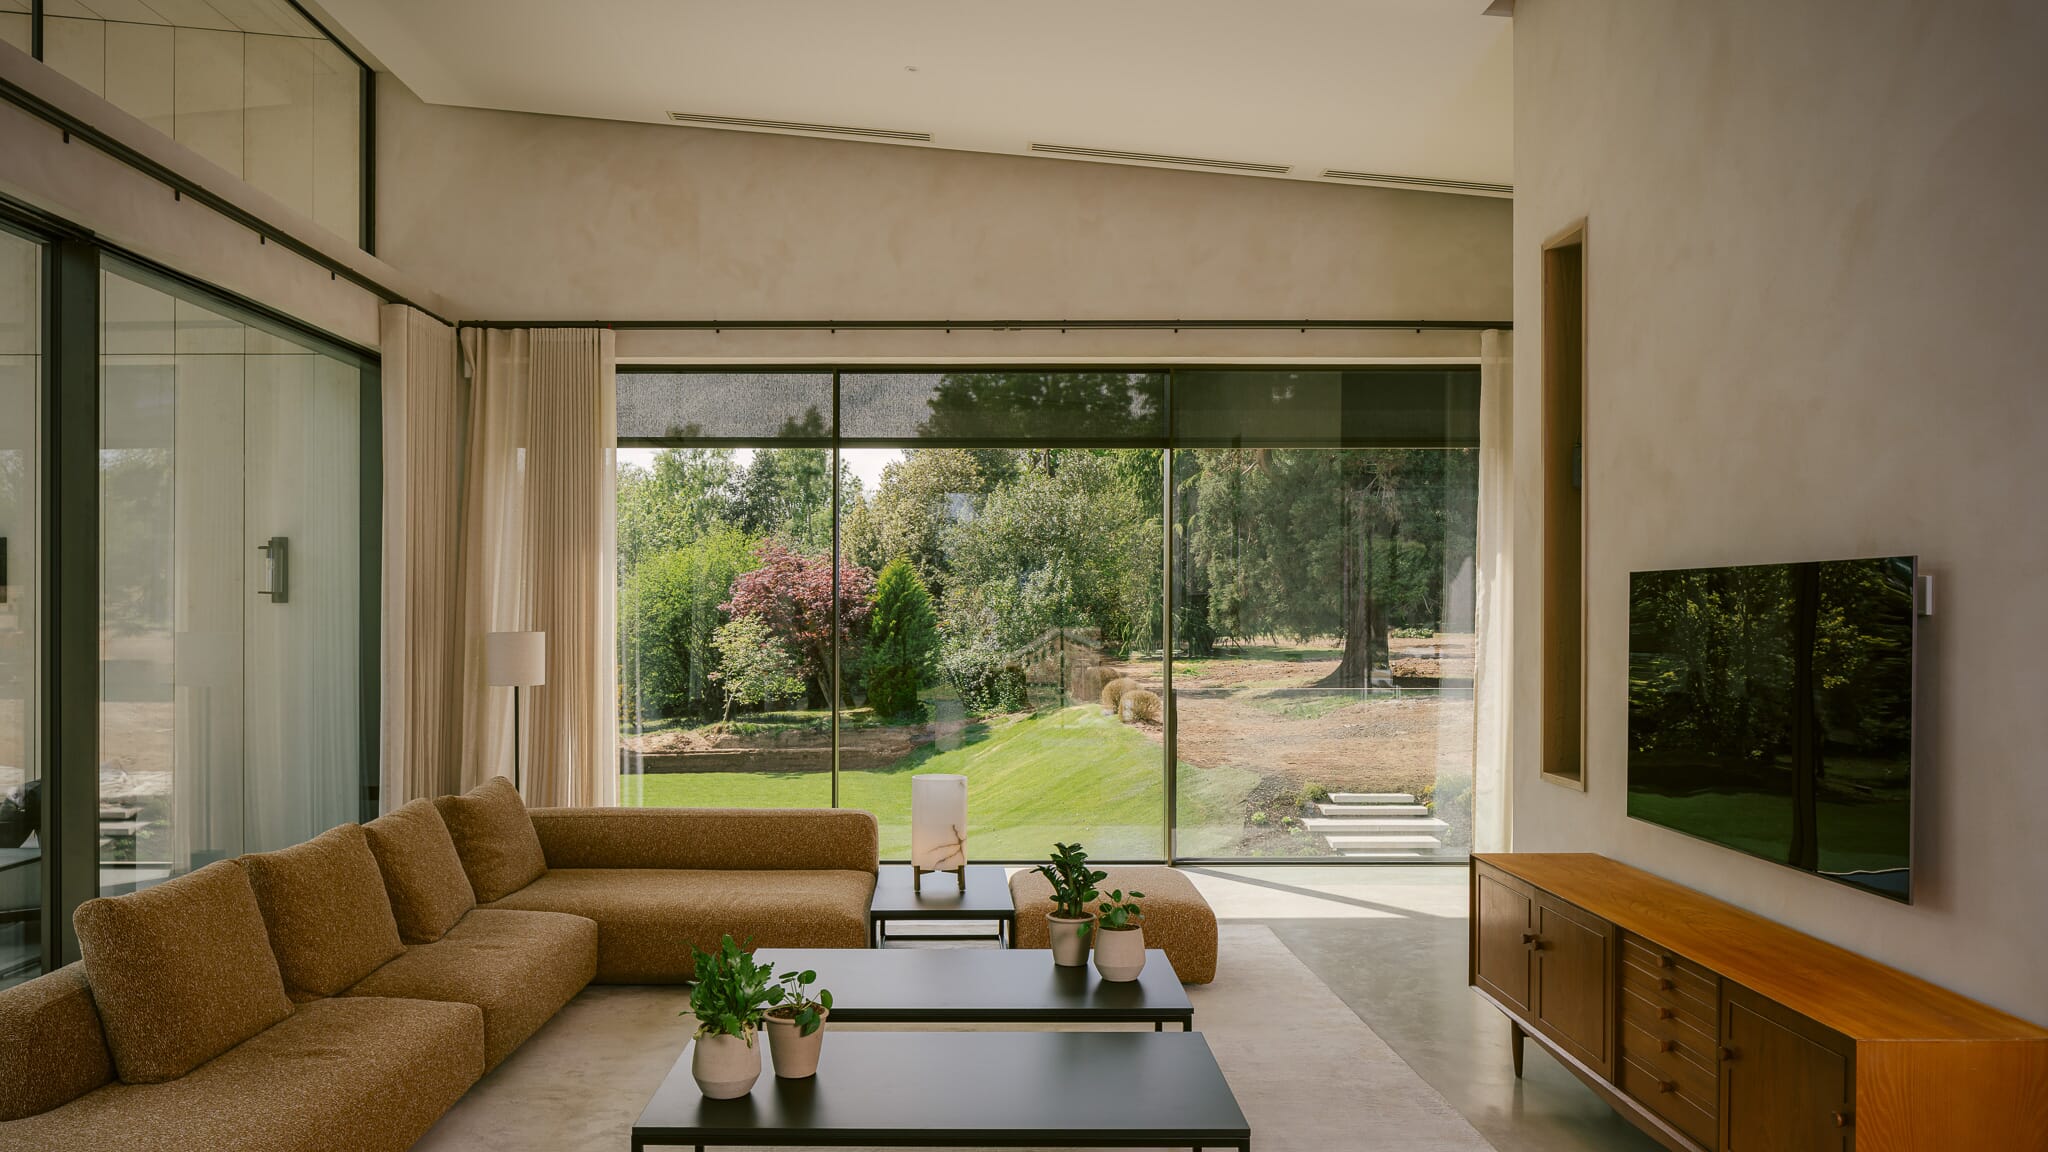
Theatres, auditoriums and cinemas present a unique challenge as they must balance multiple acoustic demands.
Speech should be clear and intelligible throughout the space, while powerful sound systems must deliver impact without overwhelming audiences. At the same time, external noise from neighbouring rooms needs to be blocked to maintain immersion.
Resonics can design and fit a comprehensive solution to make your auditorium or theatre sound as amazing as it looks.
FREE acoustic services
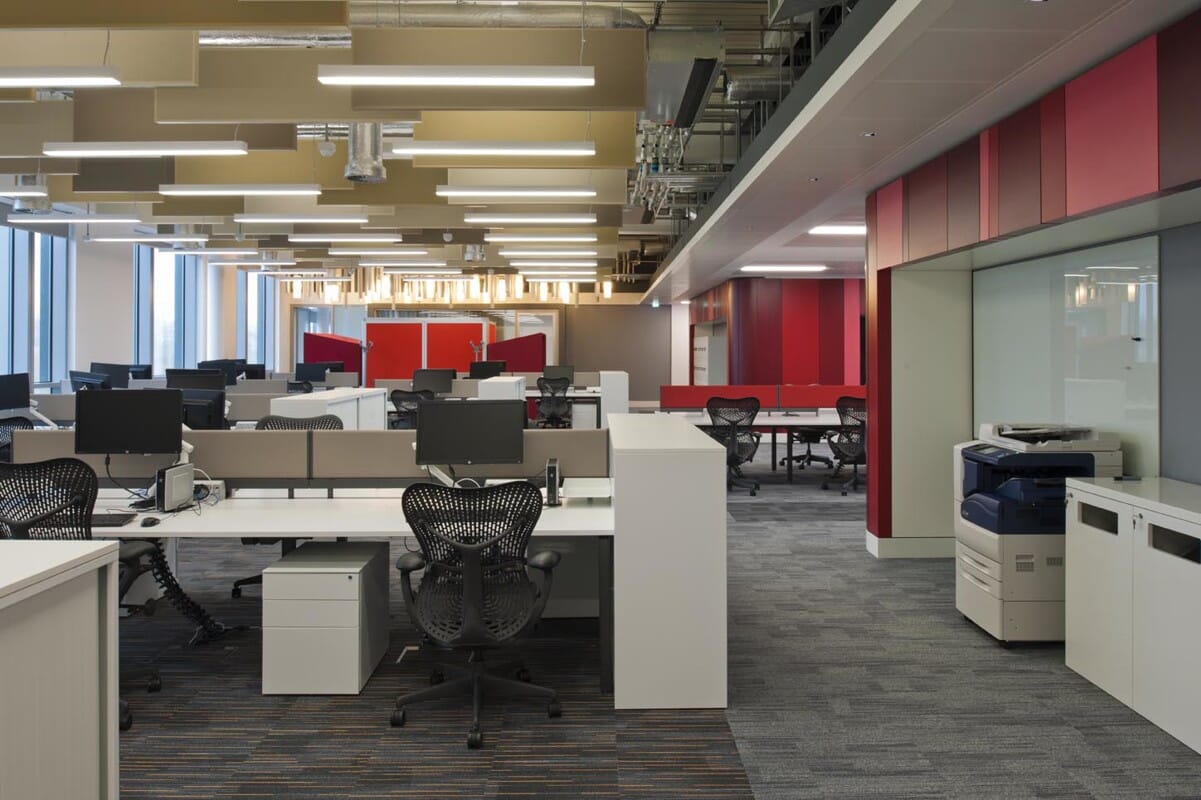
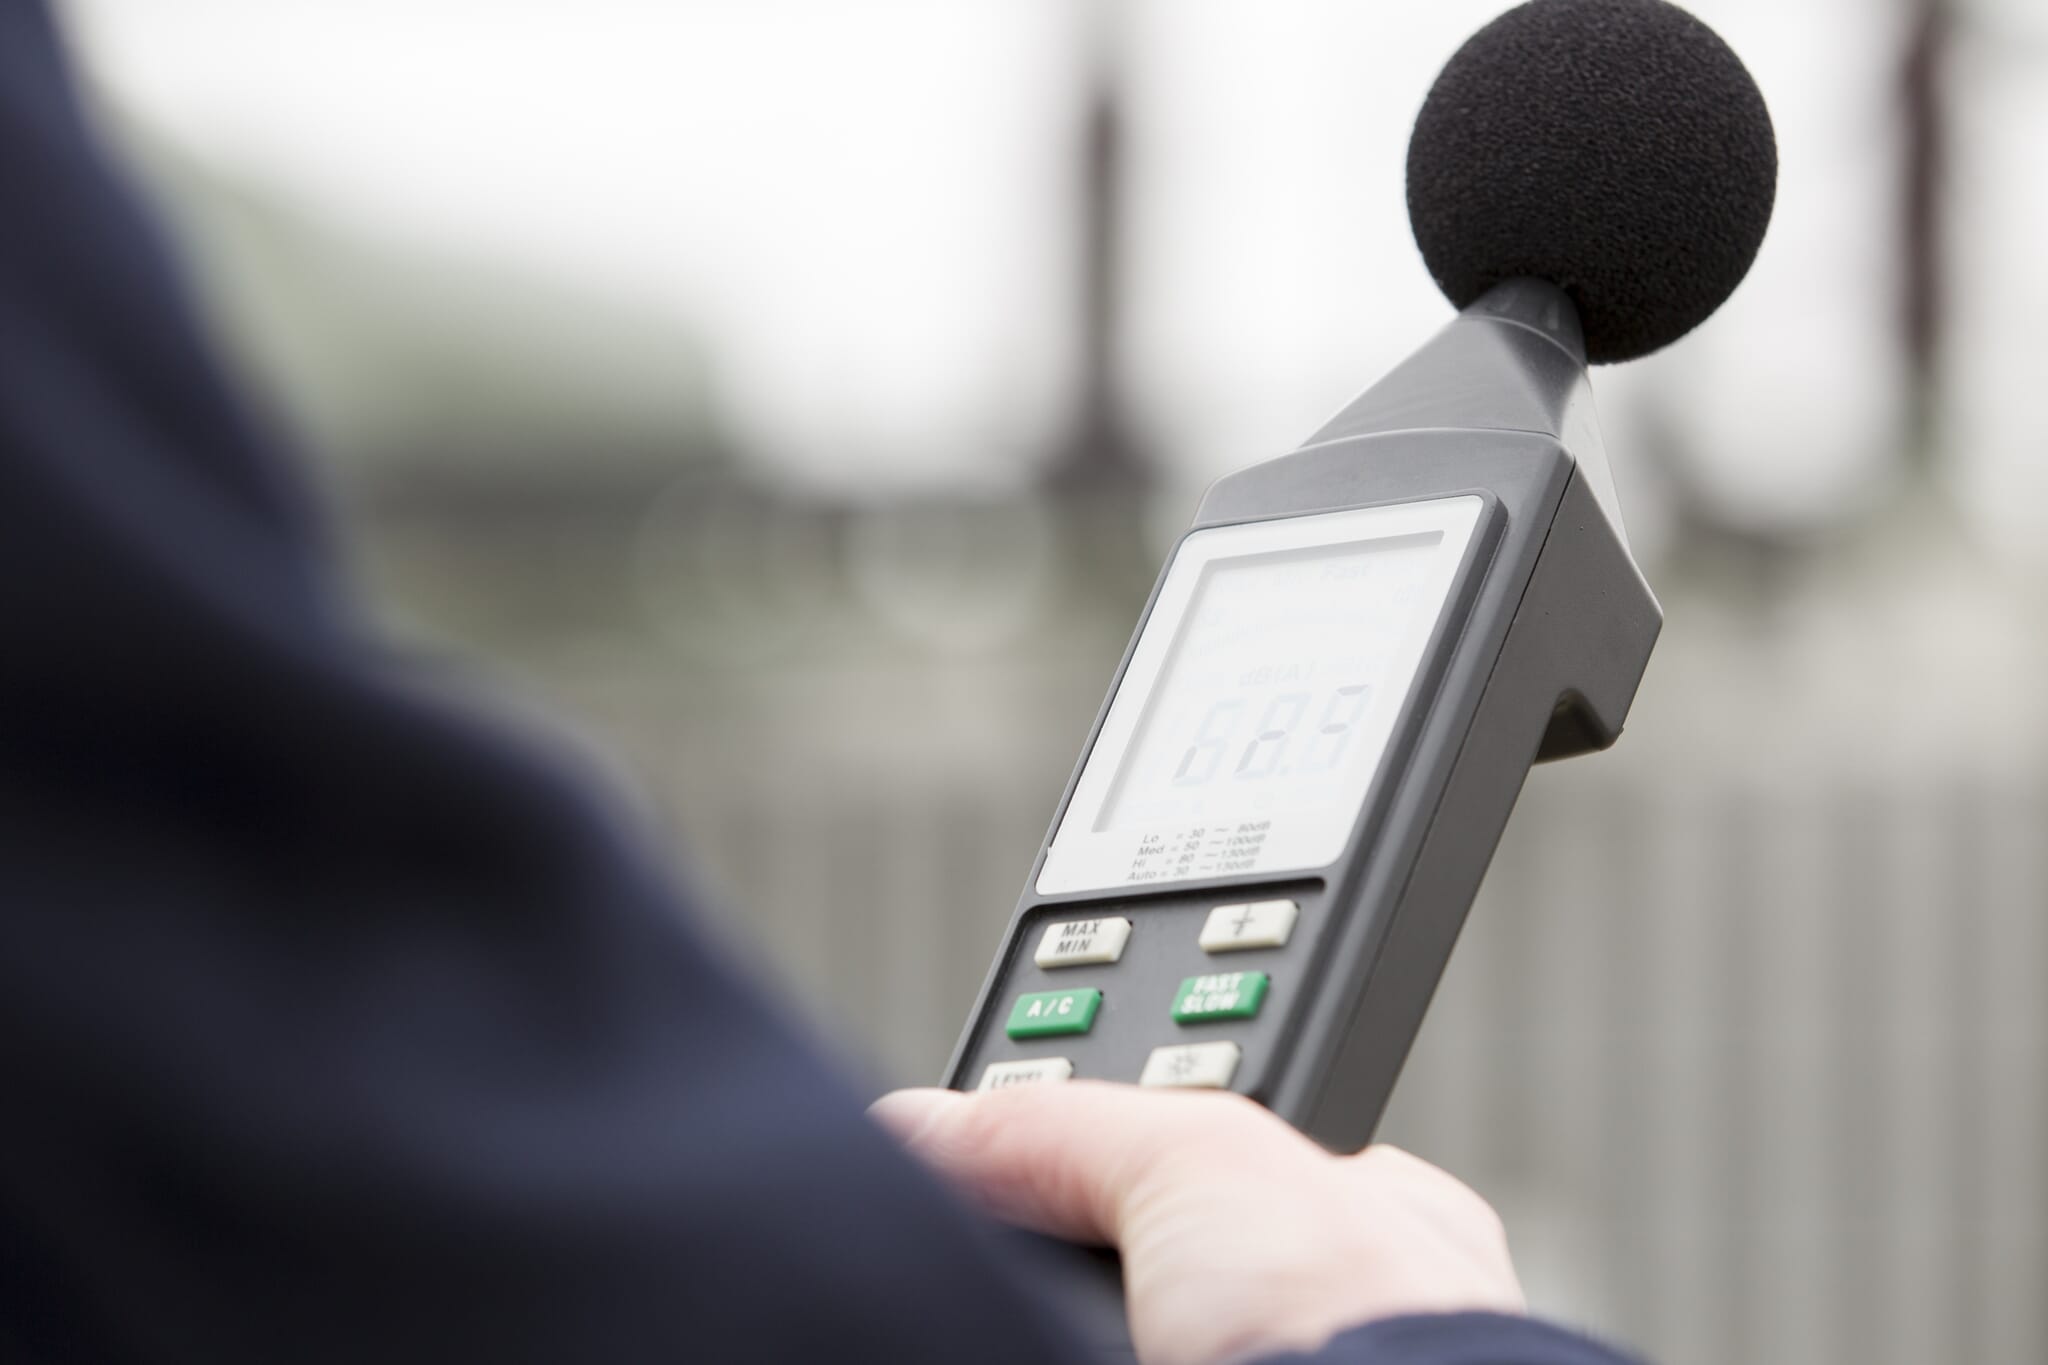
Our acoustic surveys provide precise analysis of any space — from small meeting rooms to large open-plan environments. Using advanced measurement techniques, our team assesses your acoustic needs and delivers tailored recommendations. Most surveys are completed within 30 minutes to a full day, depending on scale.
Our acoustic design service includes detailed CAD drawings with wall elevation renderings, precise product placements, specifications, and verified performance ratings — all provided with every quotation.
We provide remote acoustic proposals using client drawings and photographs. Each proposal includes accurate product recommendations and detailed quotations for supply and installation, saving time without compromising precision.
We provide complimentary NTI RT60 testing to measure reverberation times and assess acoustic performance before and after treatment. This service ensures precise product specification and demonstrates measurable improvements in clarity and comfort.
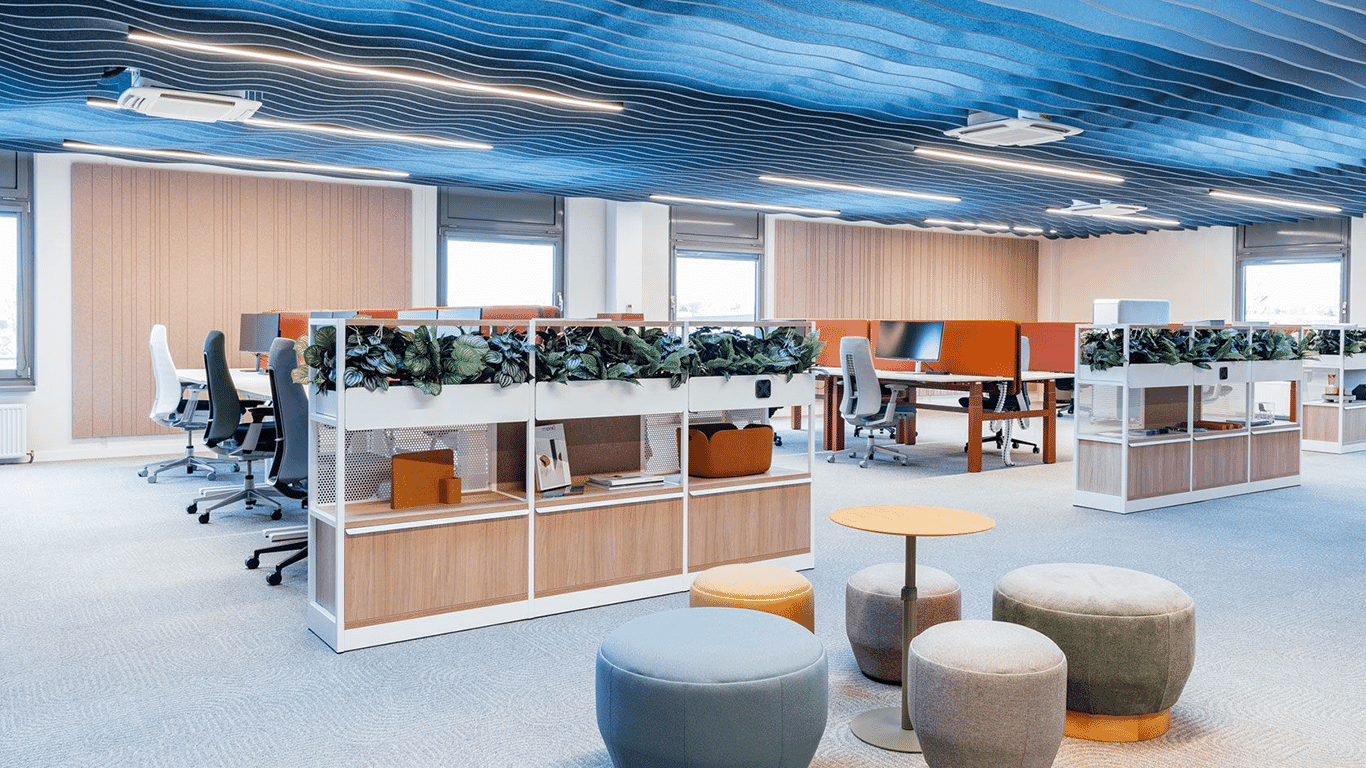
We offer complimentary sound masking demonstrations for commercial clients, allowing you to experience the benefits firsthand. Sound masking improves speech privacy, reduces distractions, and enhances workplace productivity.
For projects with complex acoustic requirements, we provide a comprehensive audit package that includes detailed site testing and analysis. This chargeable service is fully credited if Resonics is contracted to deliver the acoustic treatments.
Testimonials
Hear what our clients have to say
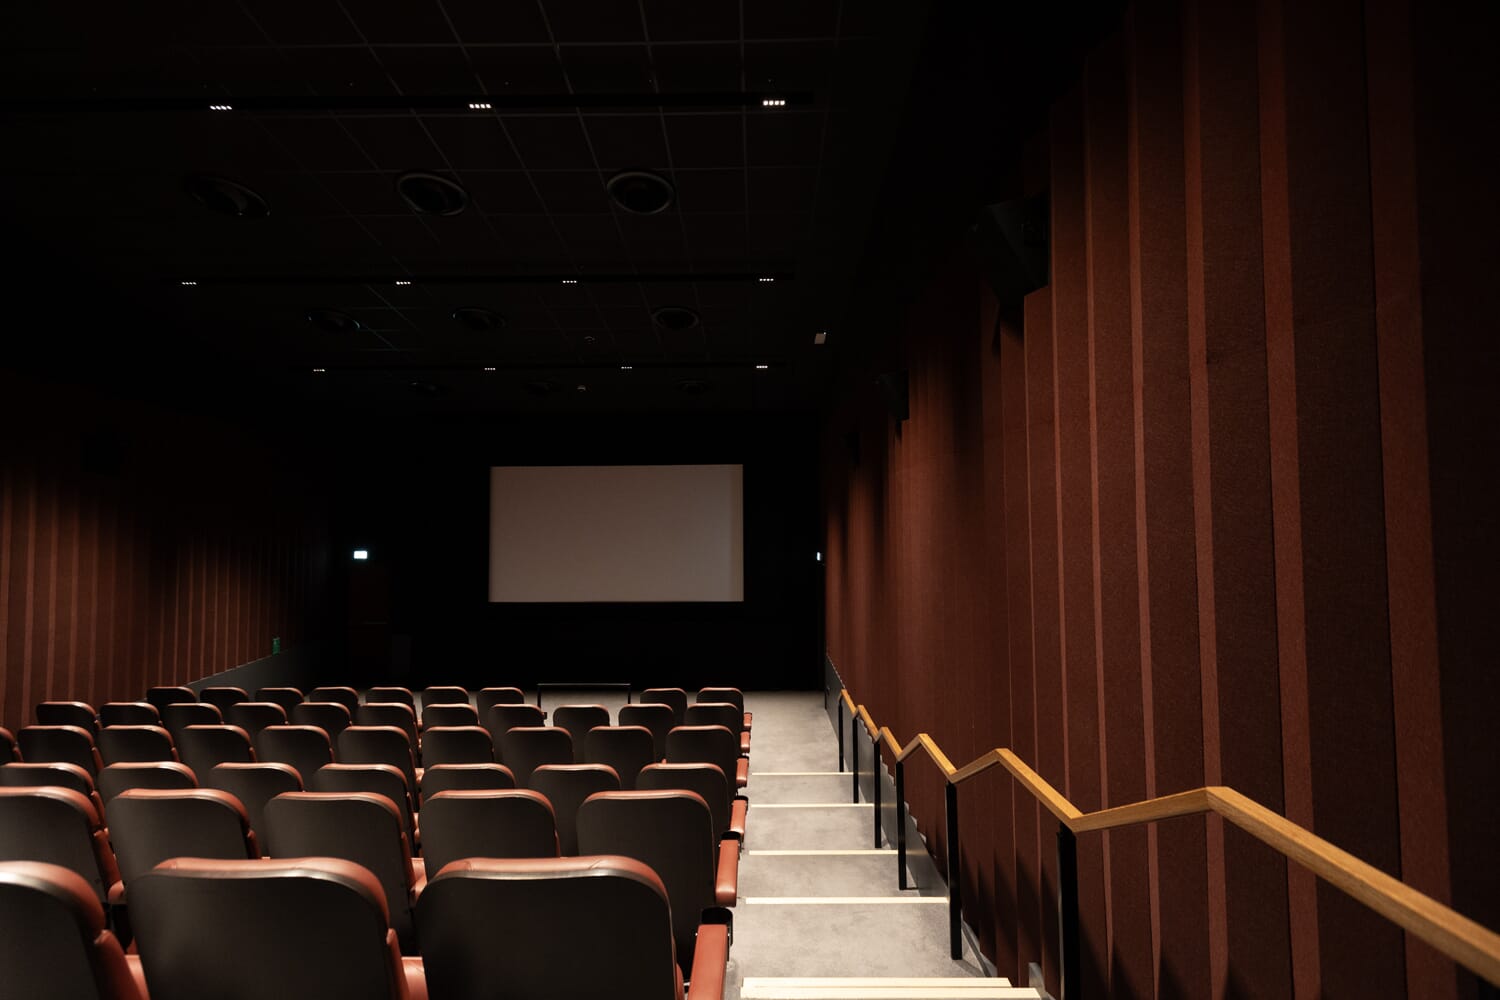
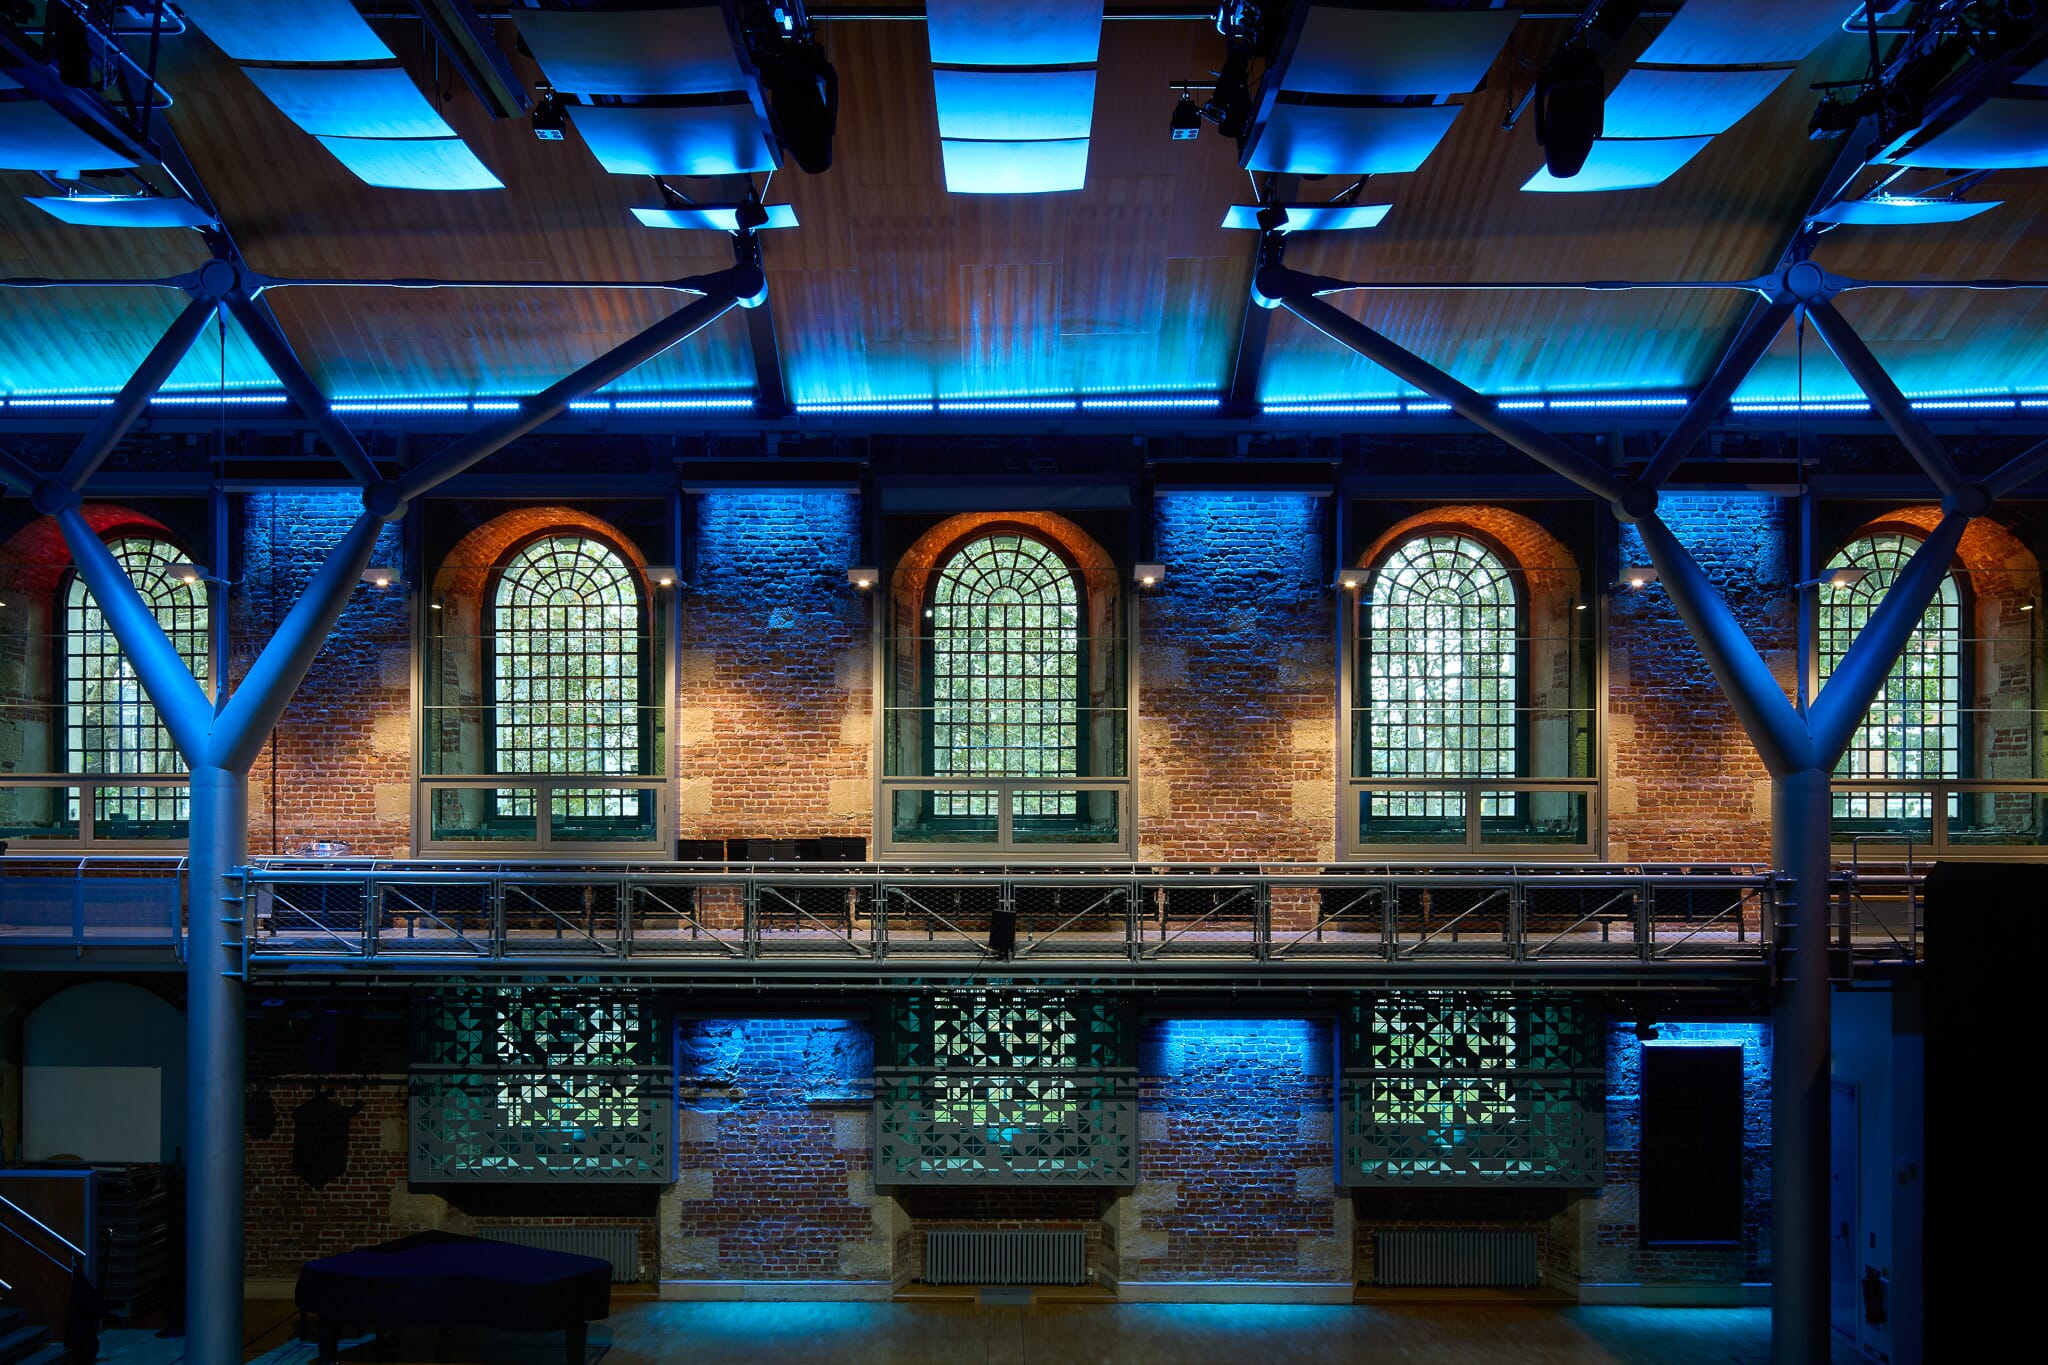
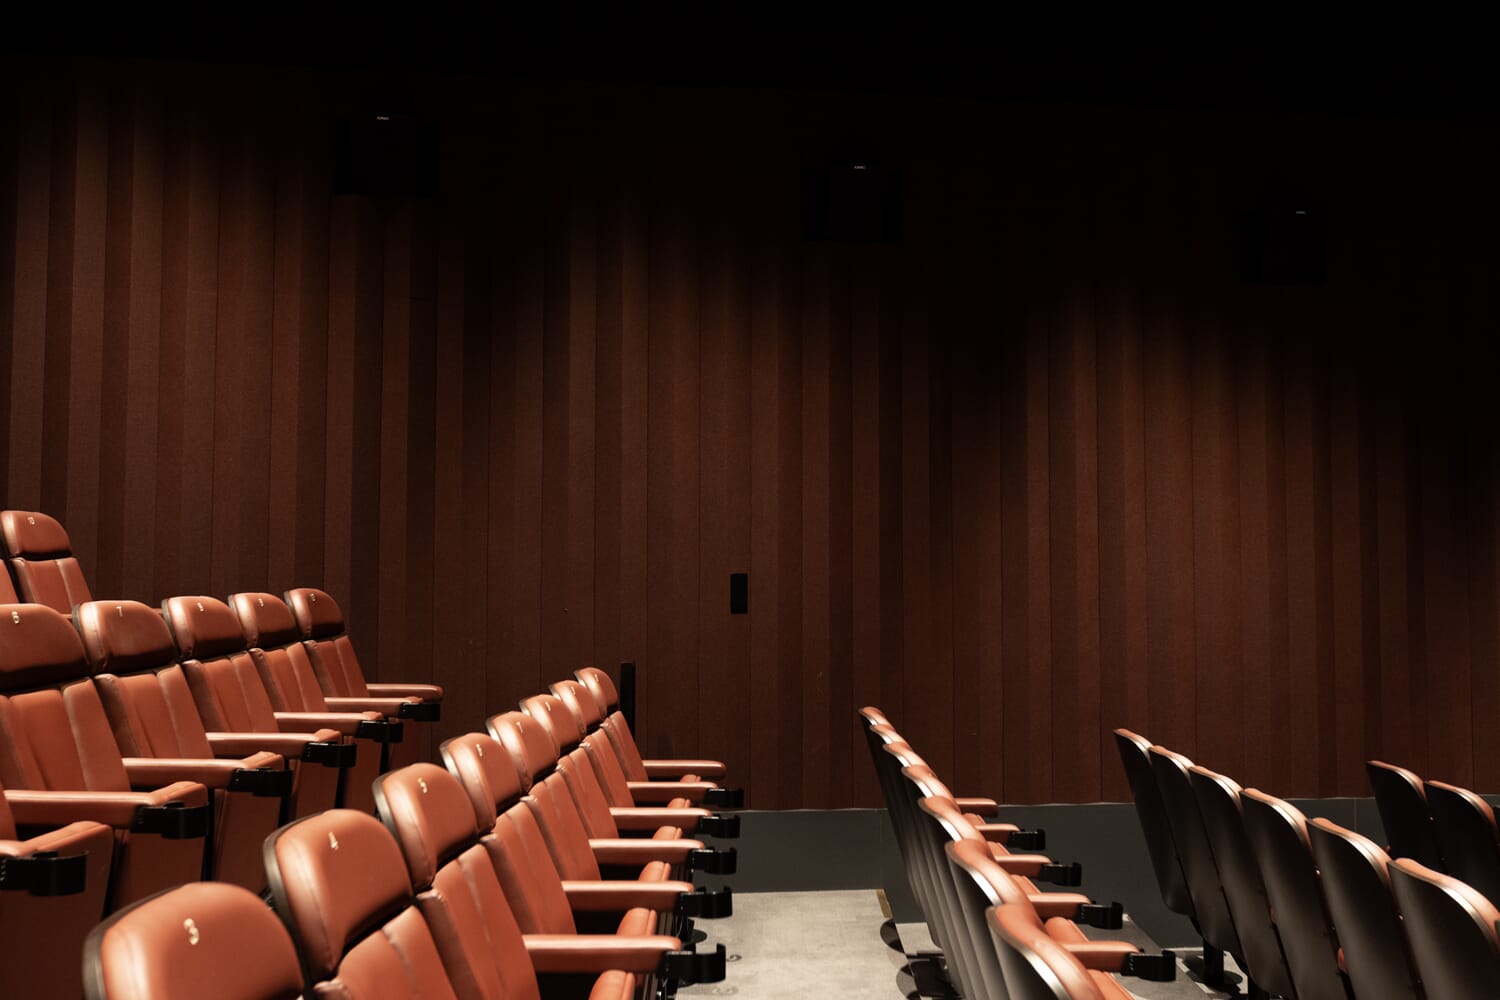
Reducing Noise in Theatres
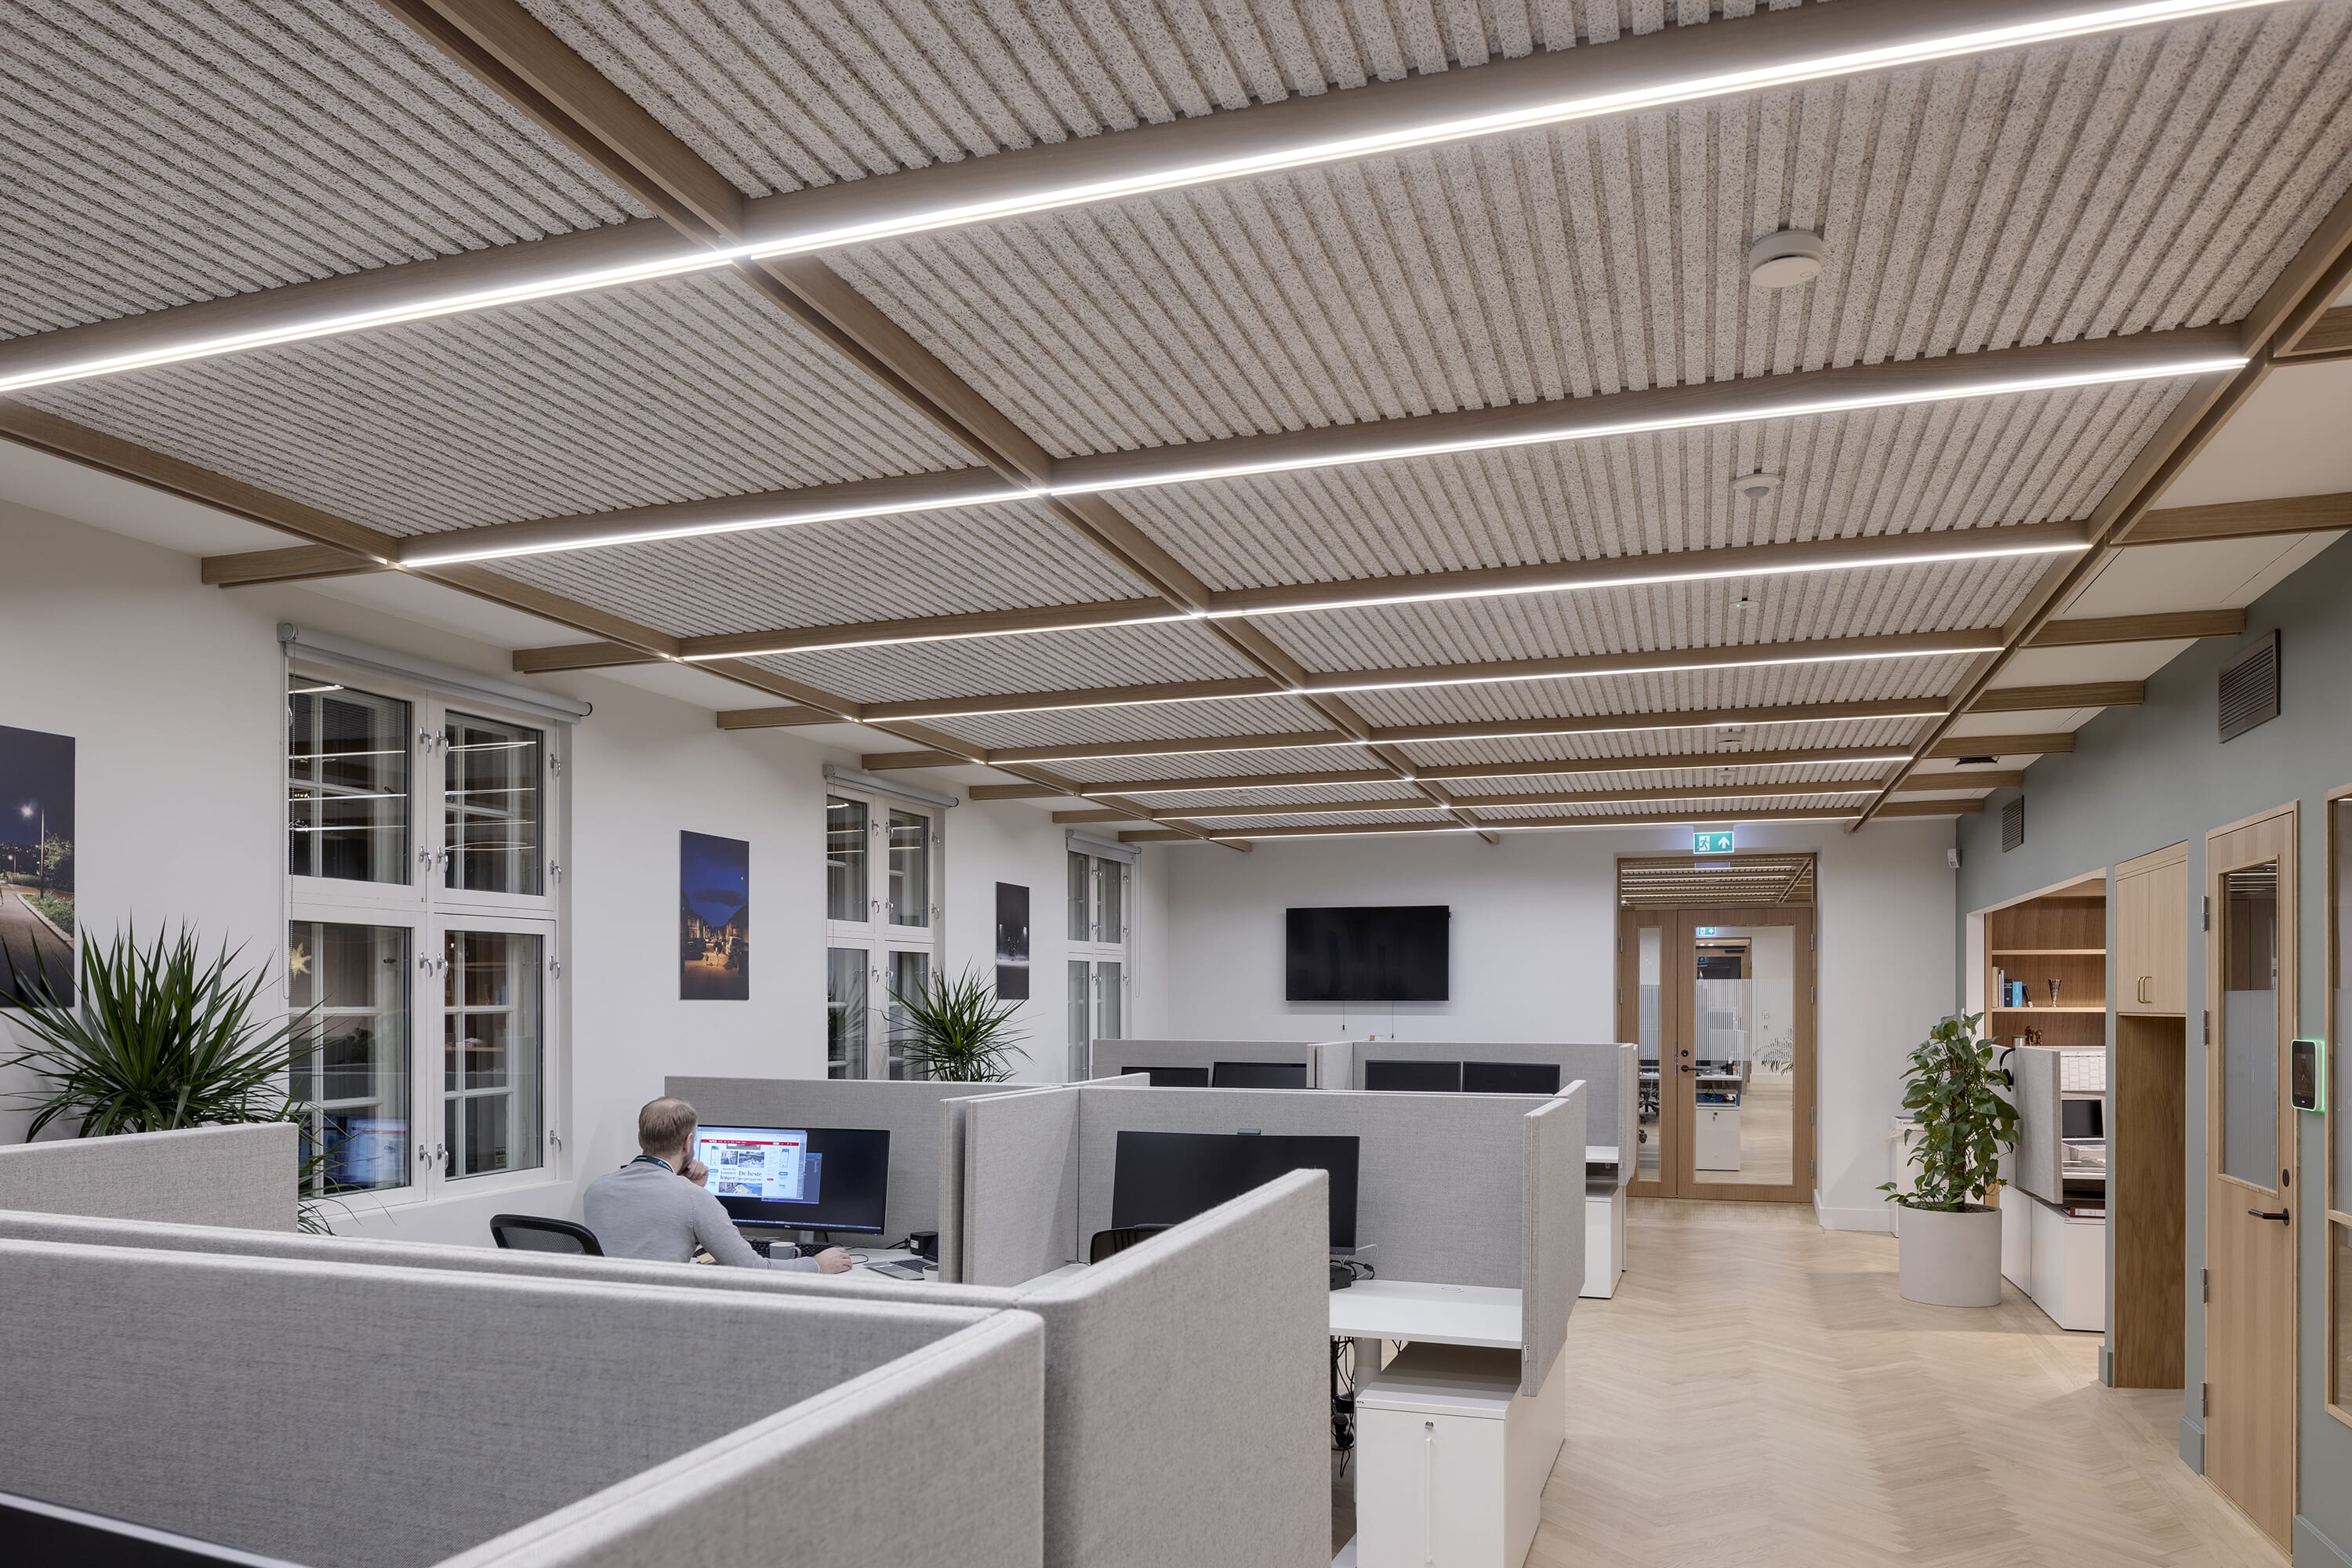
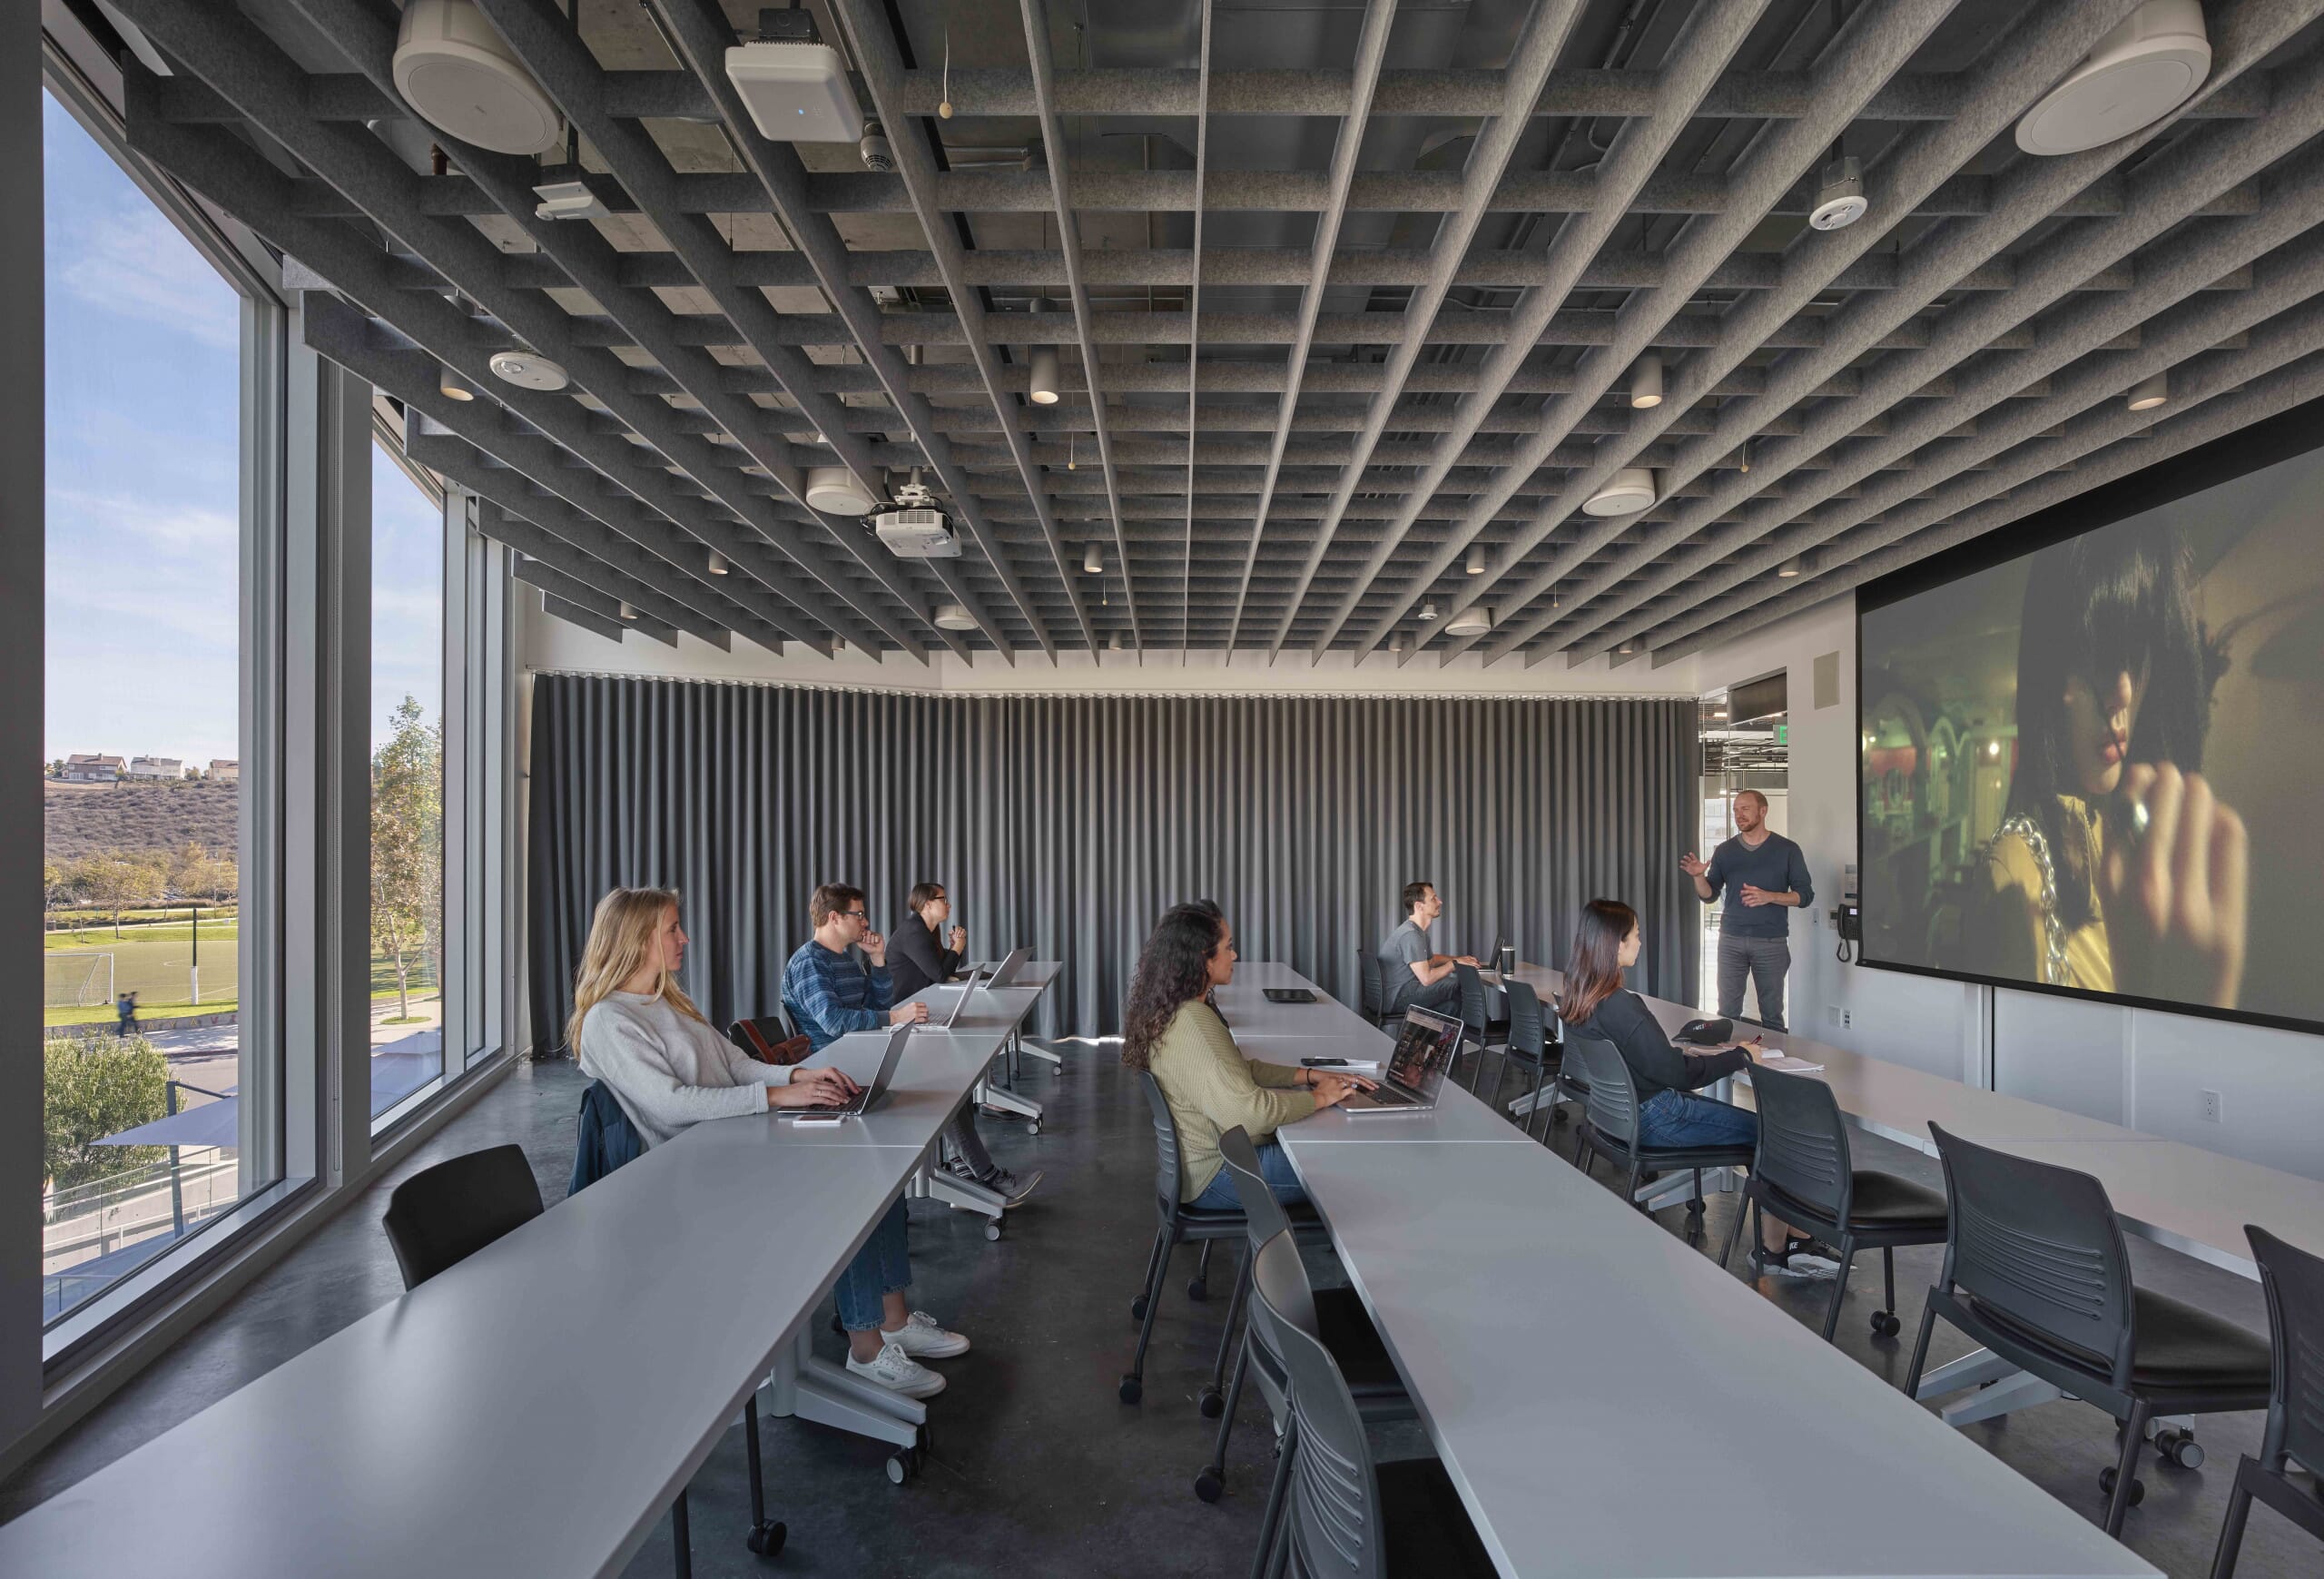
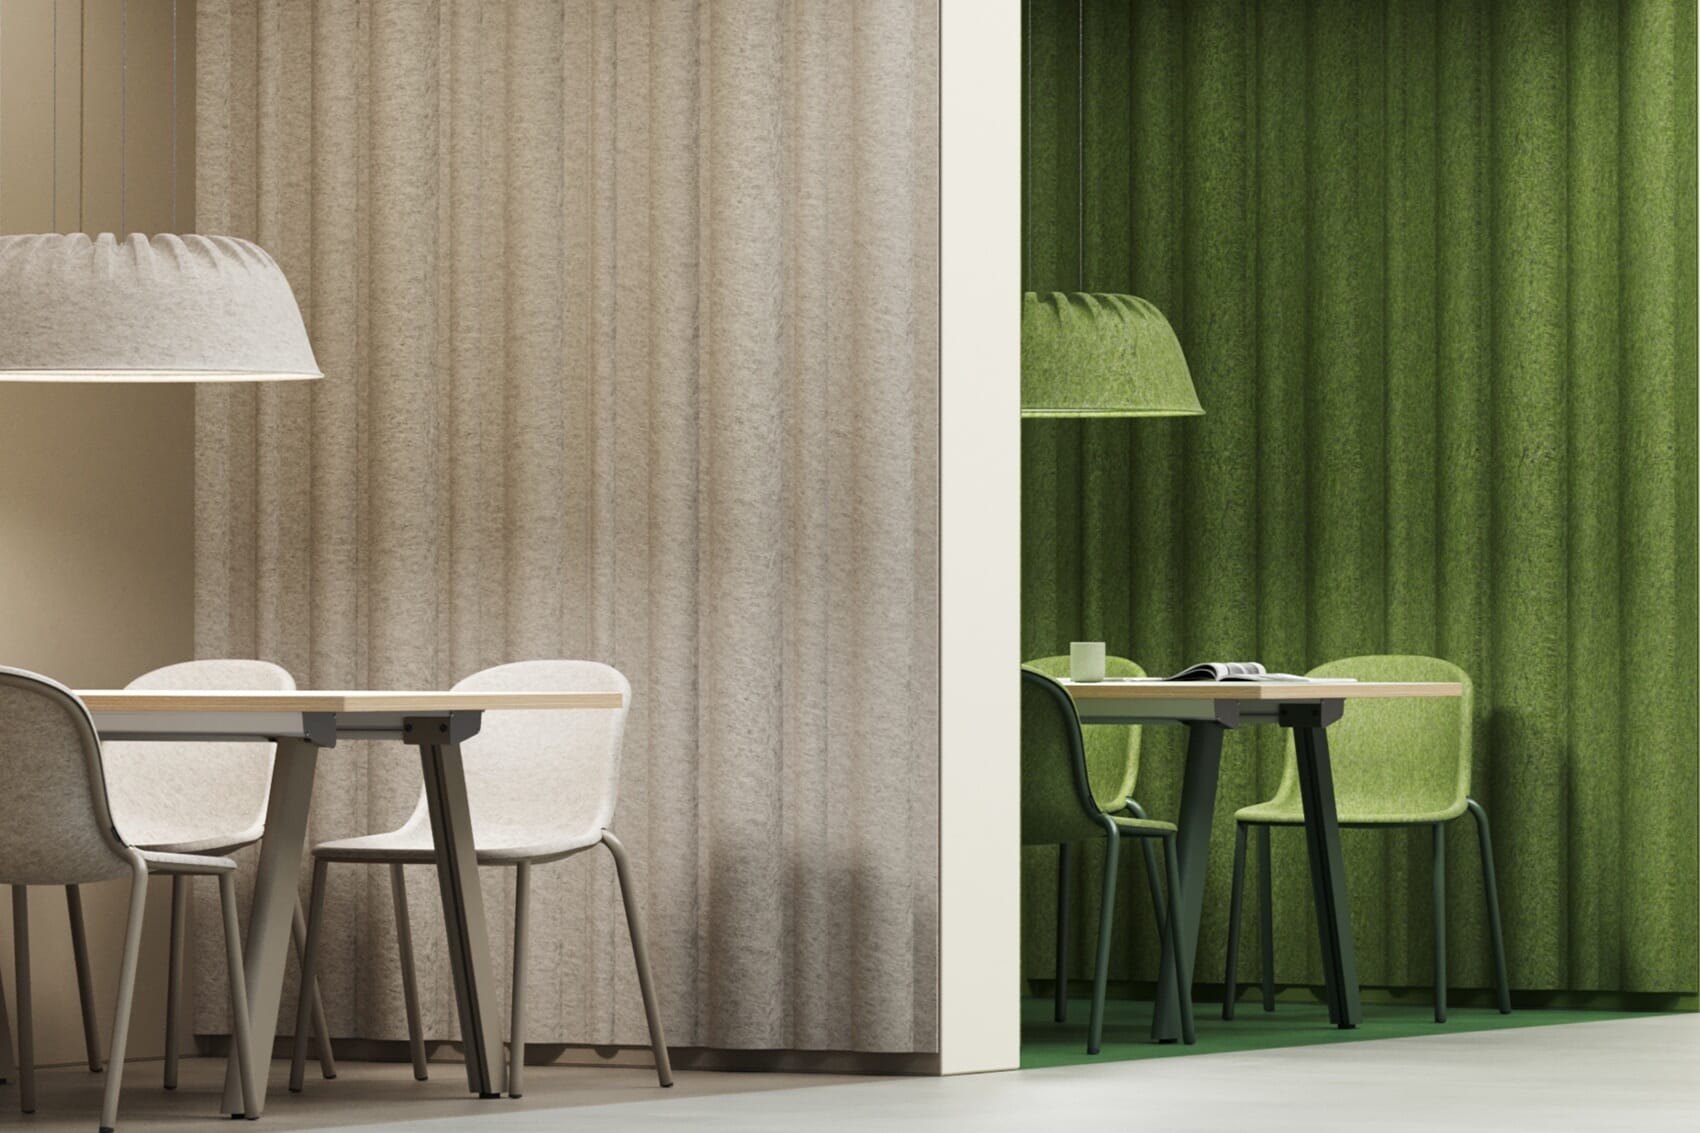
Acoustic design is essential for delivering a high-quality experience in these spaces.
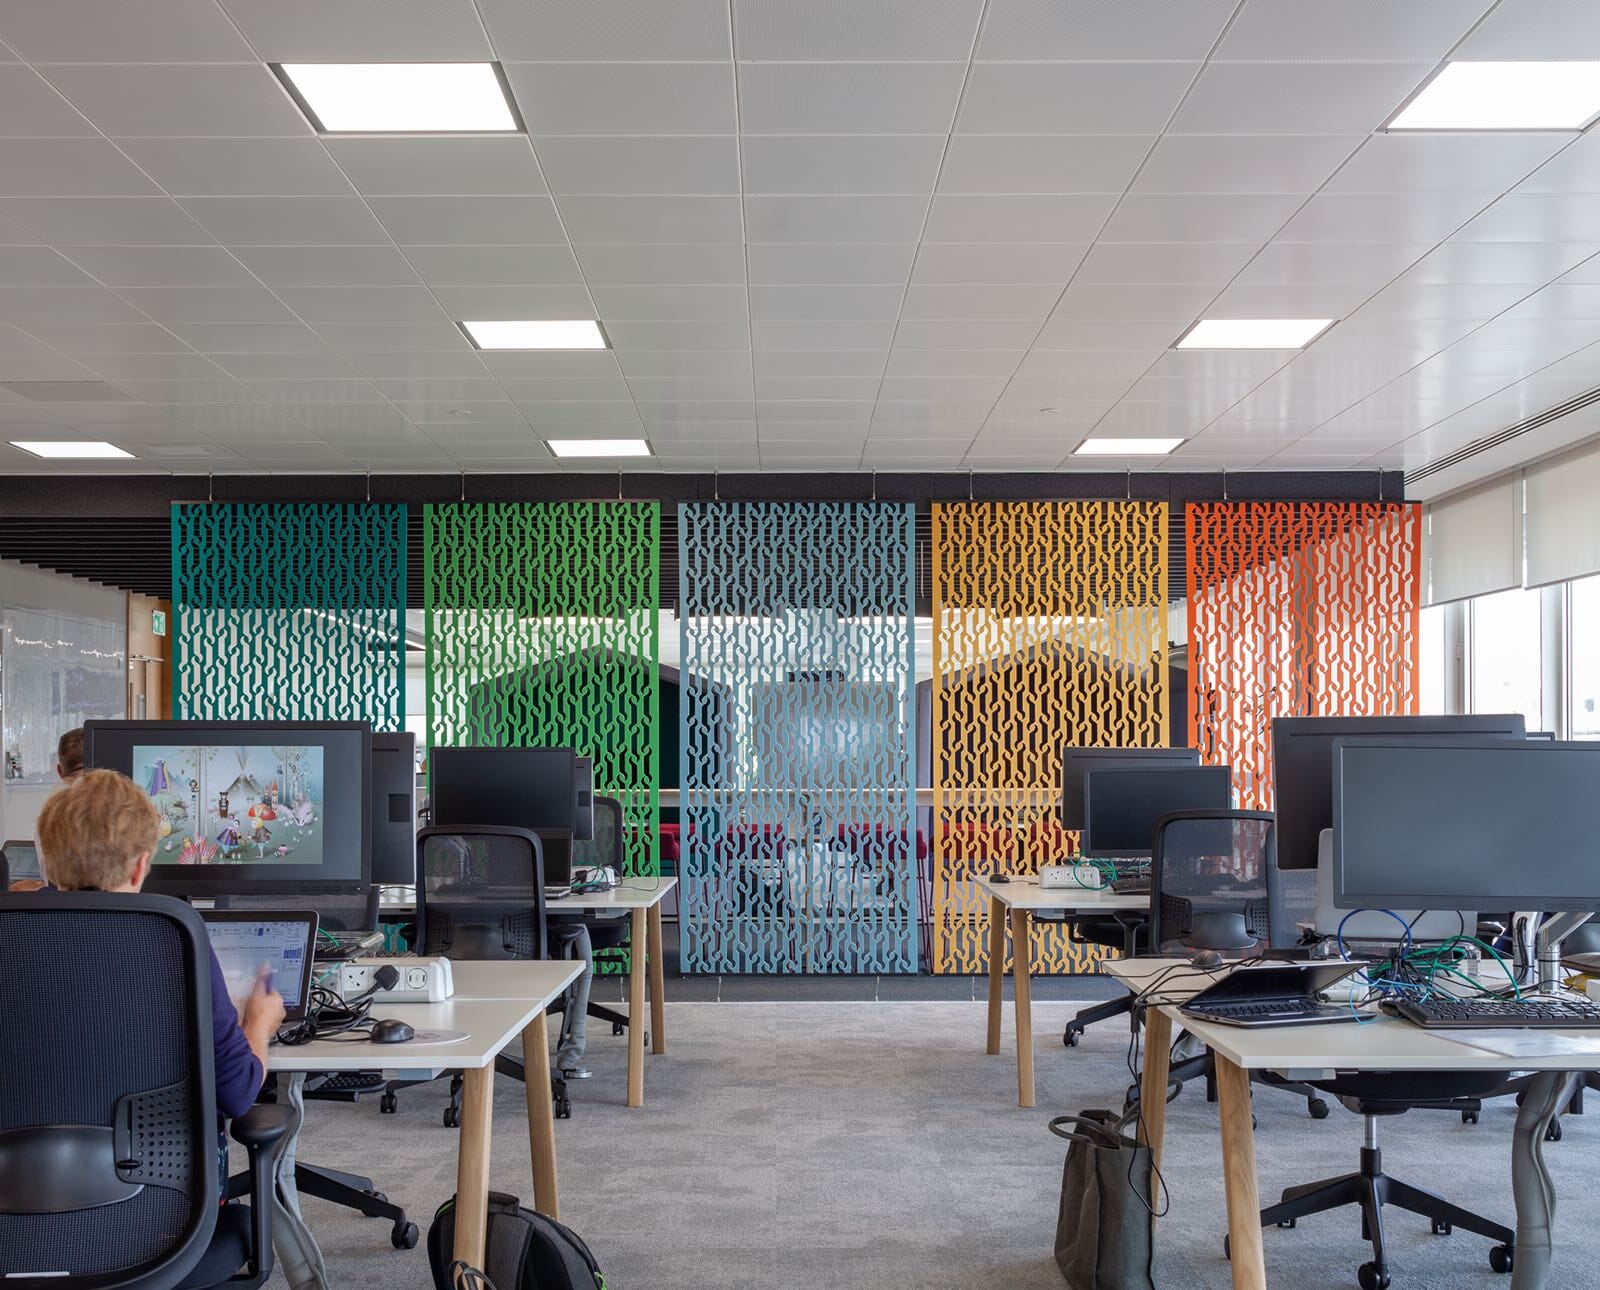
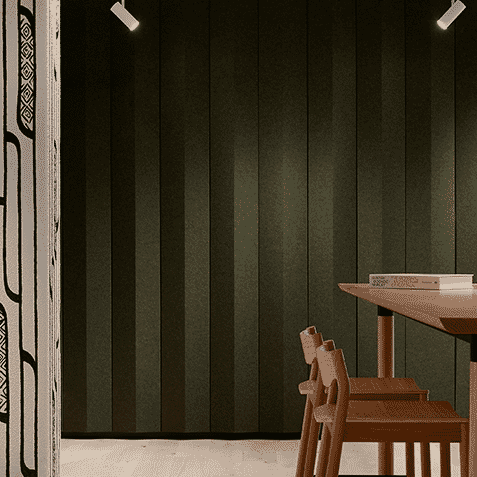
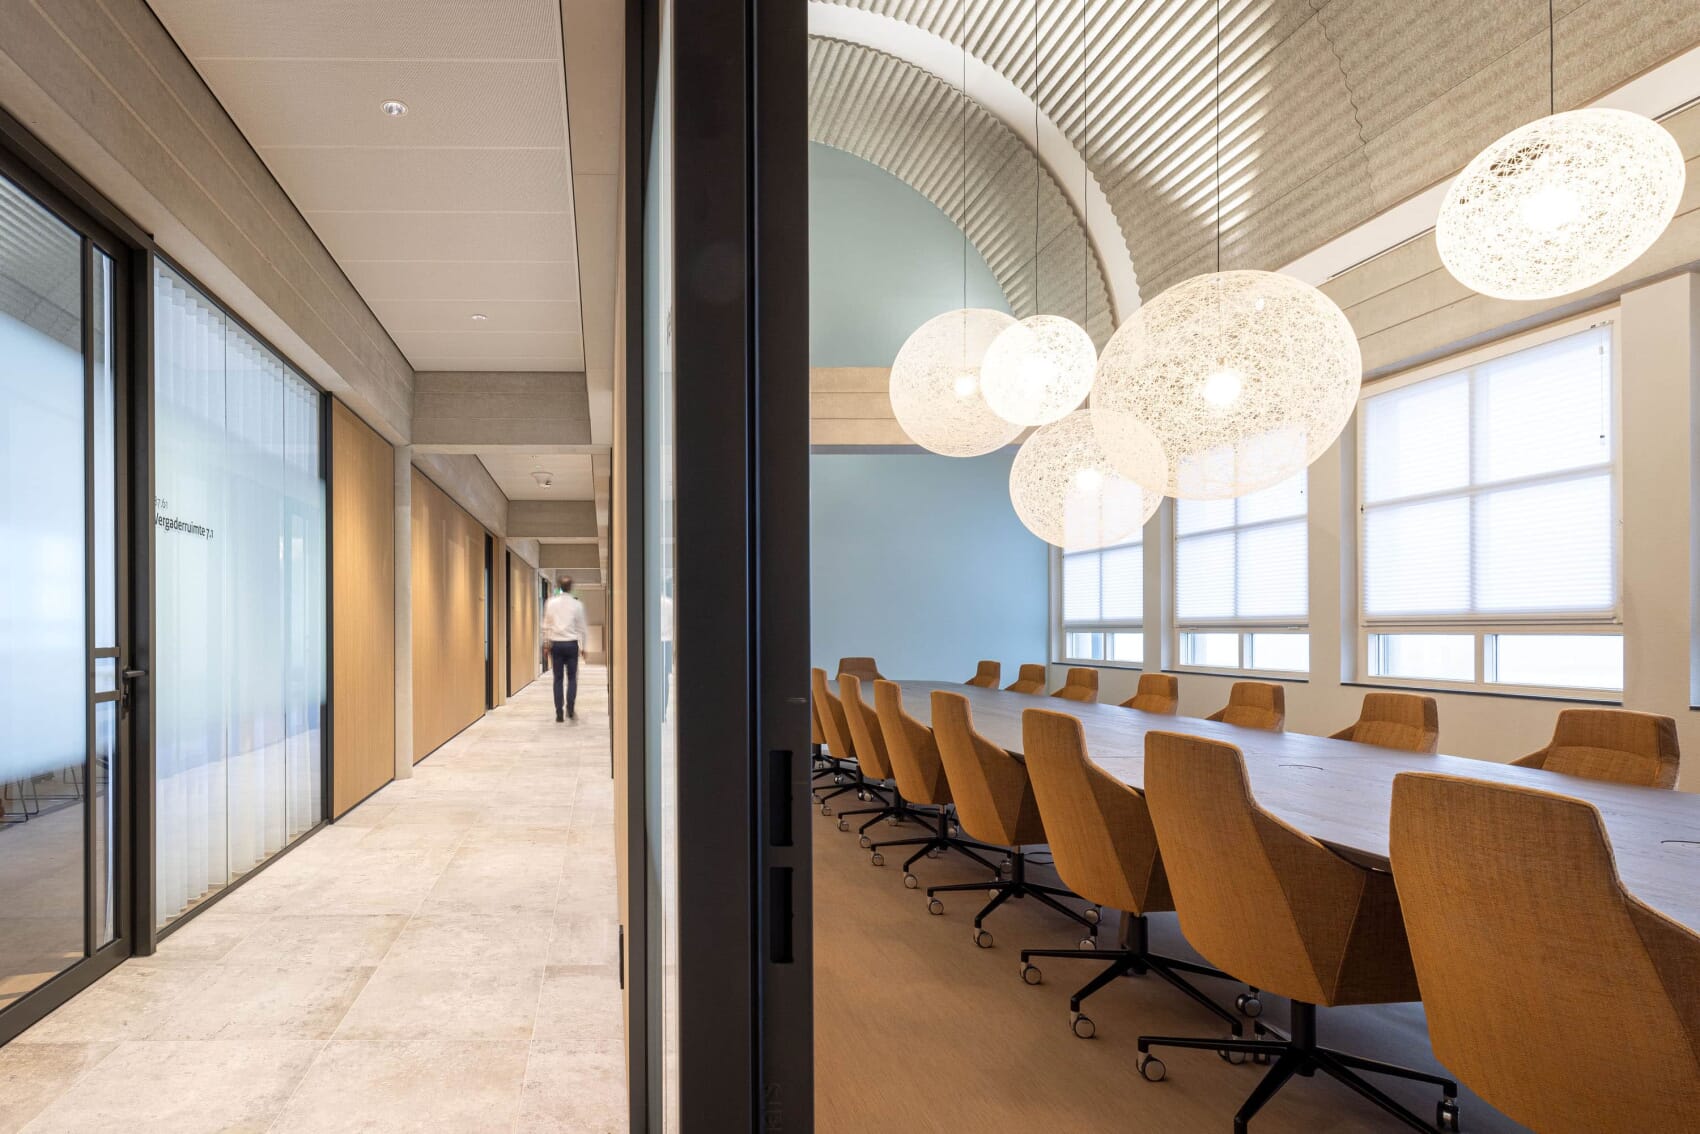
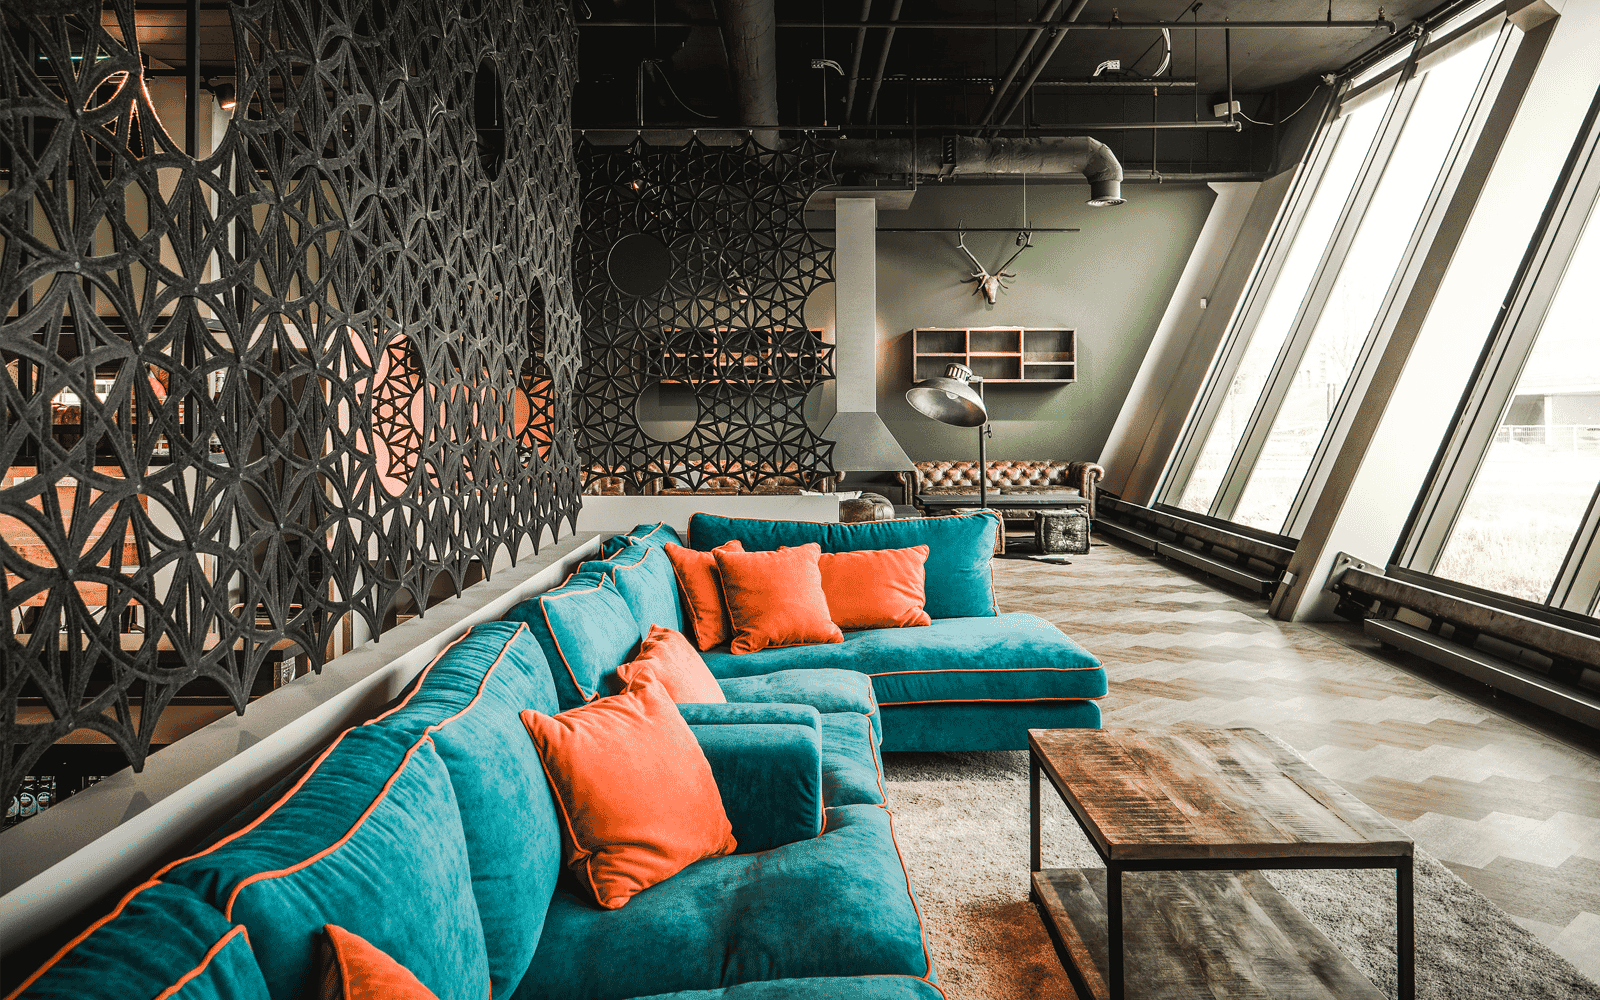
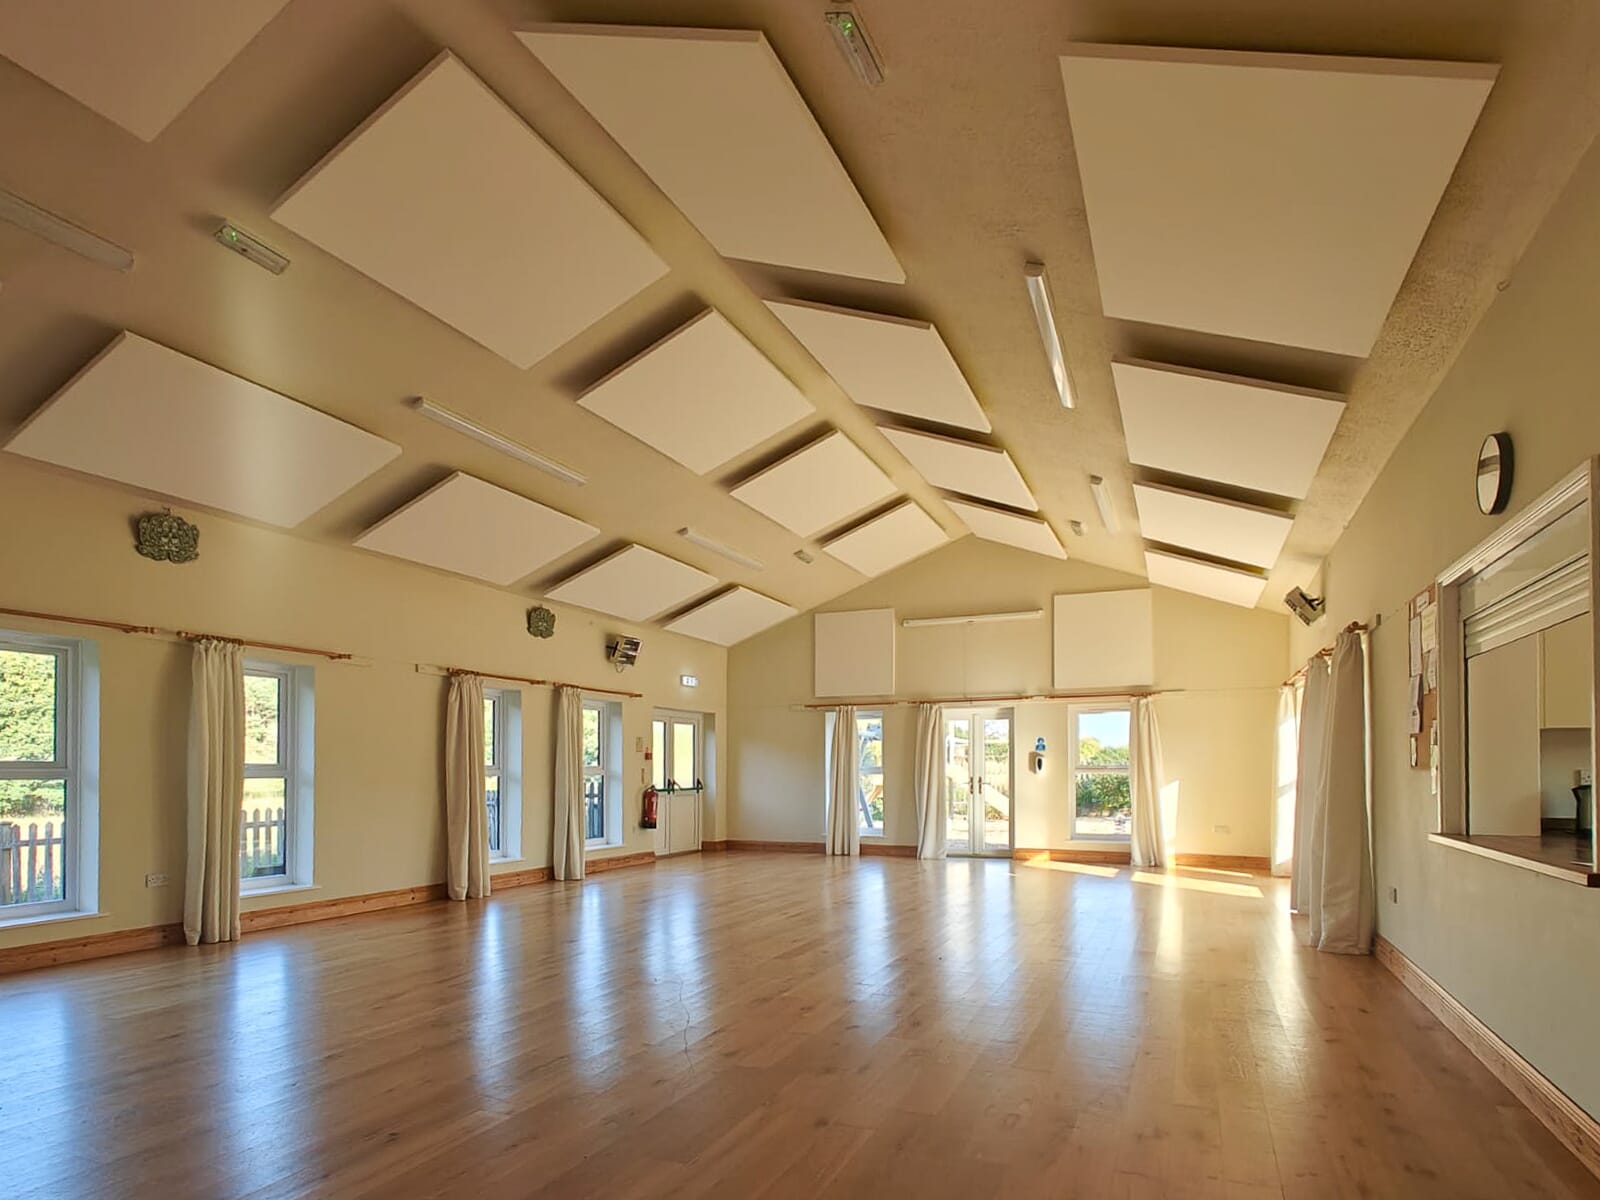
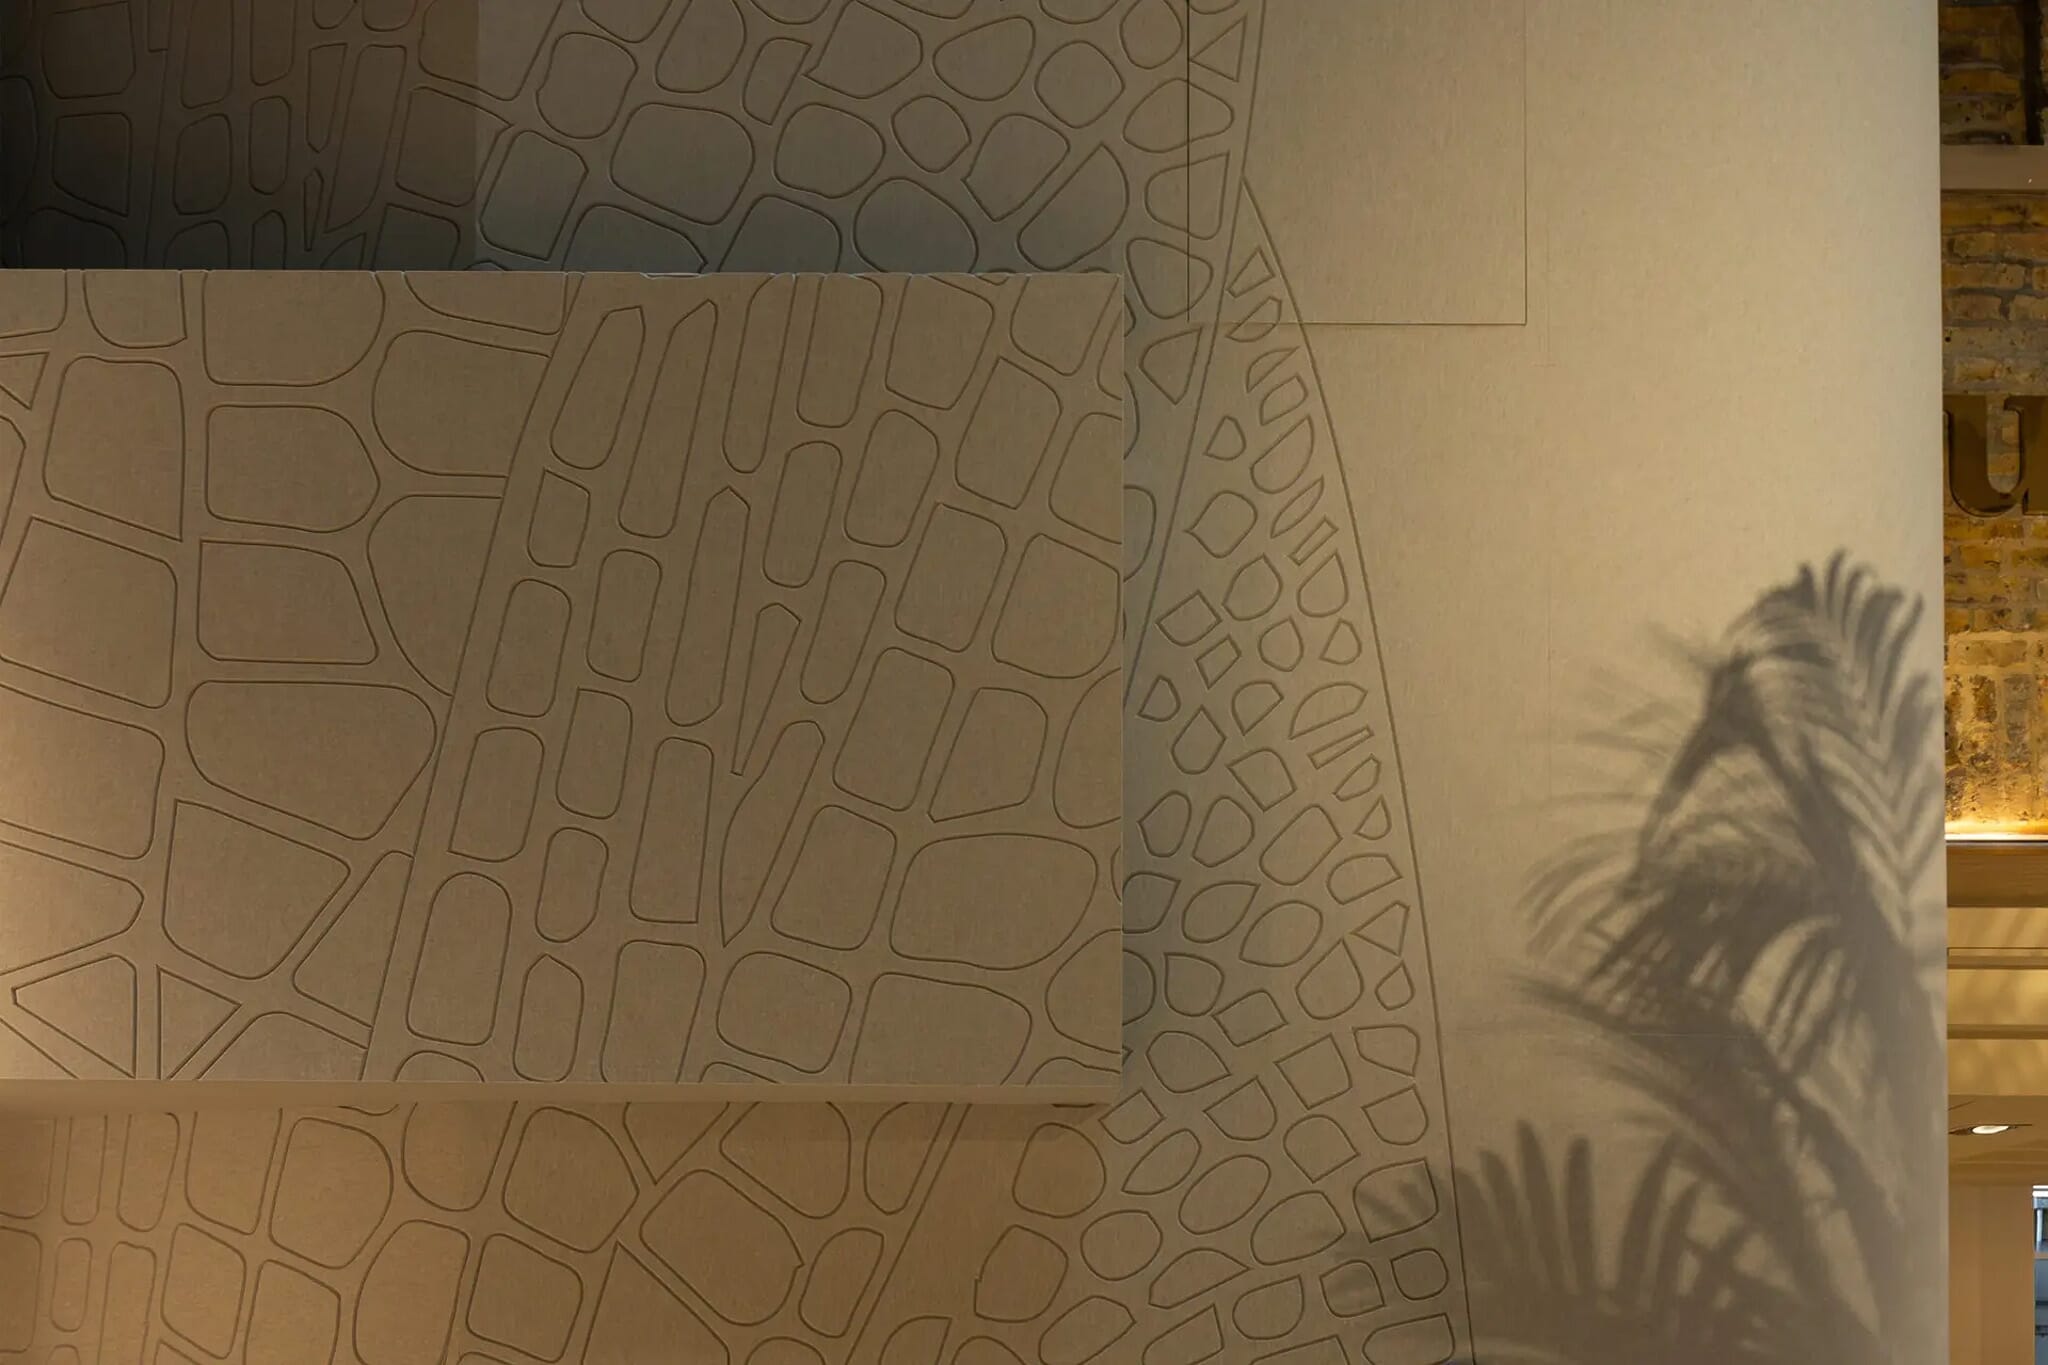
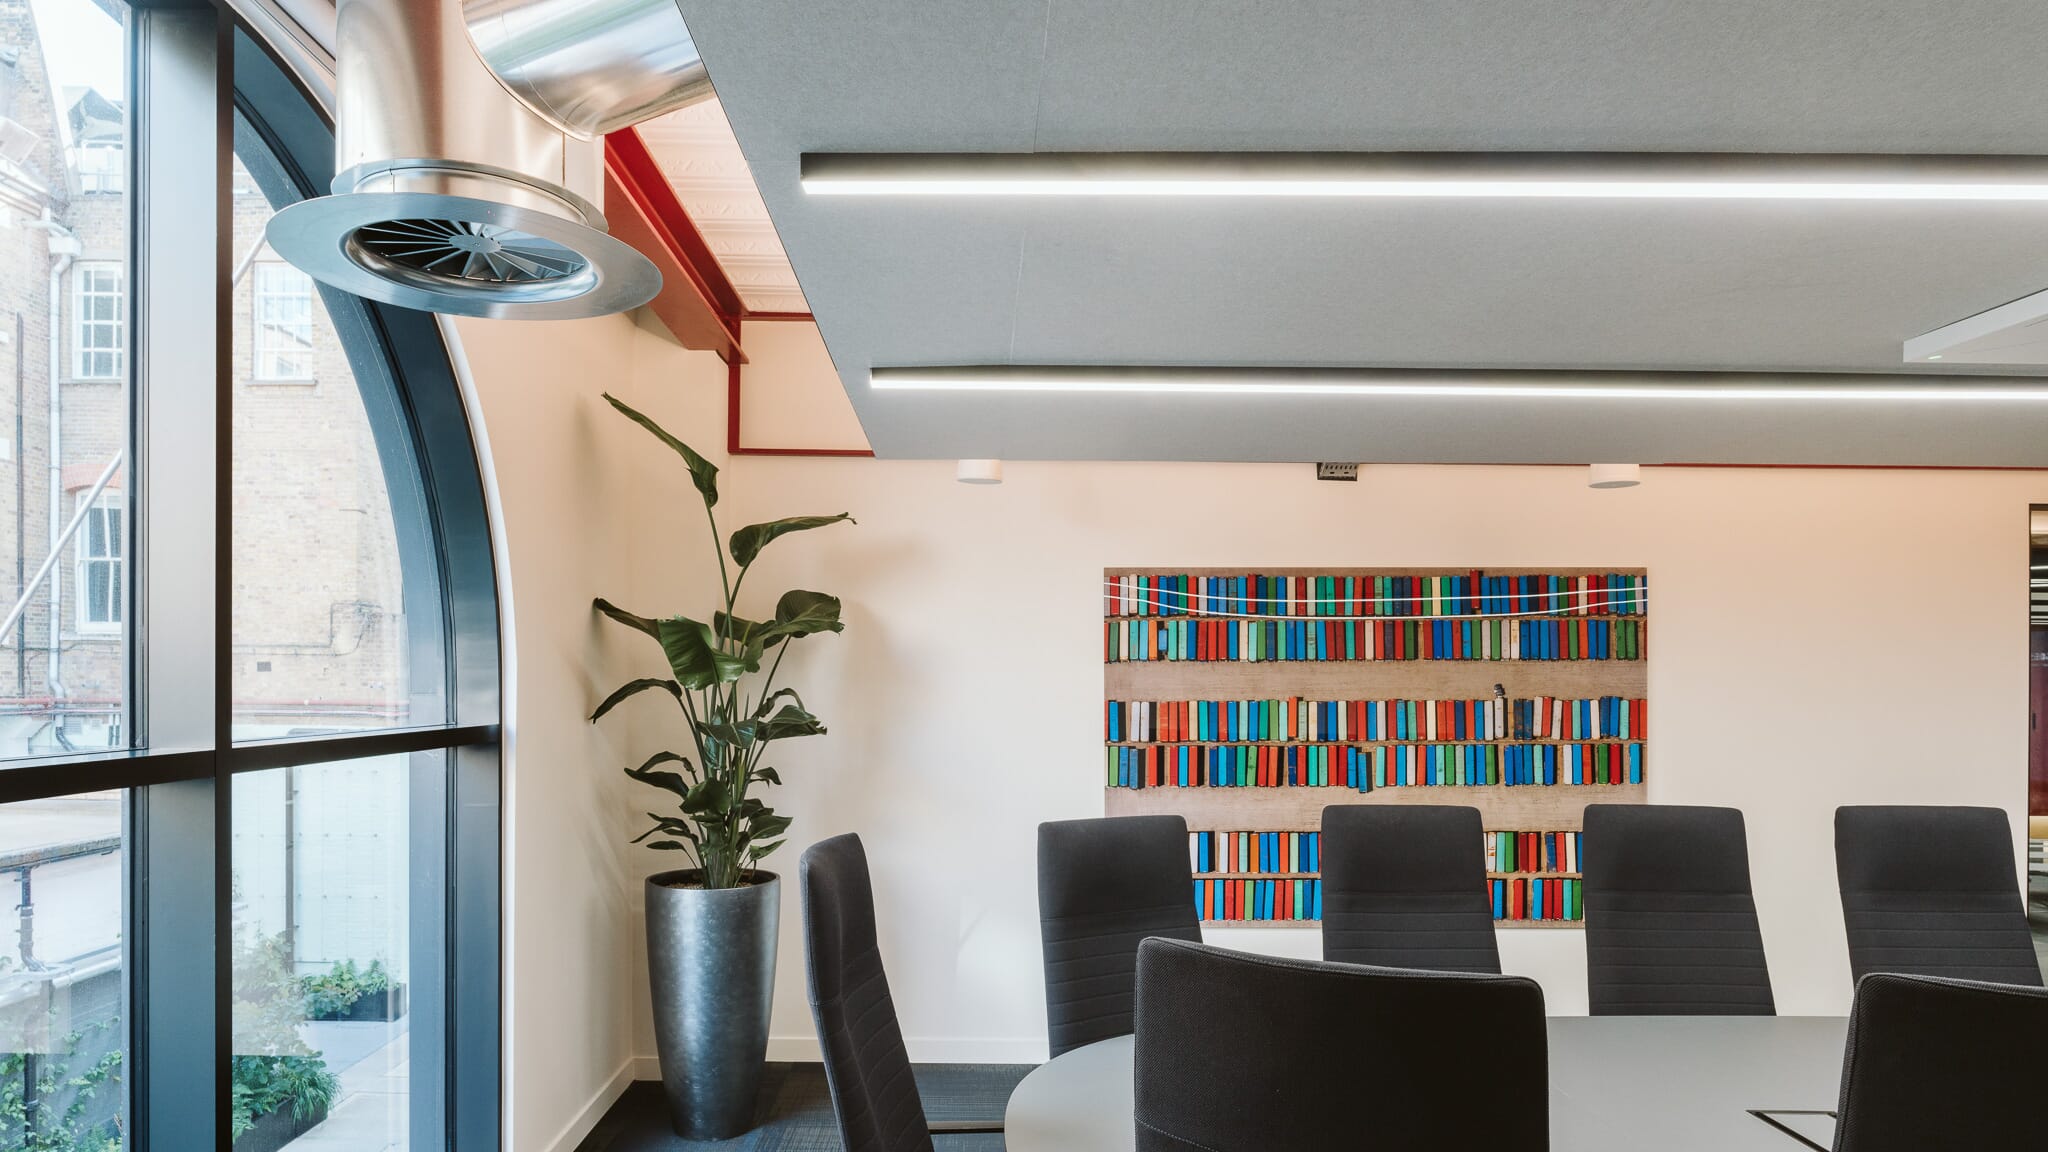
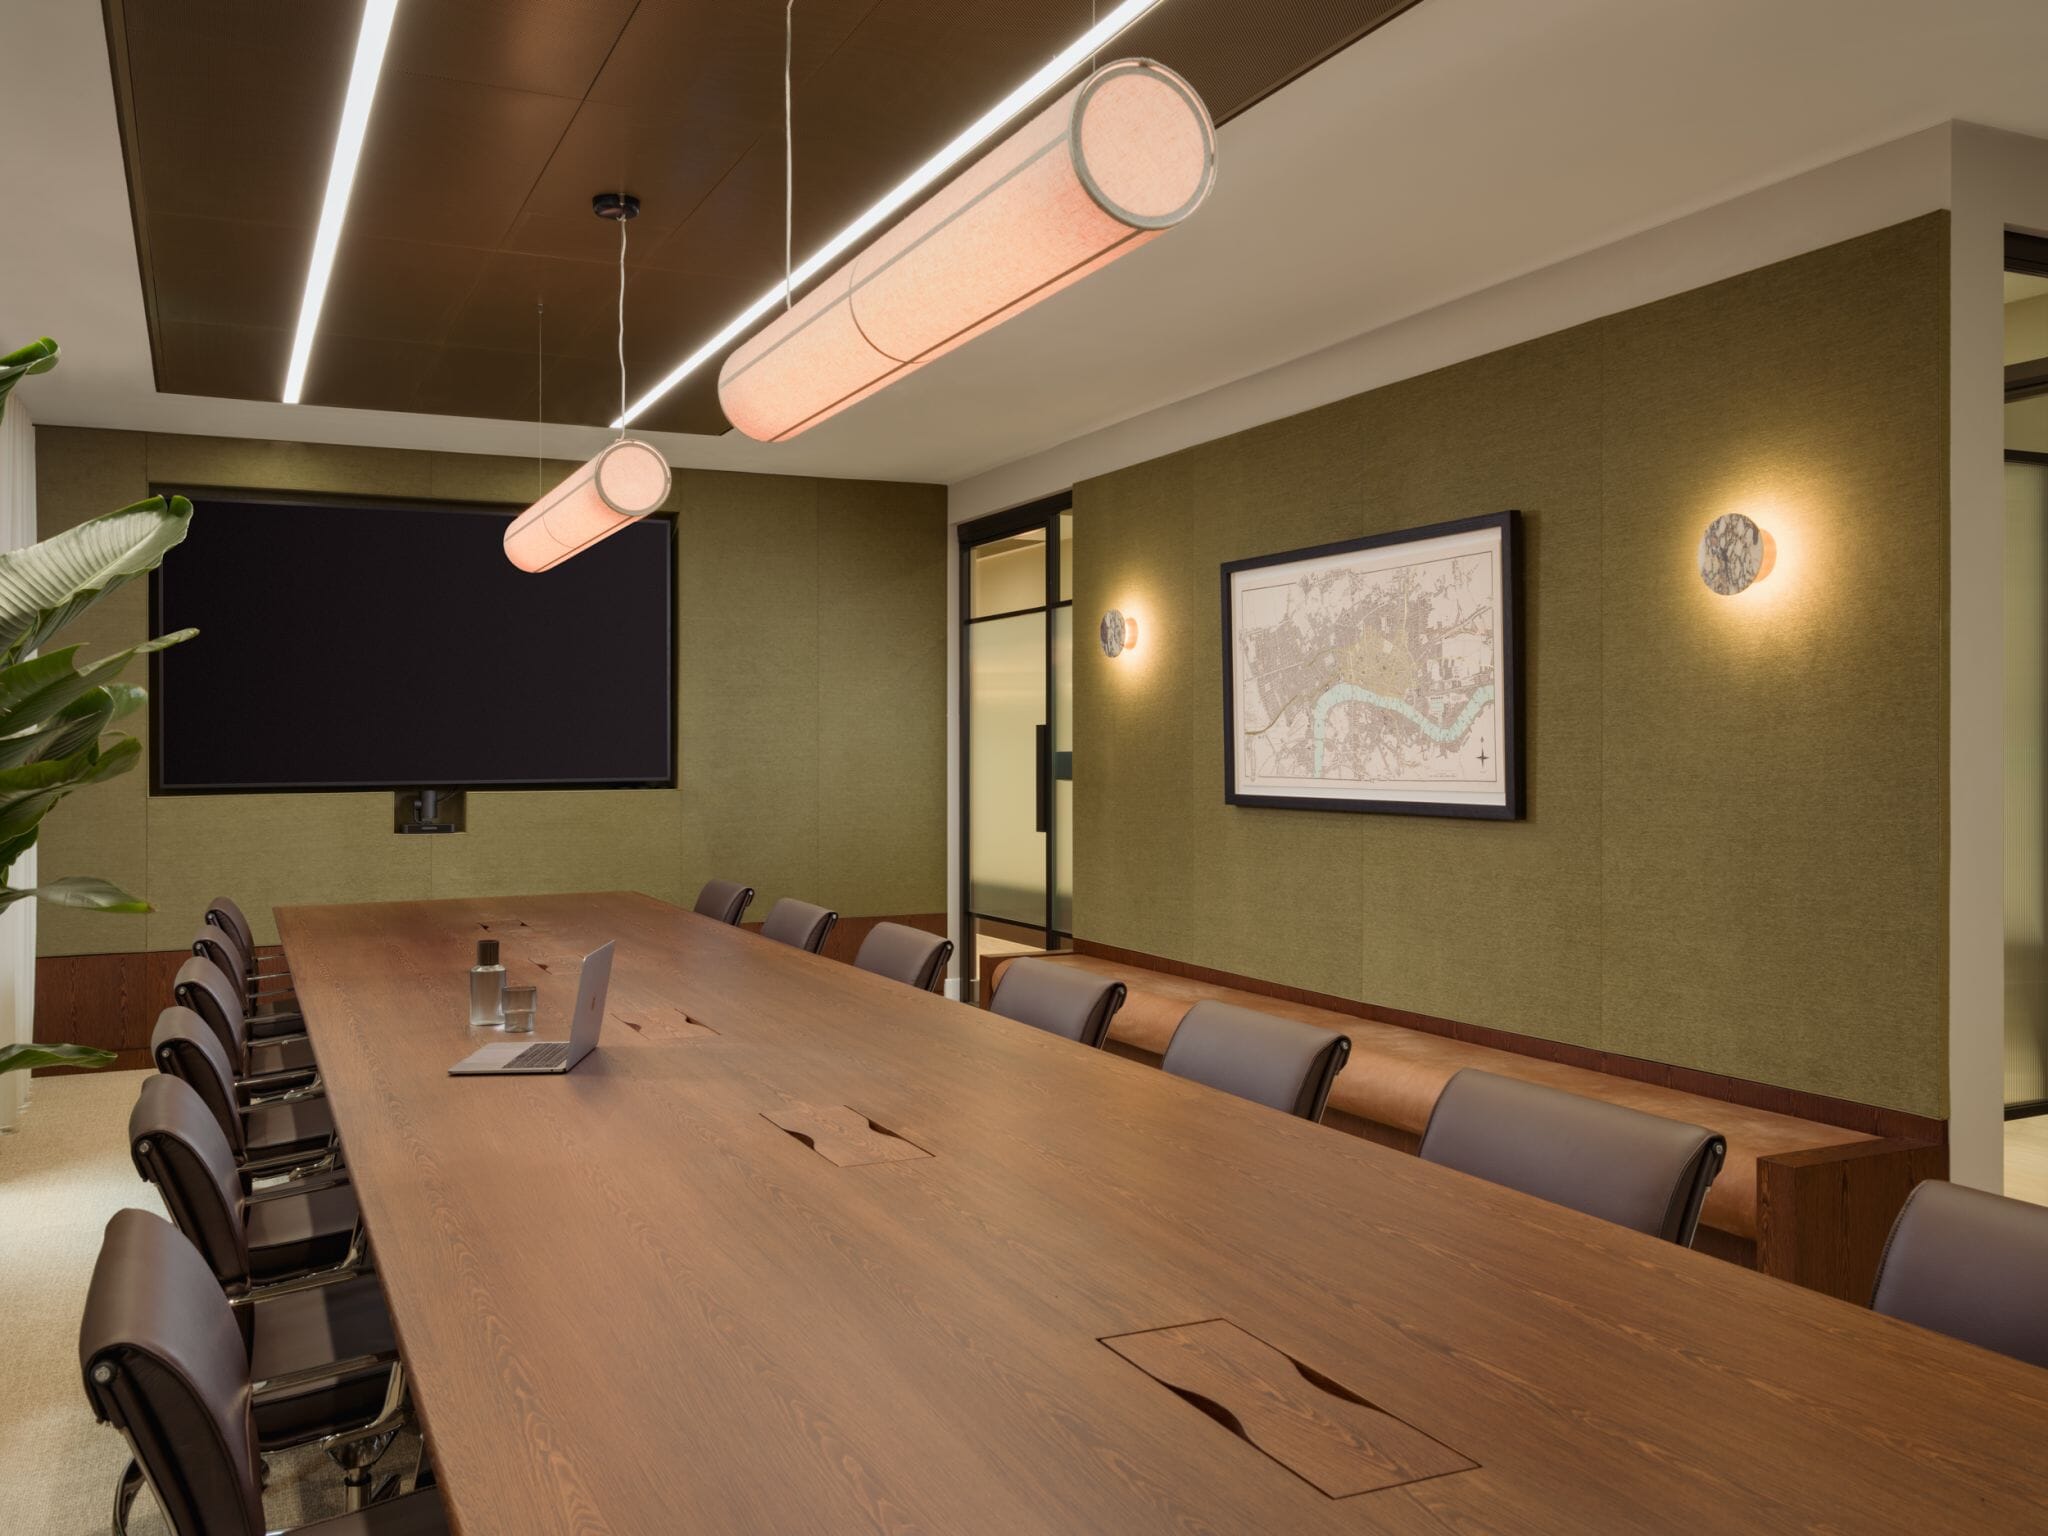
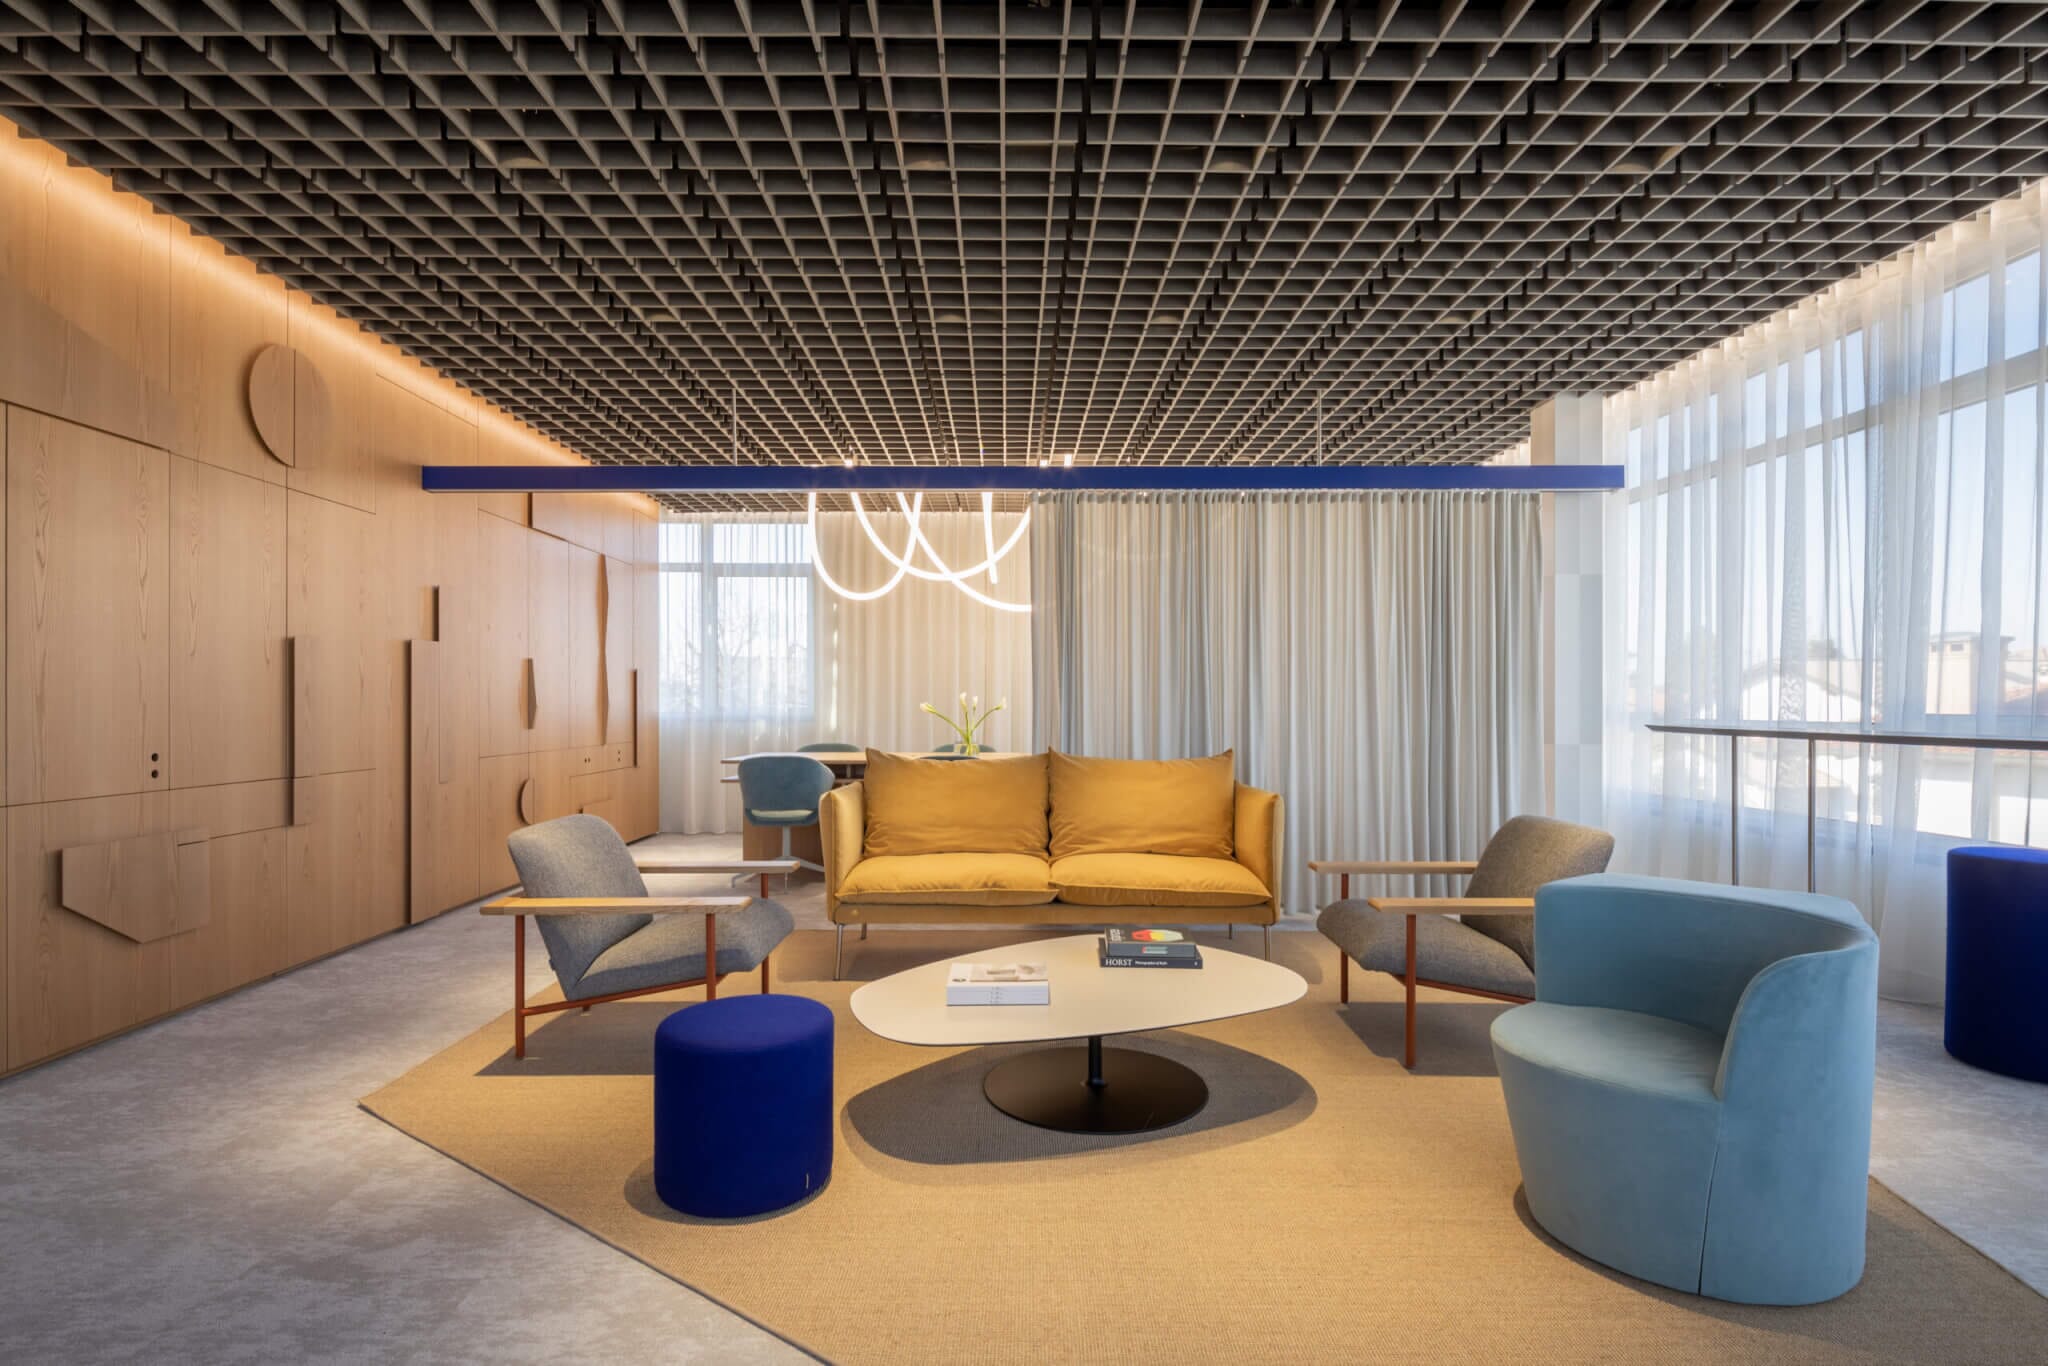
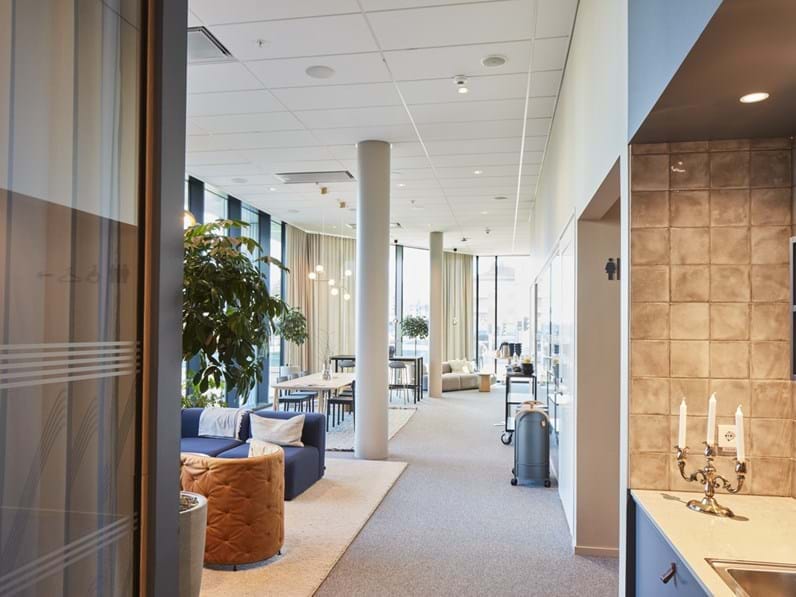
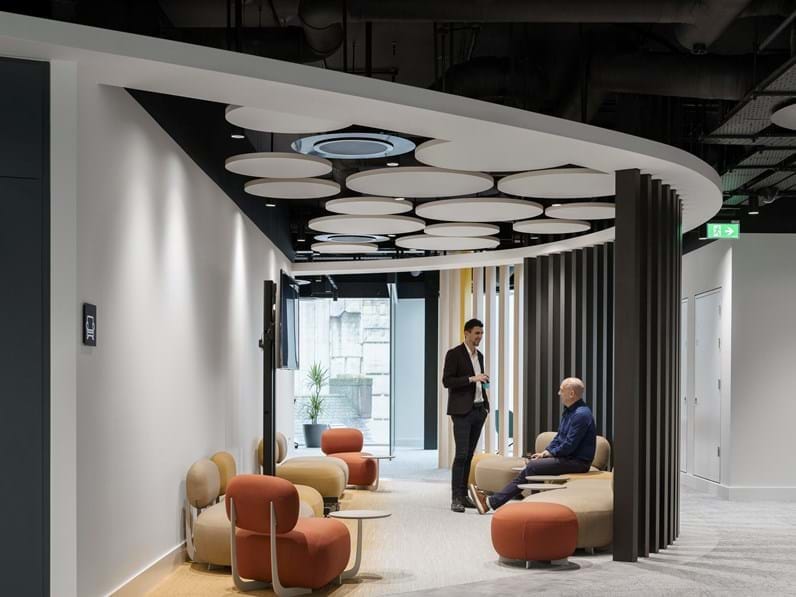
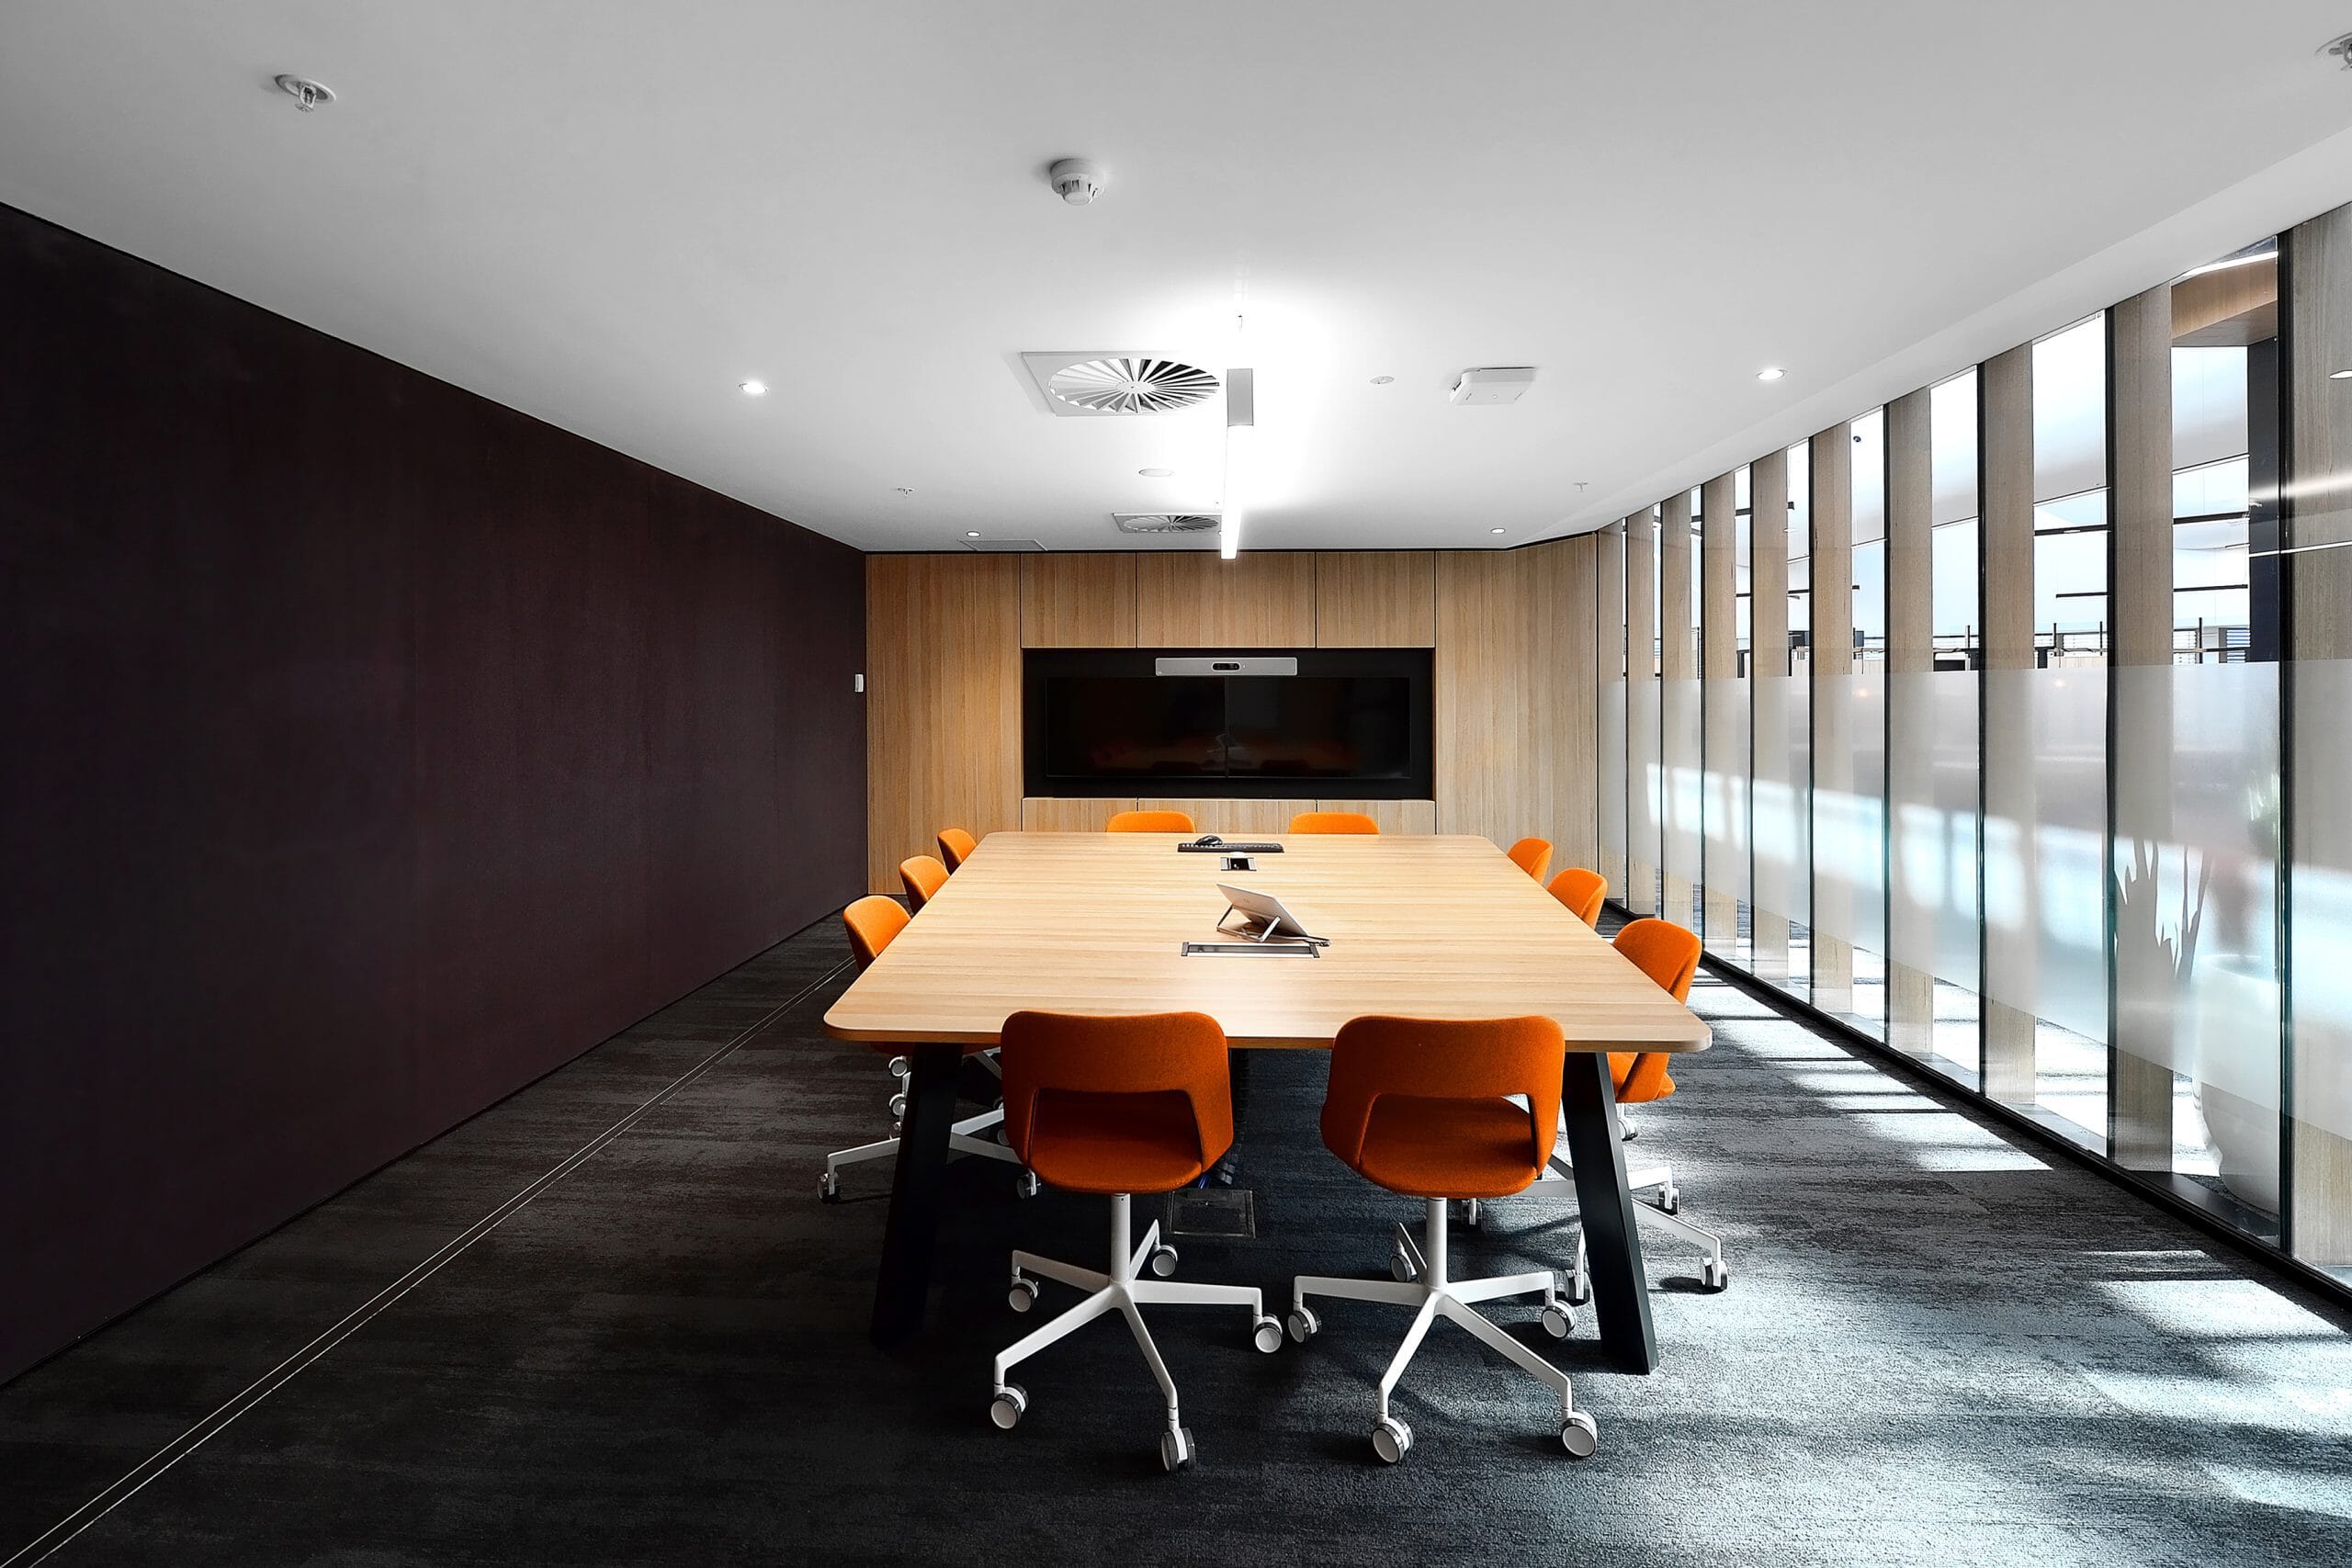
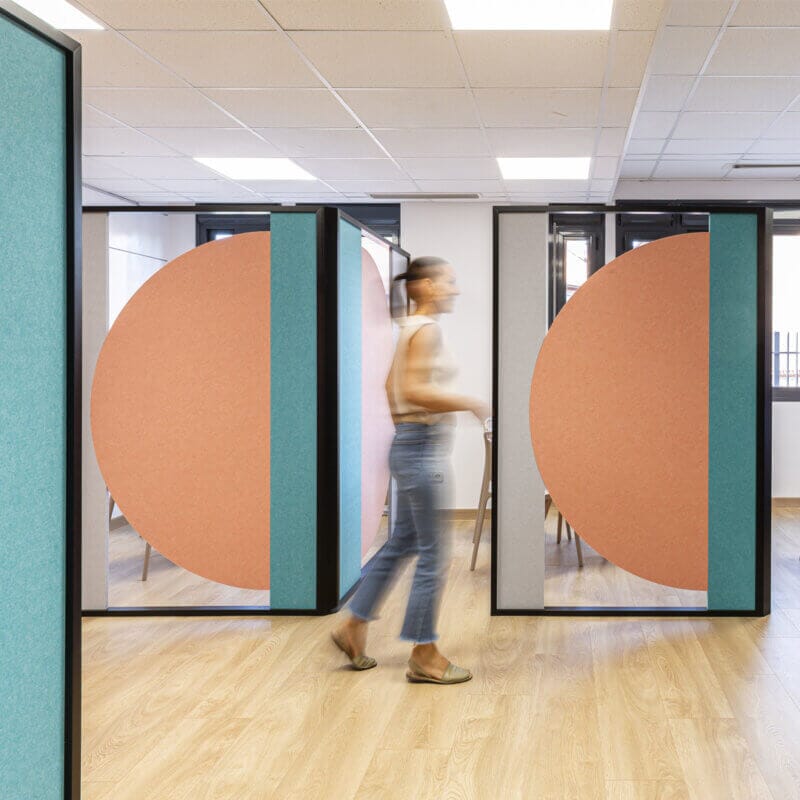
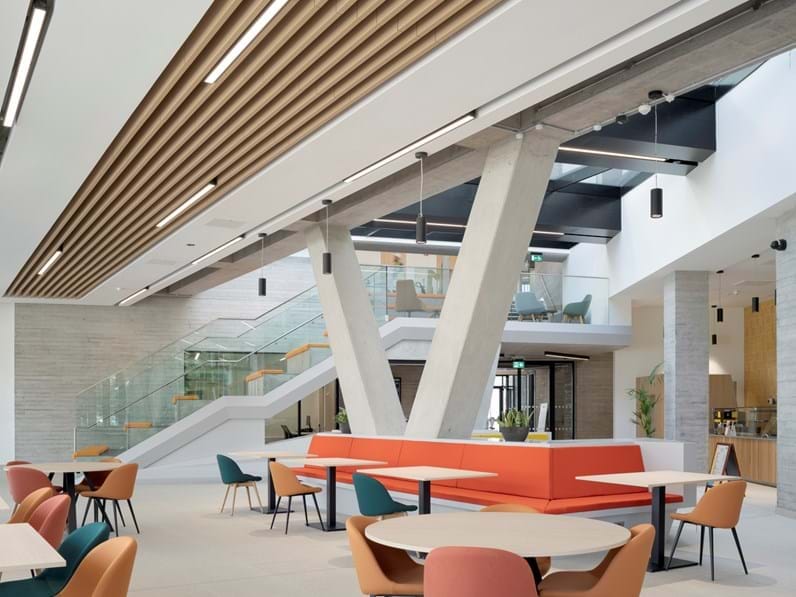
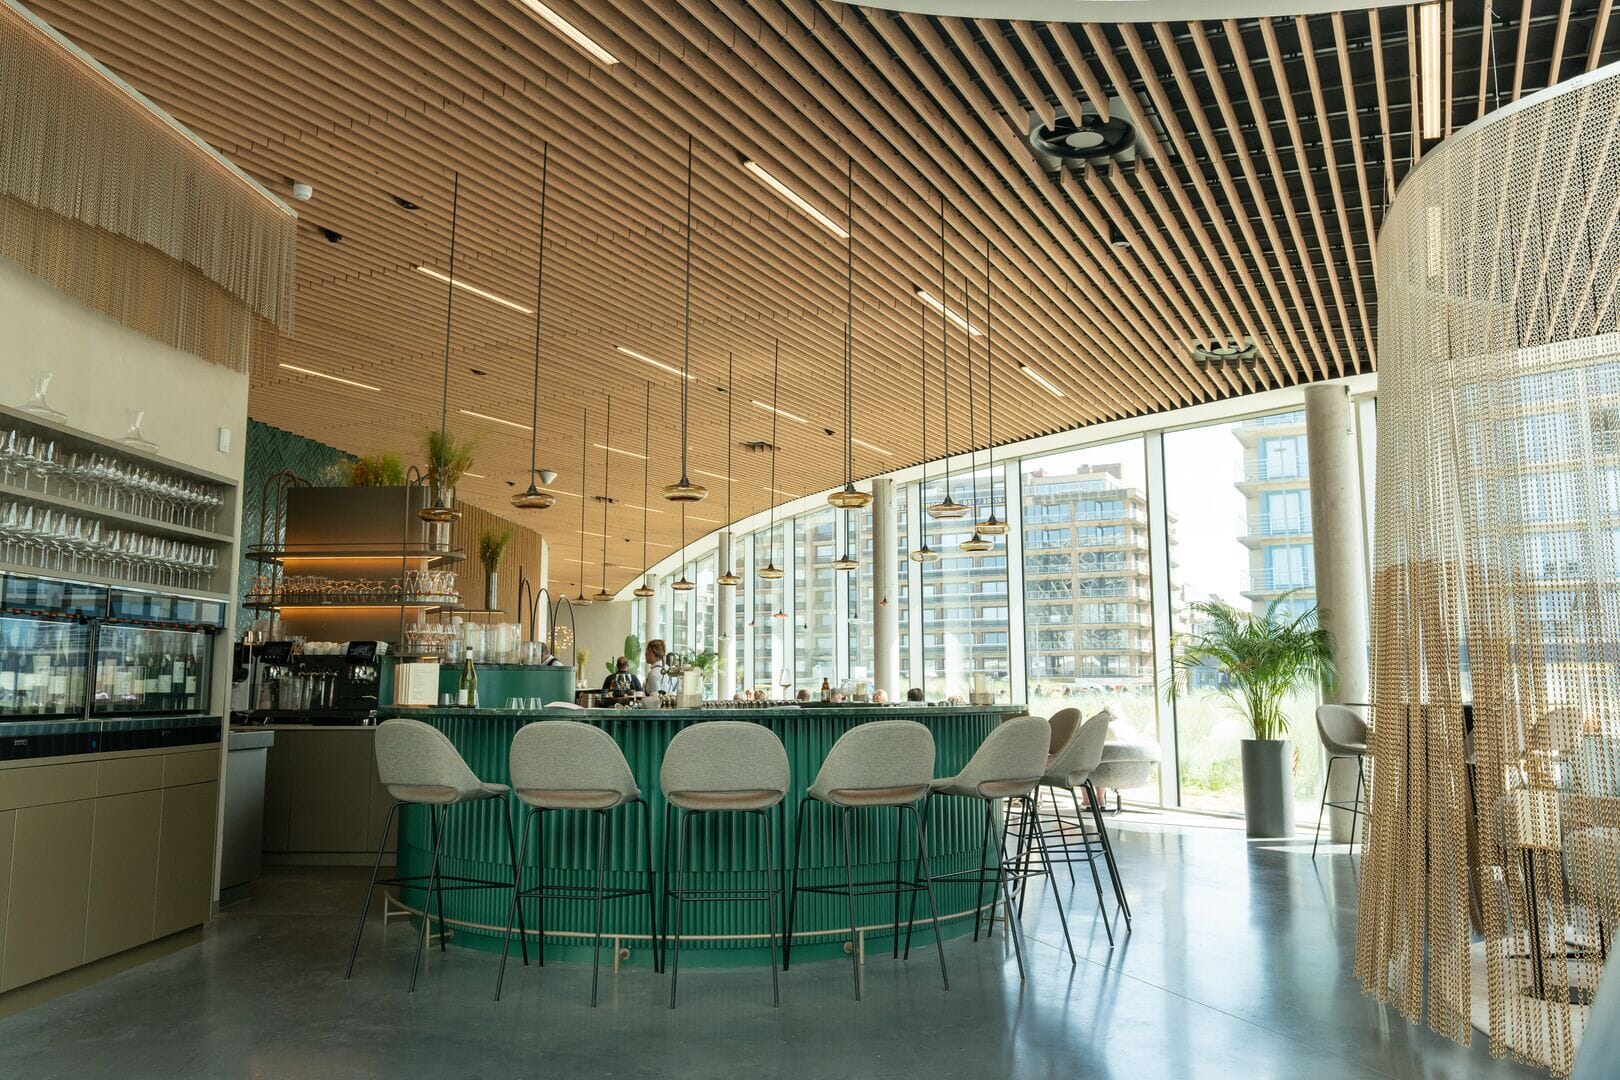
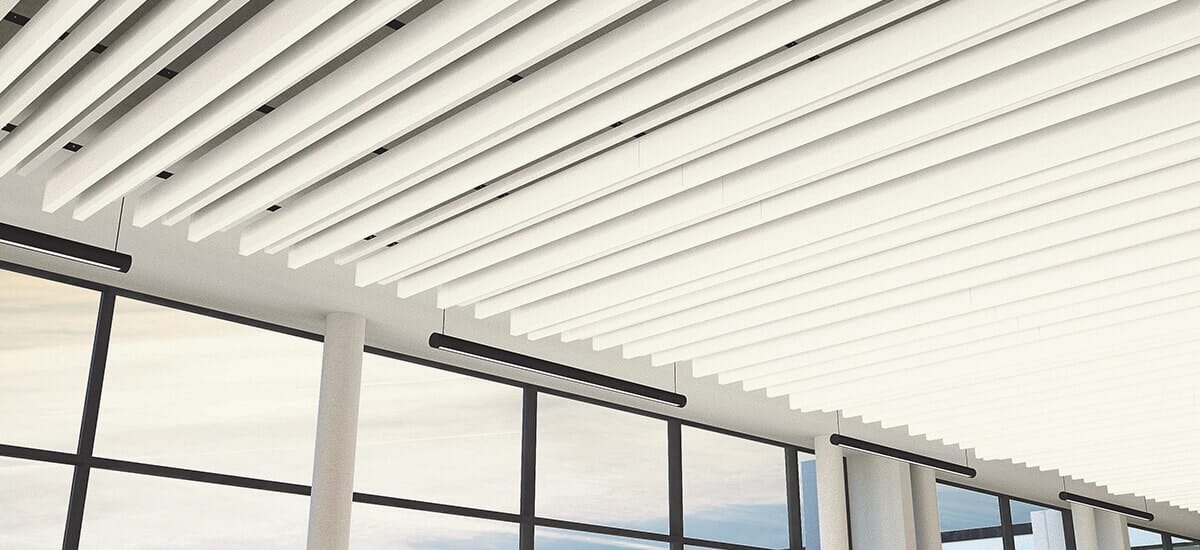
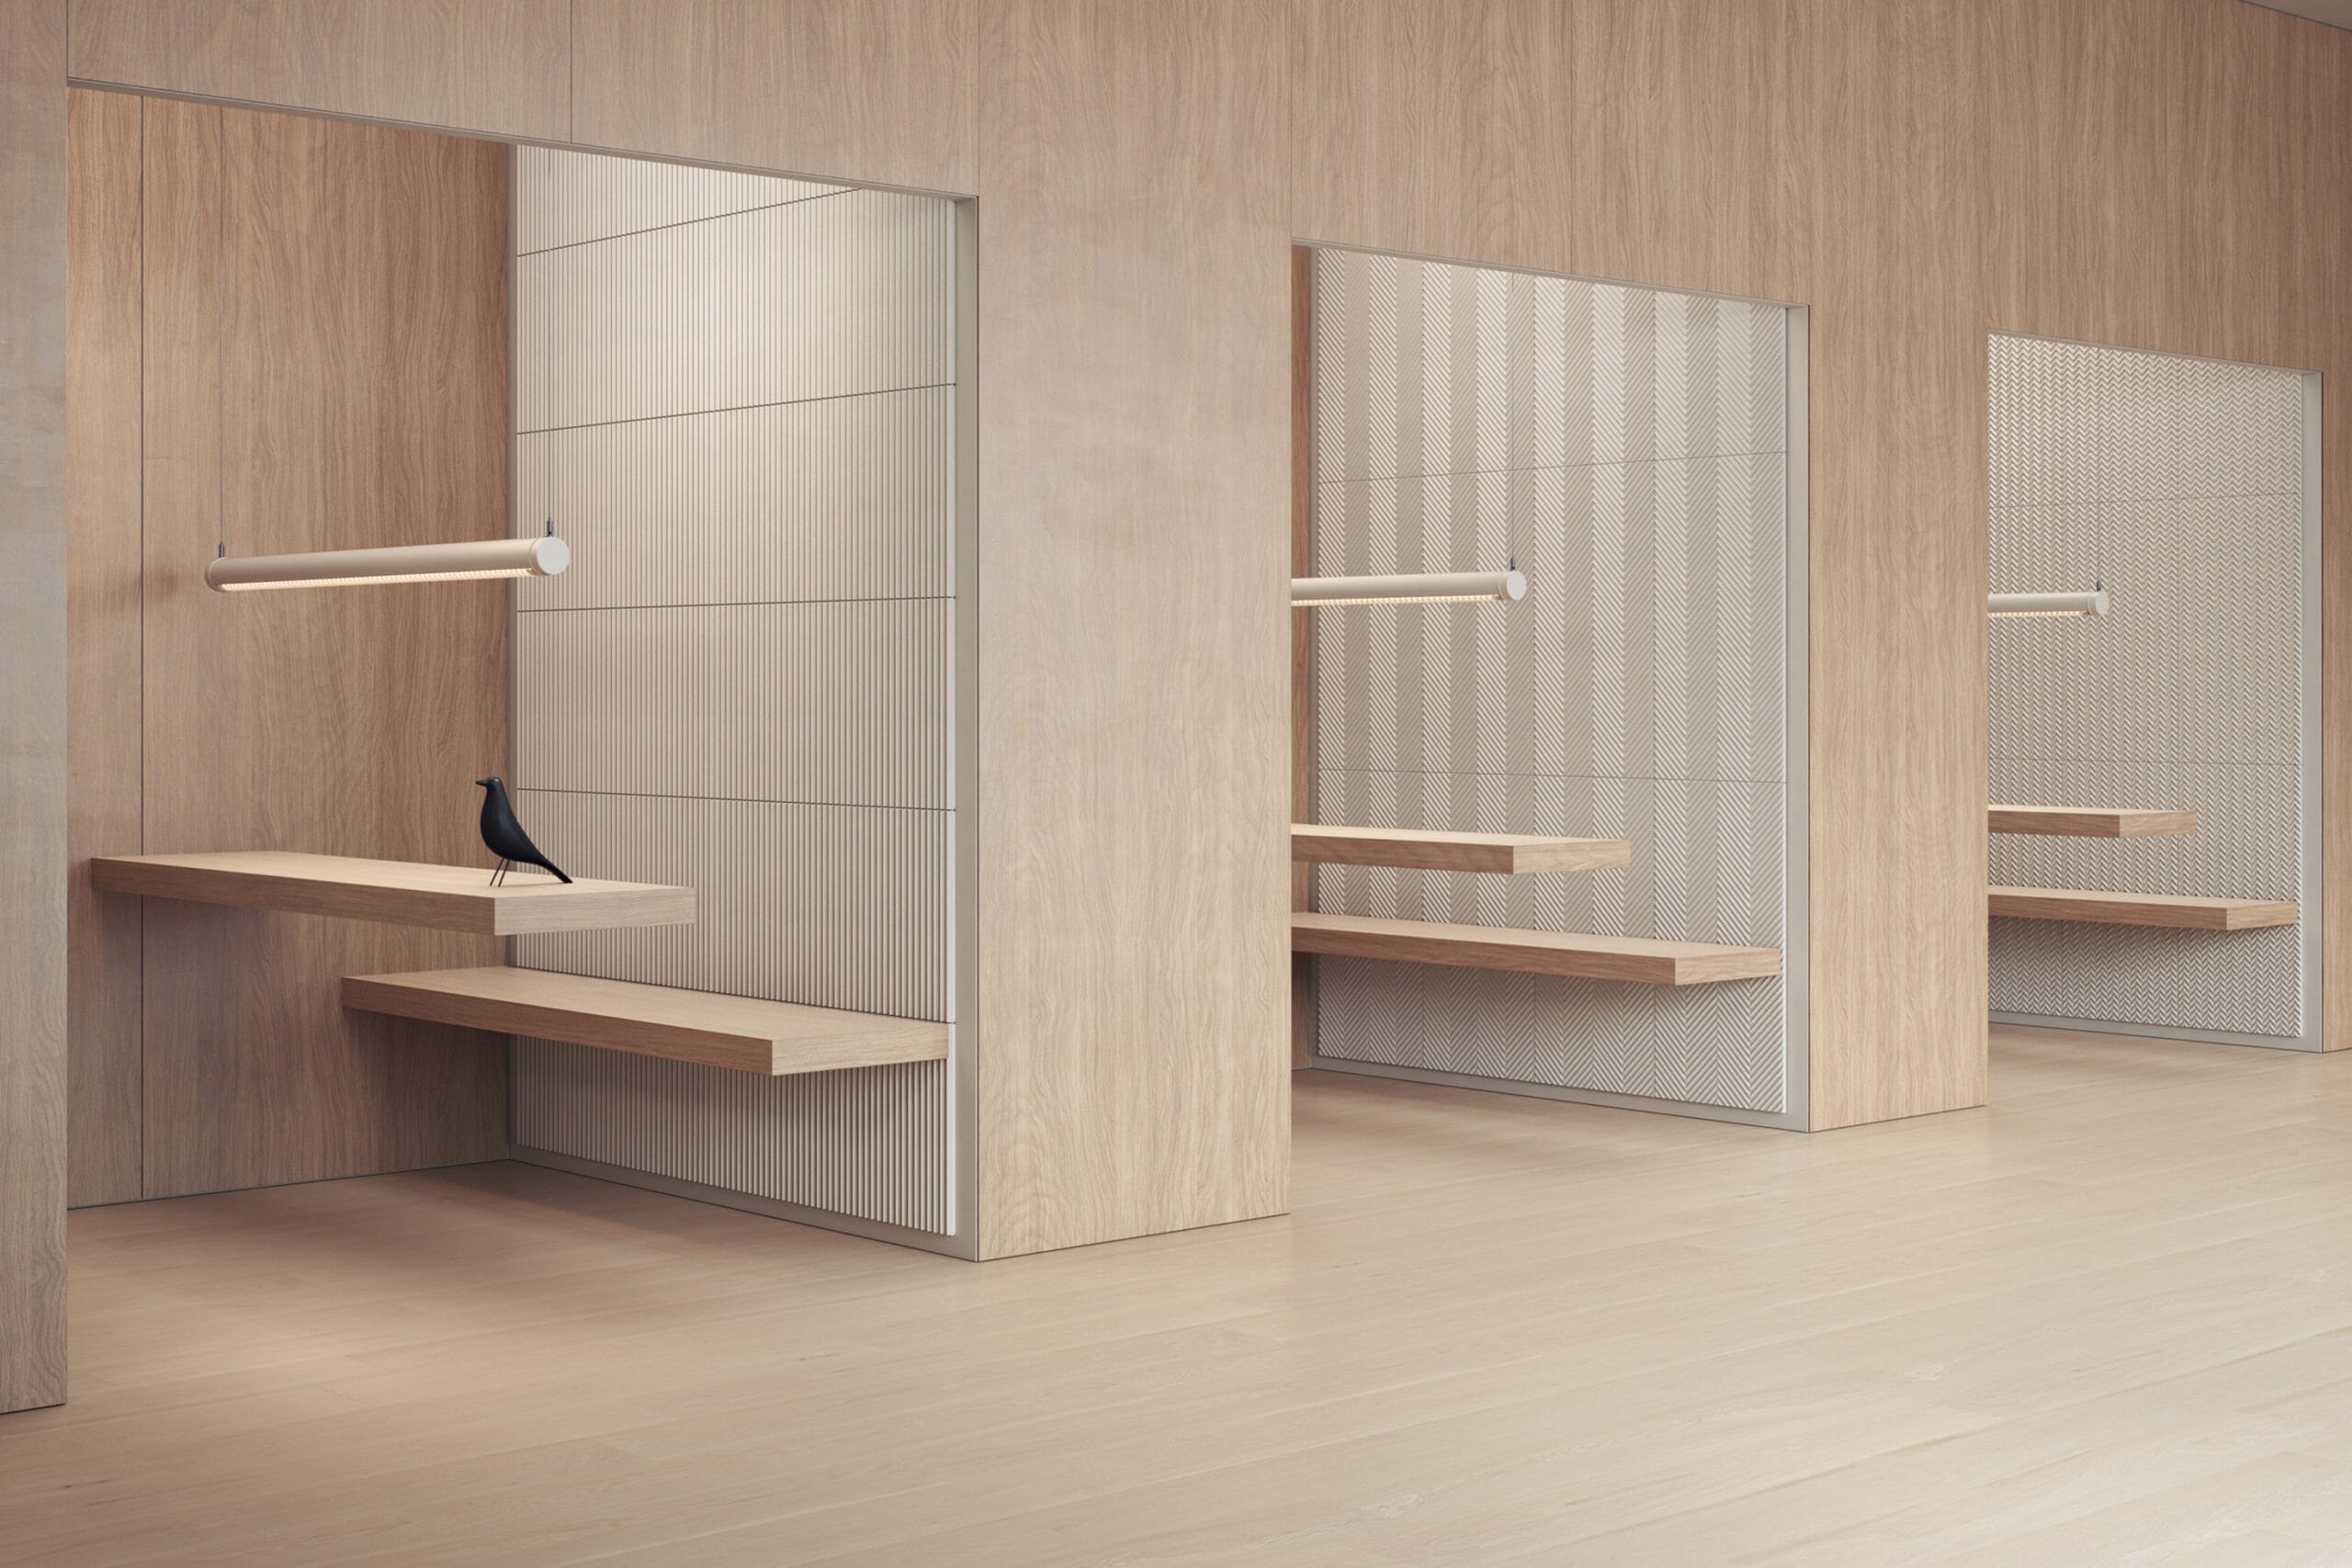
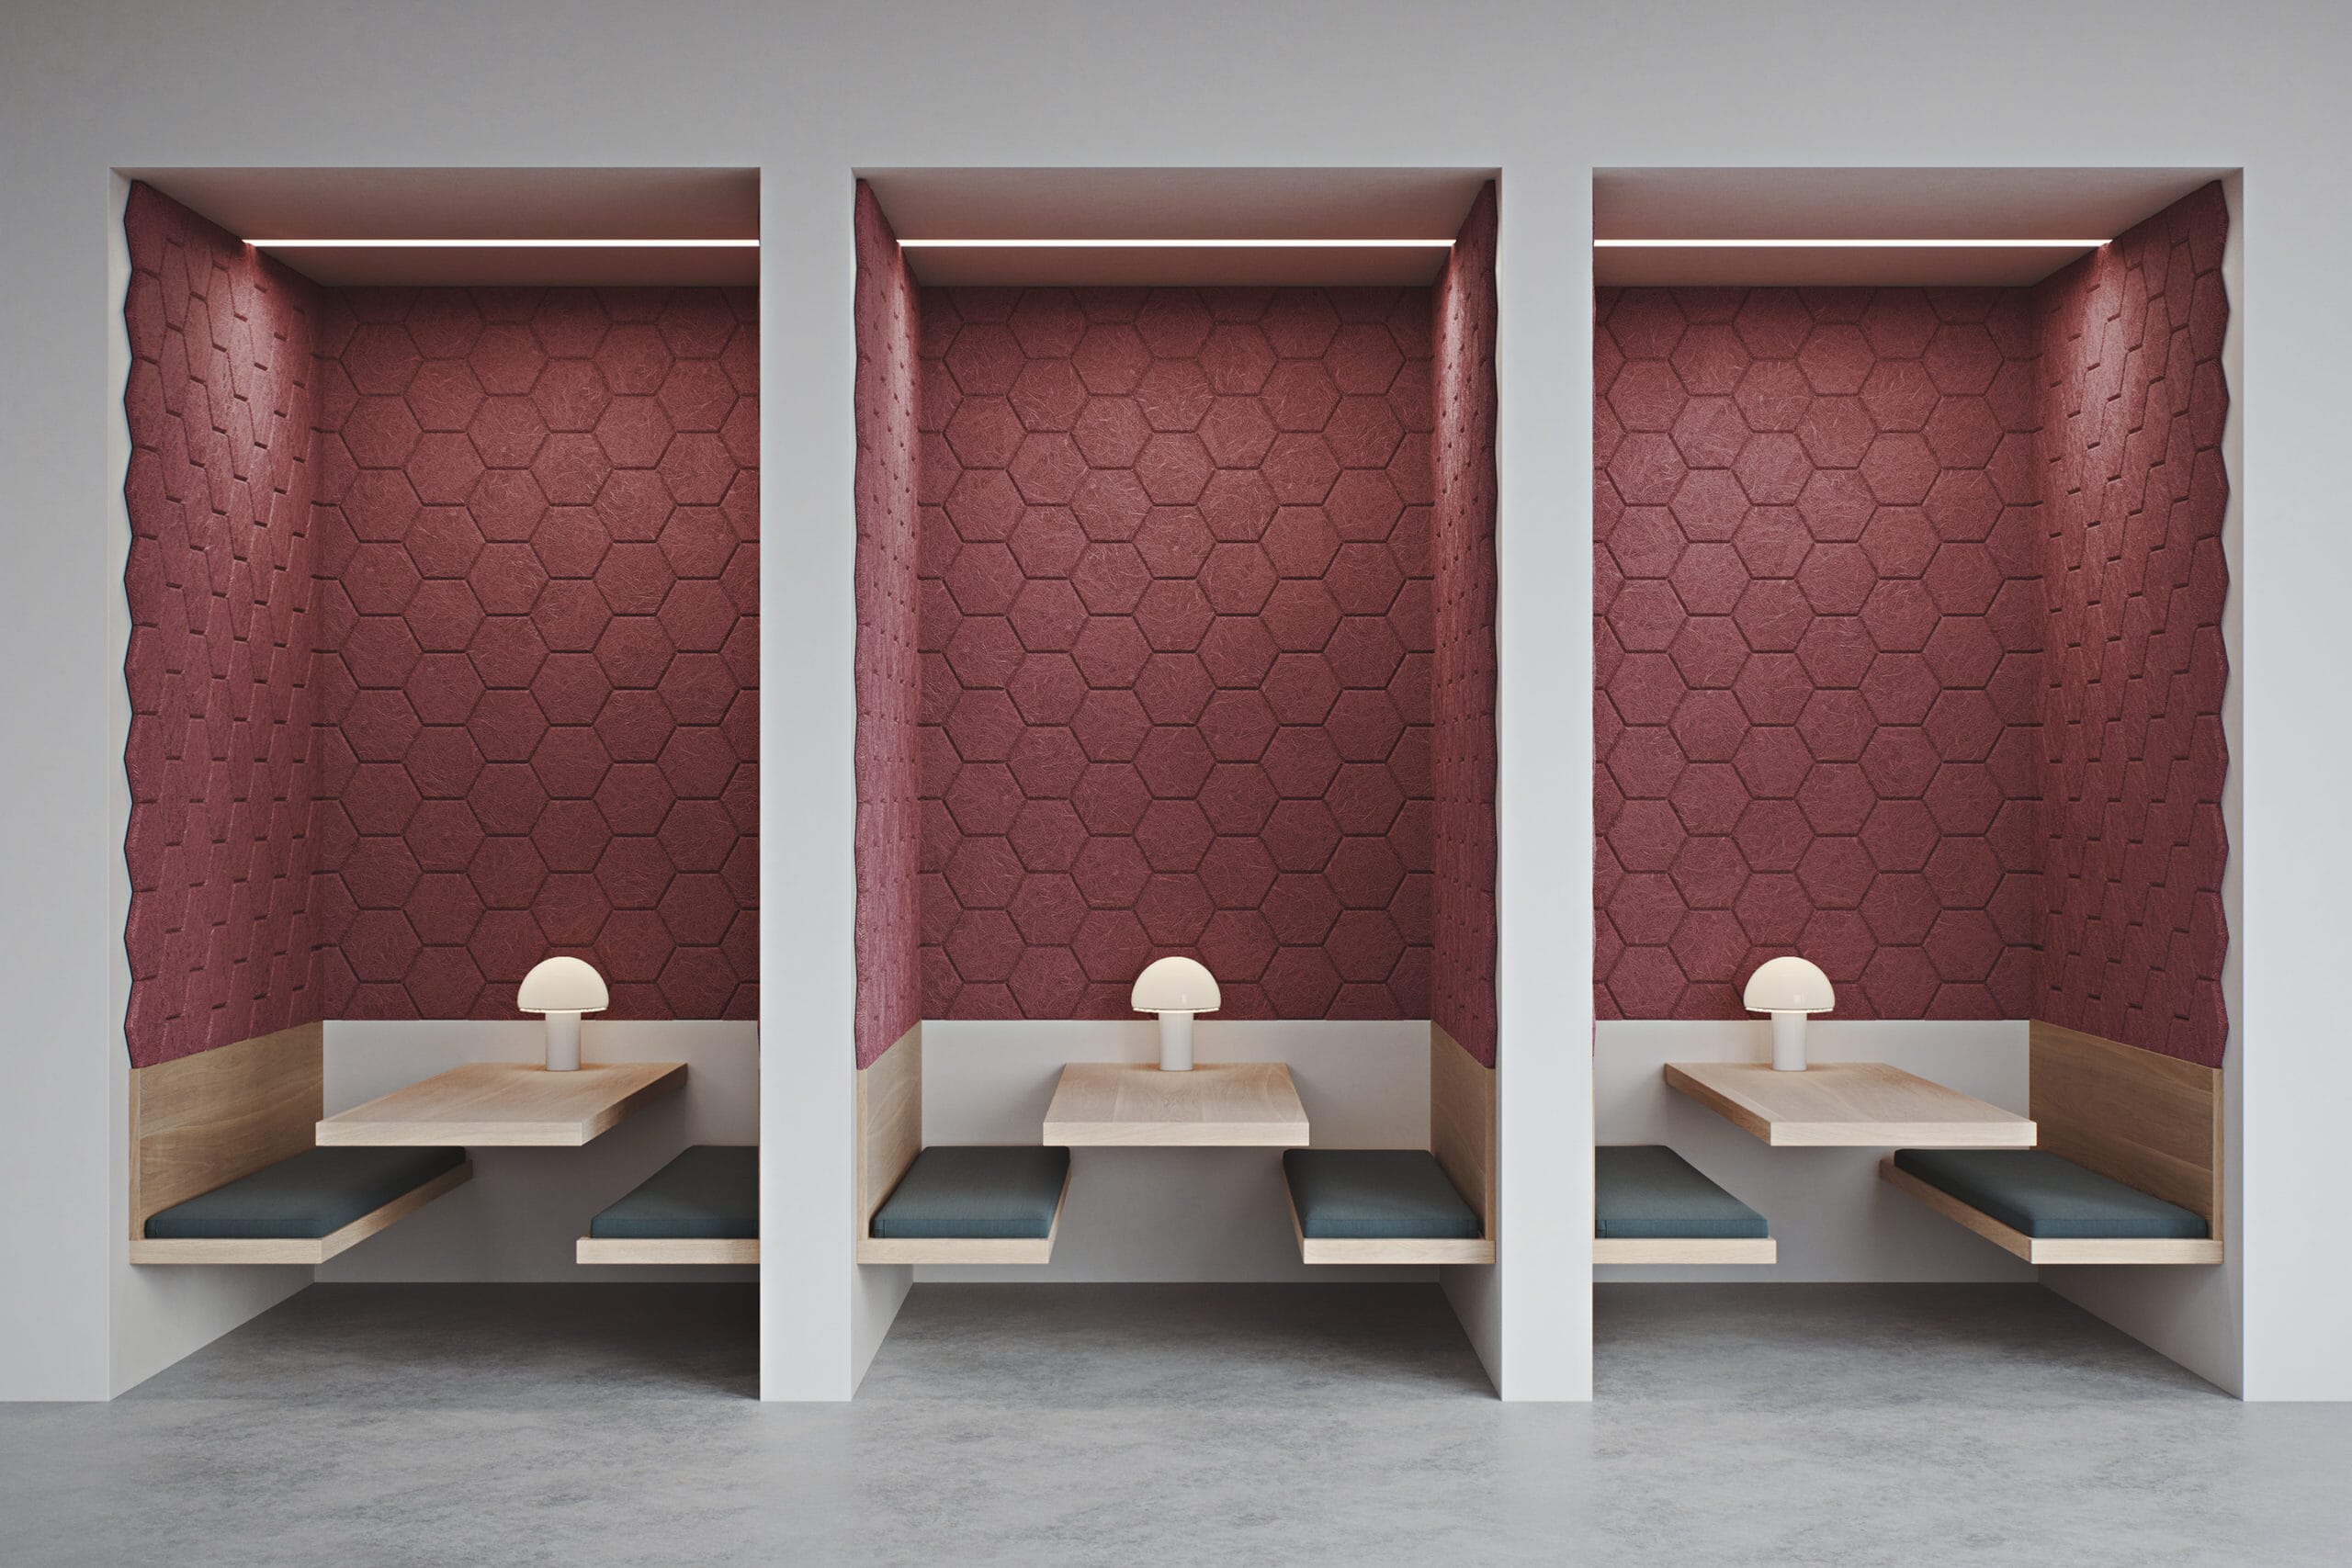
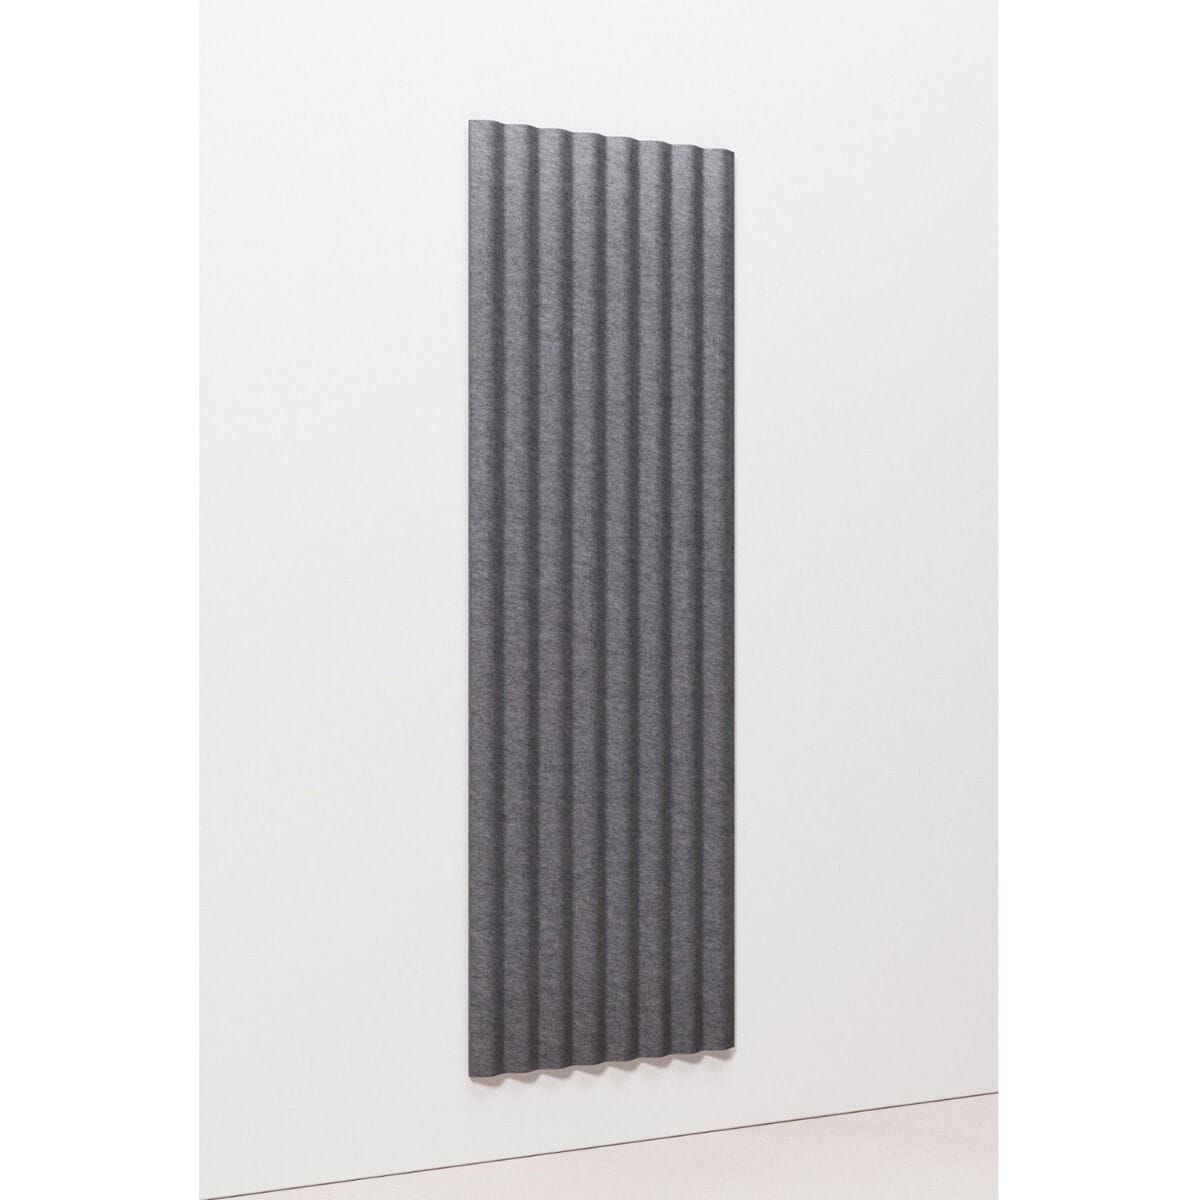
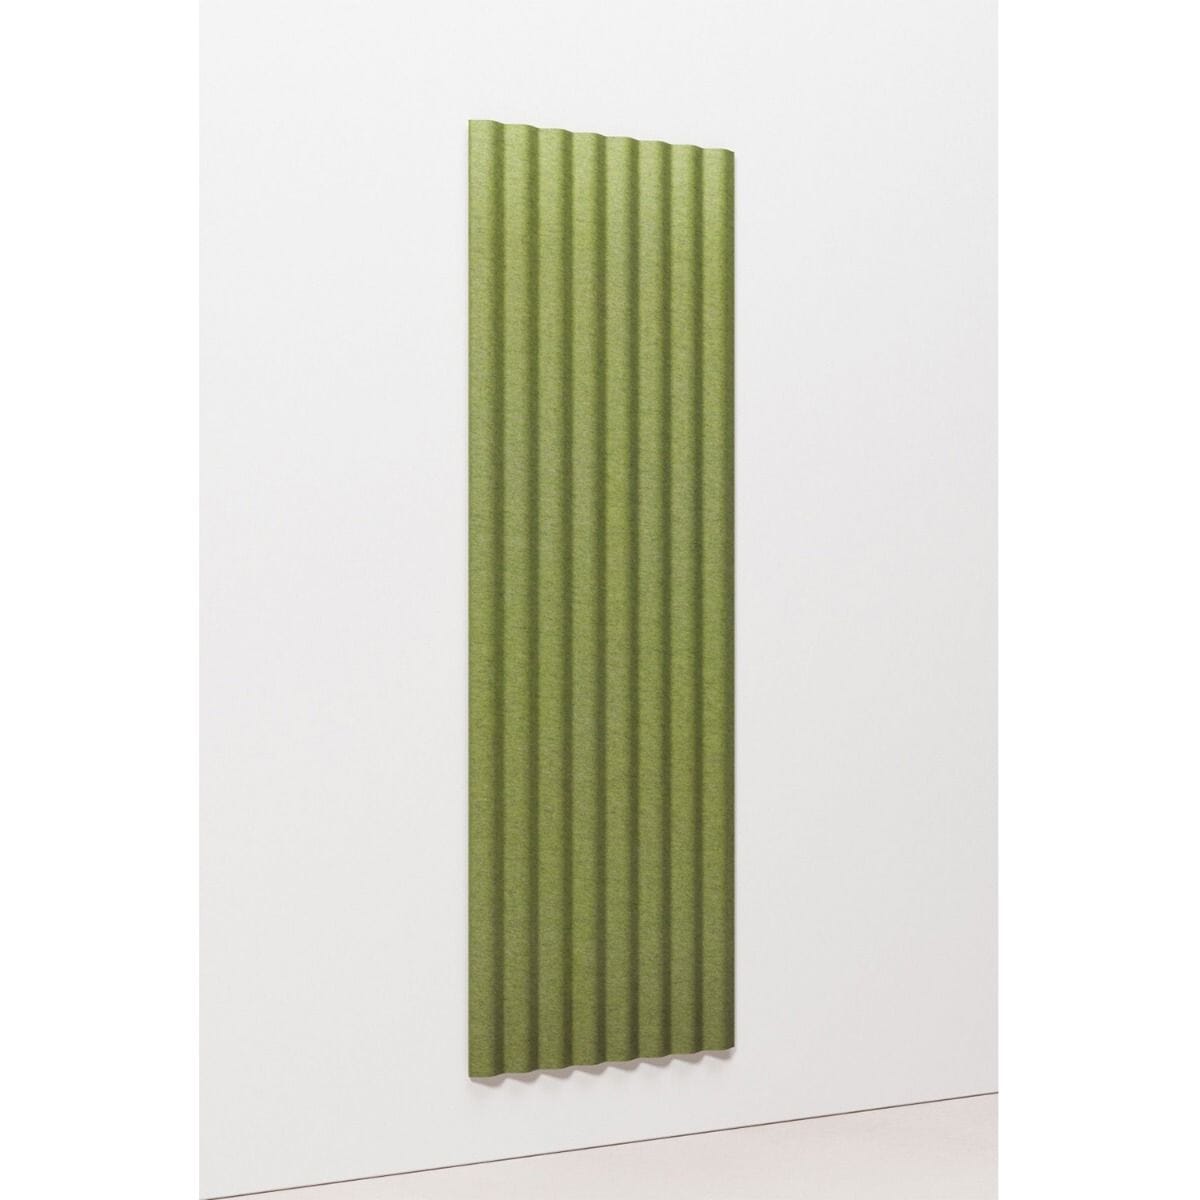
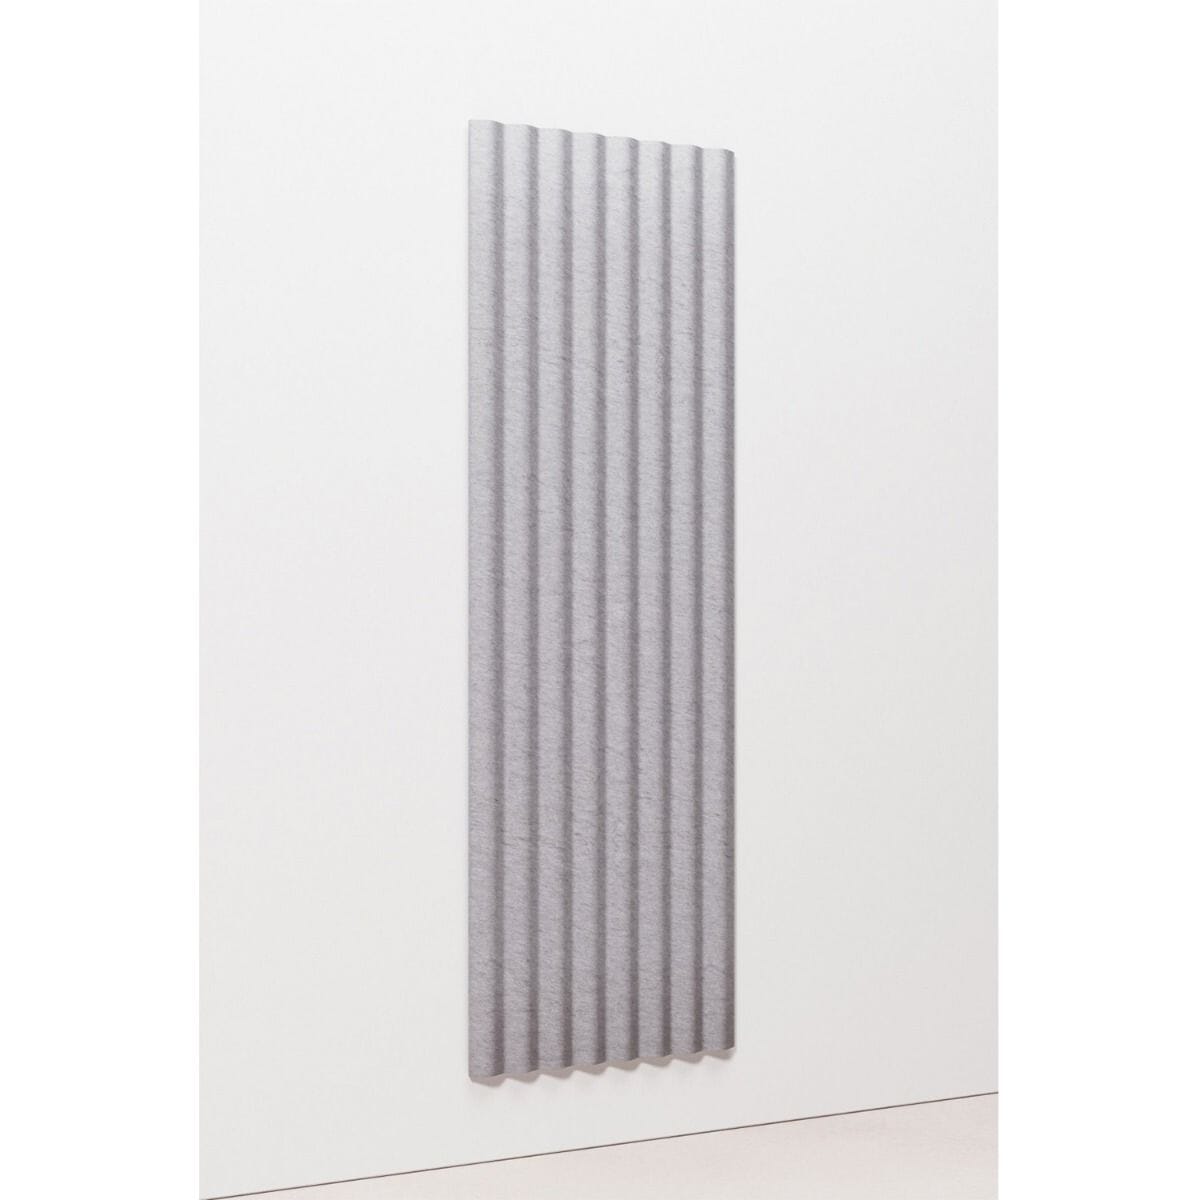
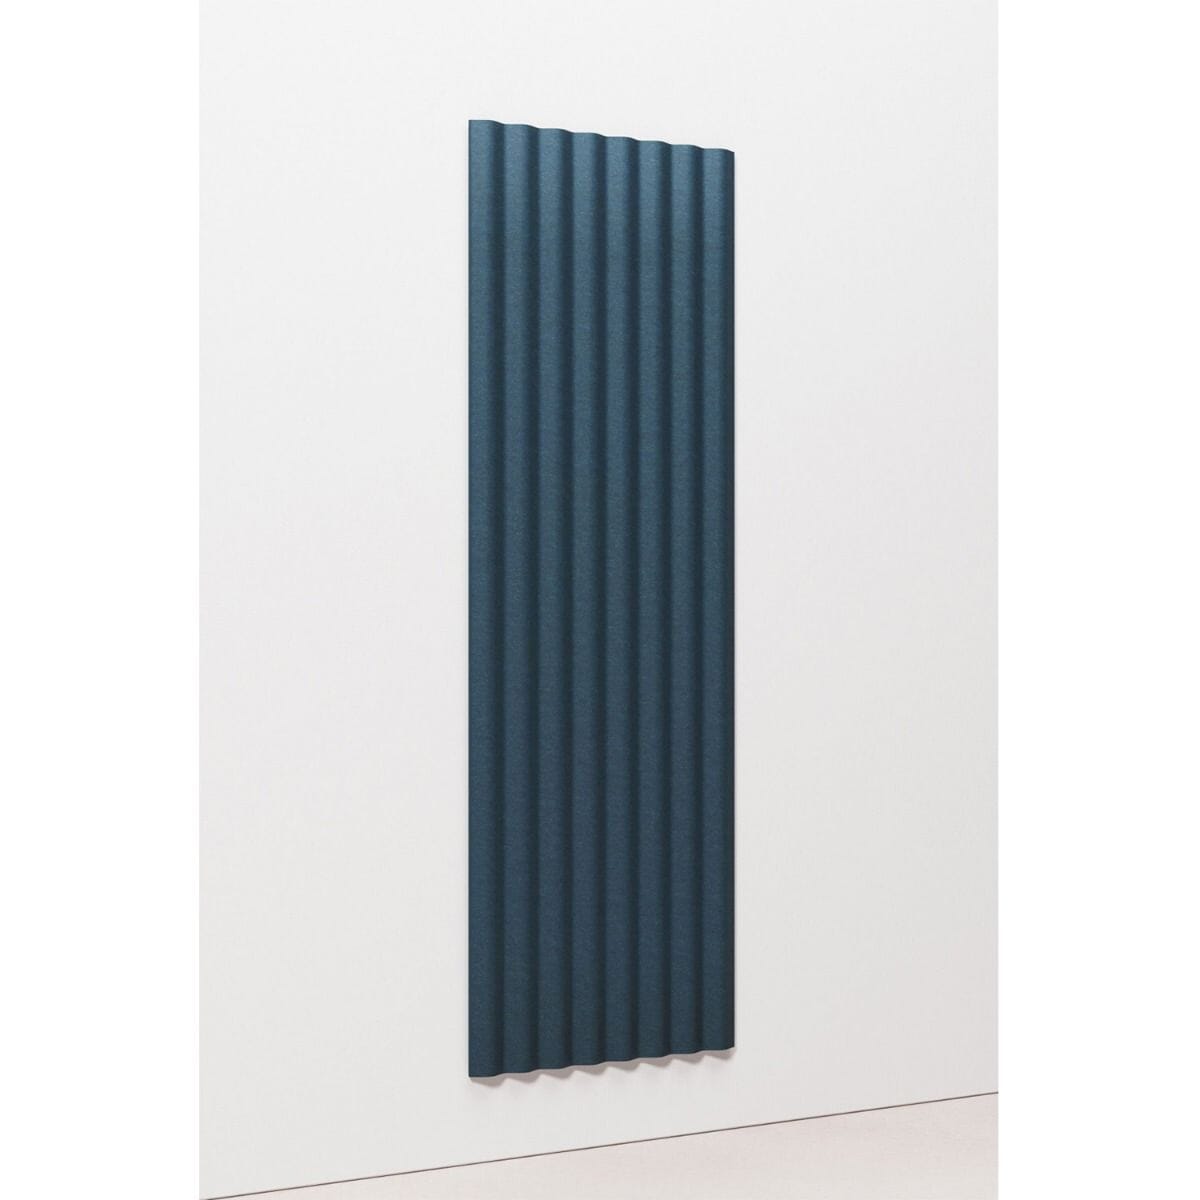
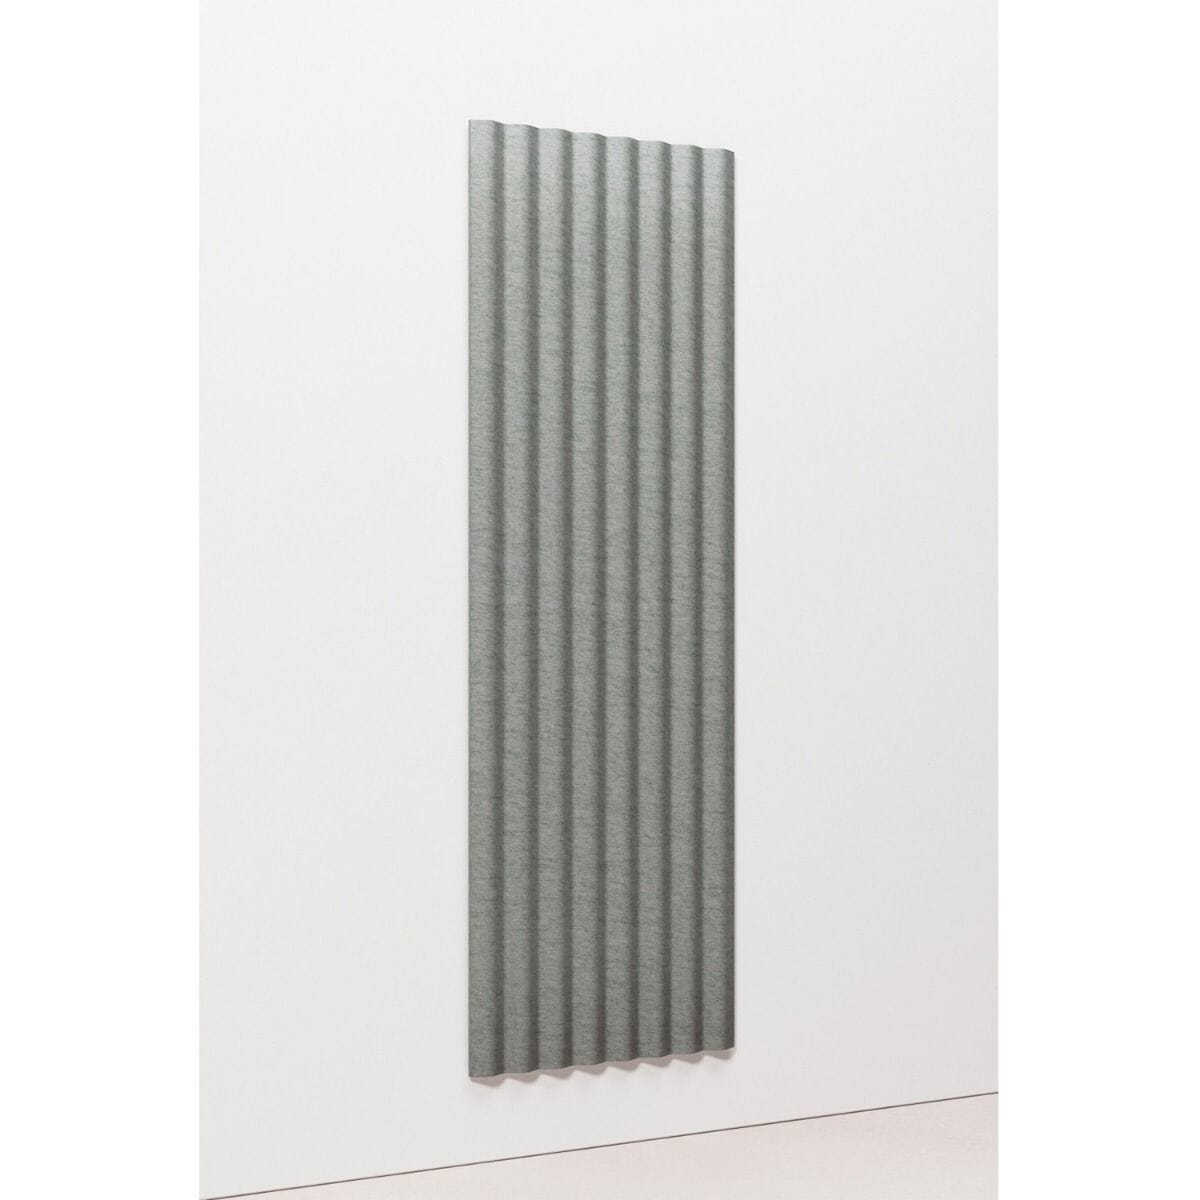
Strategically placed acoustic treatments, such as ceiling and wall panels, ensure every word, note, and sound effect is delivered with precision, creating a balanced and immersive experience.
Need expert acoustic advice?
Call us on 020 7858 1030 or request a quote below—we’ll contact you.
Request a Quote
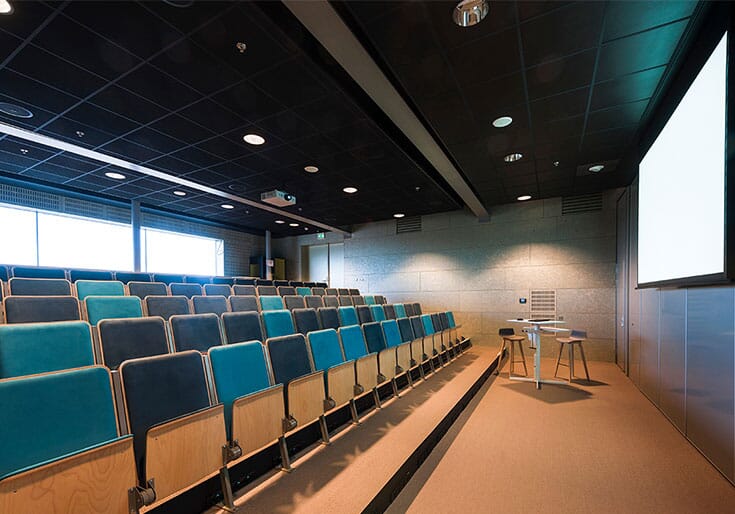
Our work in Auditoriums & Theatre
View more case studies


From start to finish we handle everything

Consultation
Our acoustic consultants assess your space on-site (or remotely) and provide a detailed proposal. Every consultation includes acoustic design recommendations, product specifications, and reverberation analysis to ensure measurable improvements.
Assessment
We don’t just identify noise issues — we provide solutions that are cost-effective, design-conscious, and performance-led. Whether reducing echo, improving clarity, or addressing speech privacy, our expert guidance ensures the right acoustic fit for your space.

Design & Planning
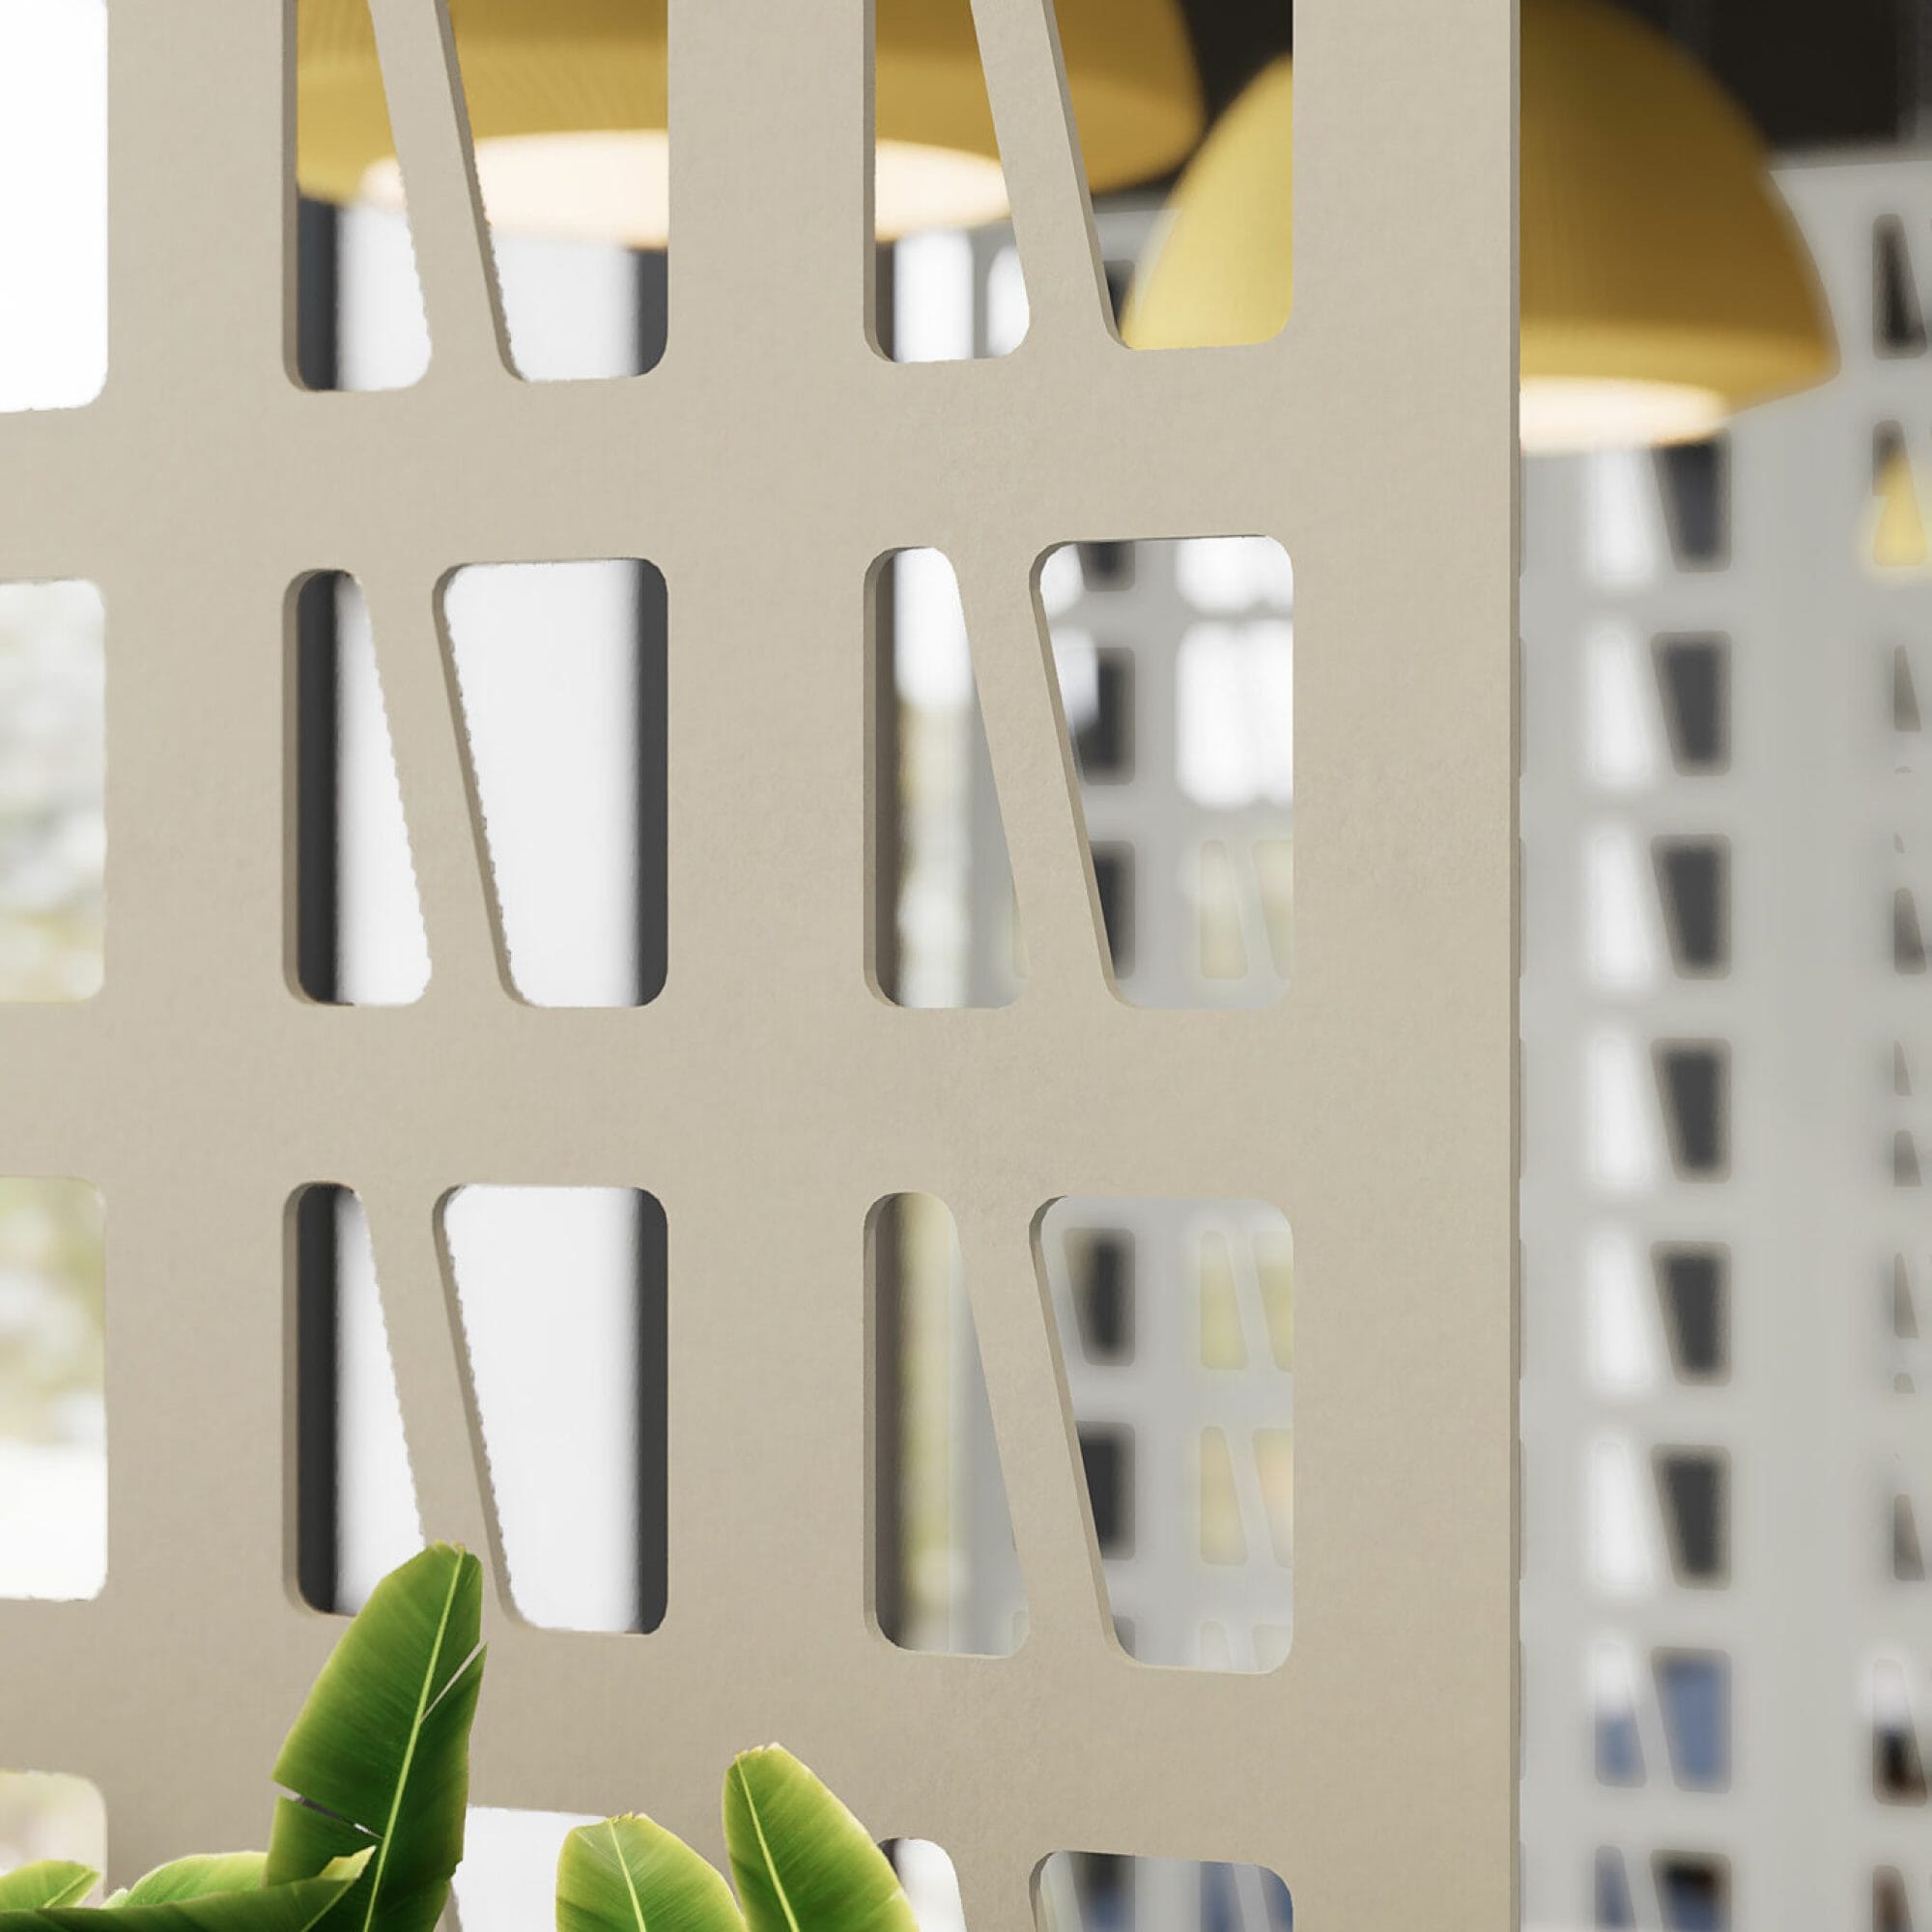
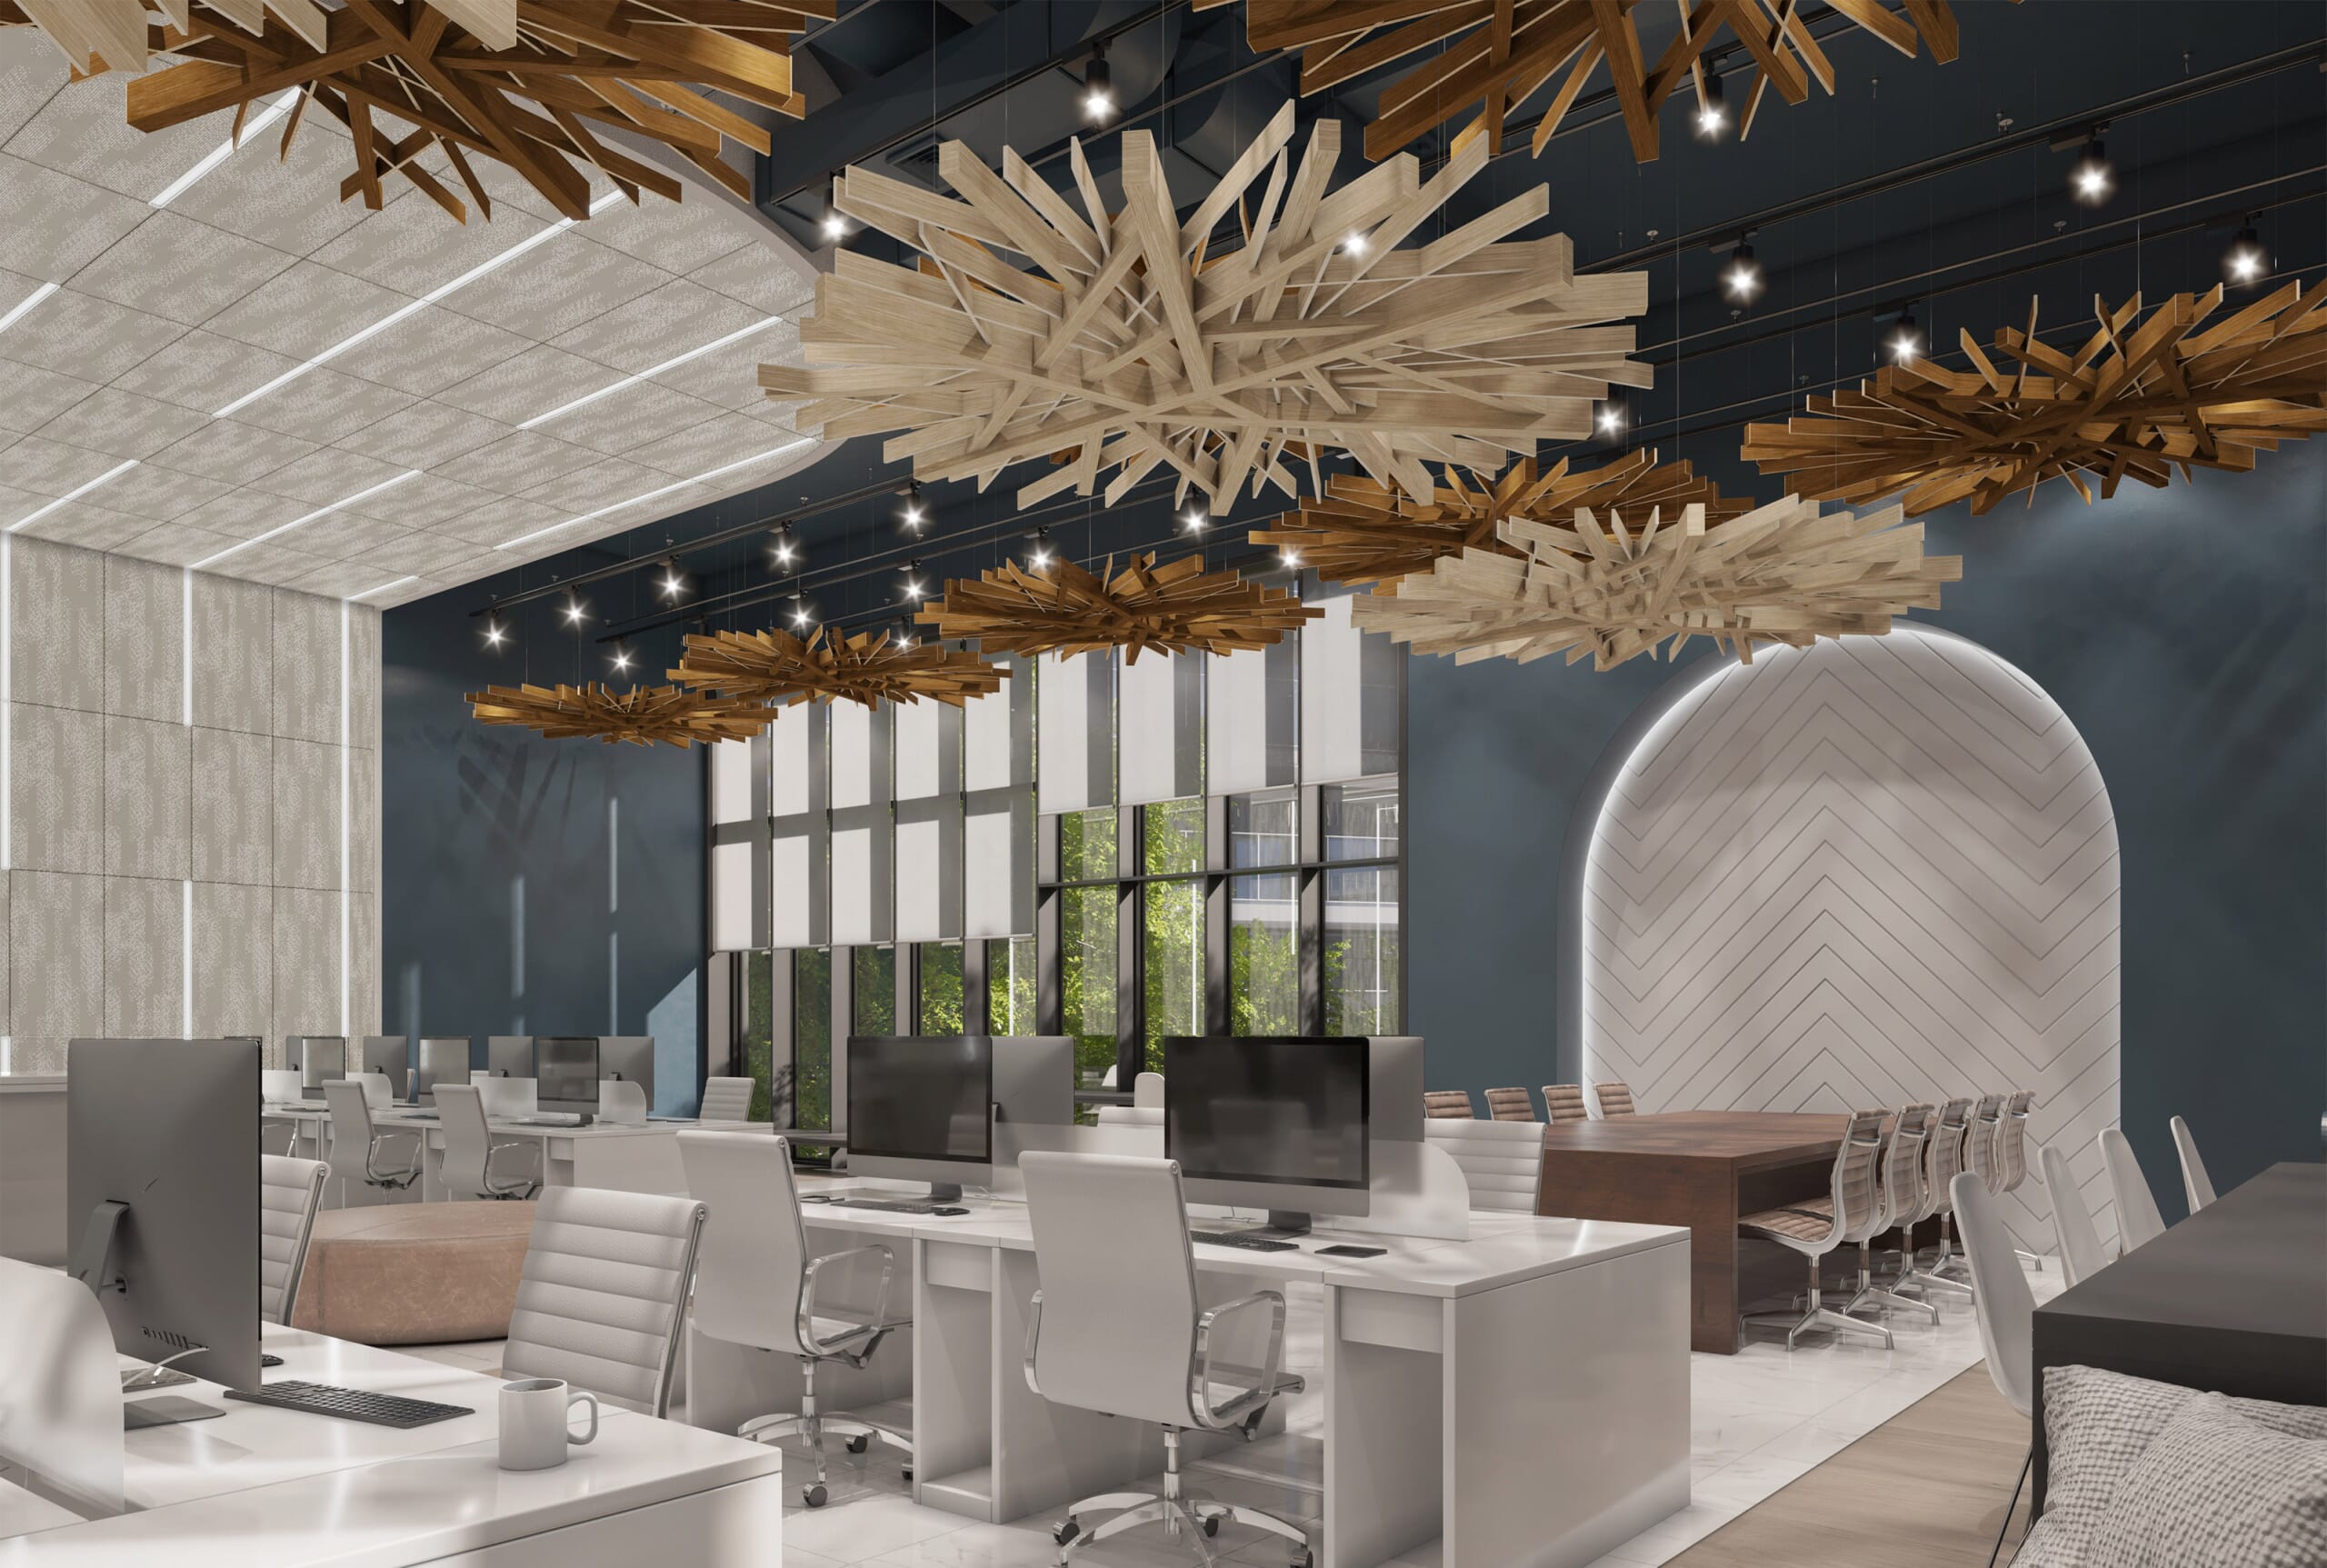
Every project includes a tailored acoustic design with a free CAD proposal, showing product placement, specifications, and performance ratings. Our designs can blend seamlessly into interiors or become bold architectural features — always balancing form with function.
Supply & Installation
With over 5,000 projects completed nationwide, our in-house installation teams handle even the most complex acoustic projects. We work to strict health and safety standards, with IPAF-certified specialists, SSSTS/SMSTS-trained supervisors, and all installers CSCS accredited.
FAQs & tips for selecting the right acoustic products
Absolutely. We design tailored absorption, diffusion, and bass control systems that enhance clarity, improve surround sound, and reduce noise escaping to other rooms.
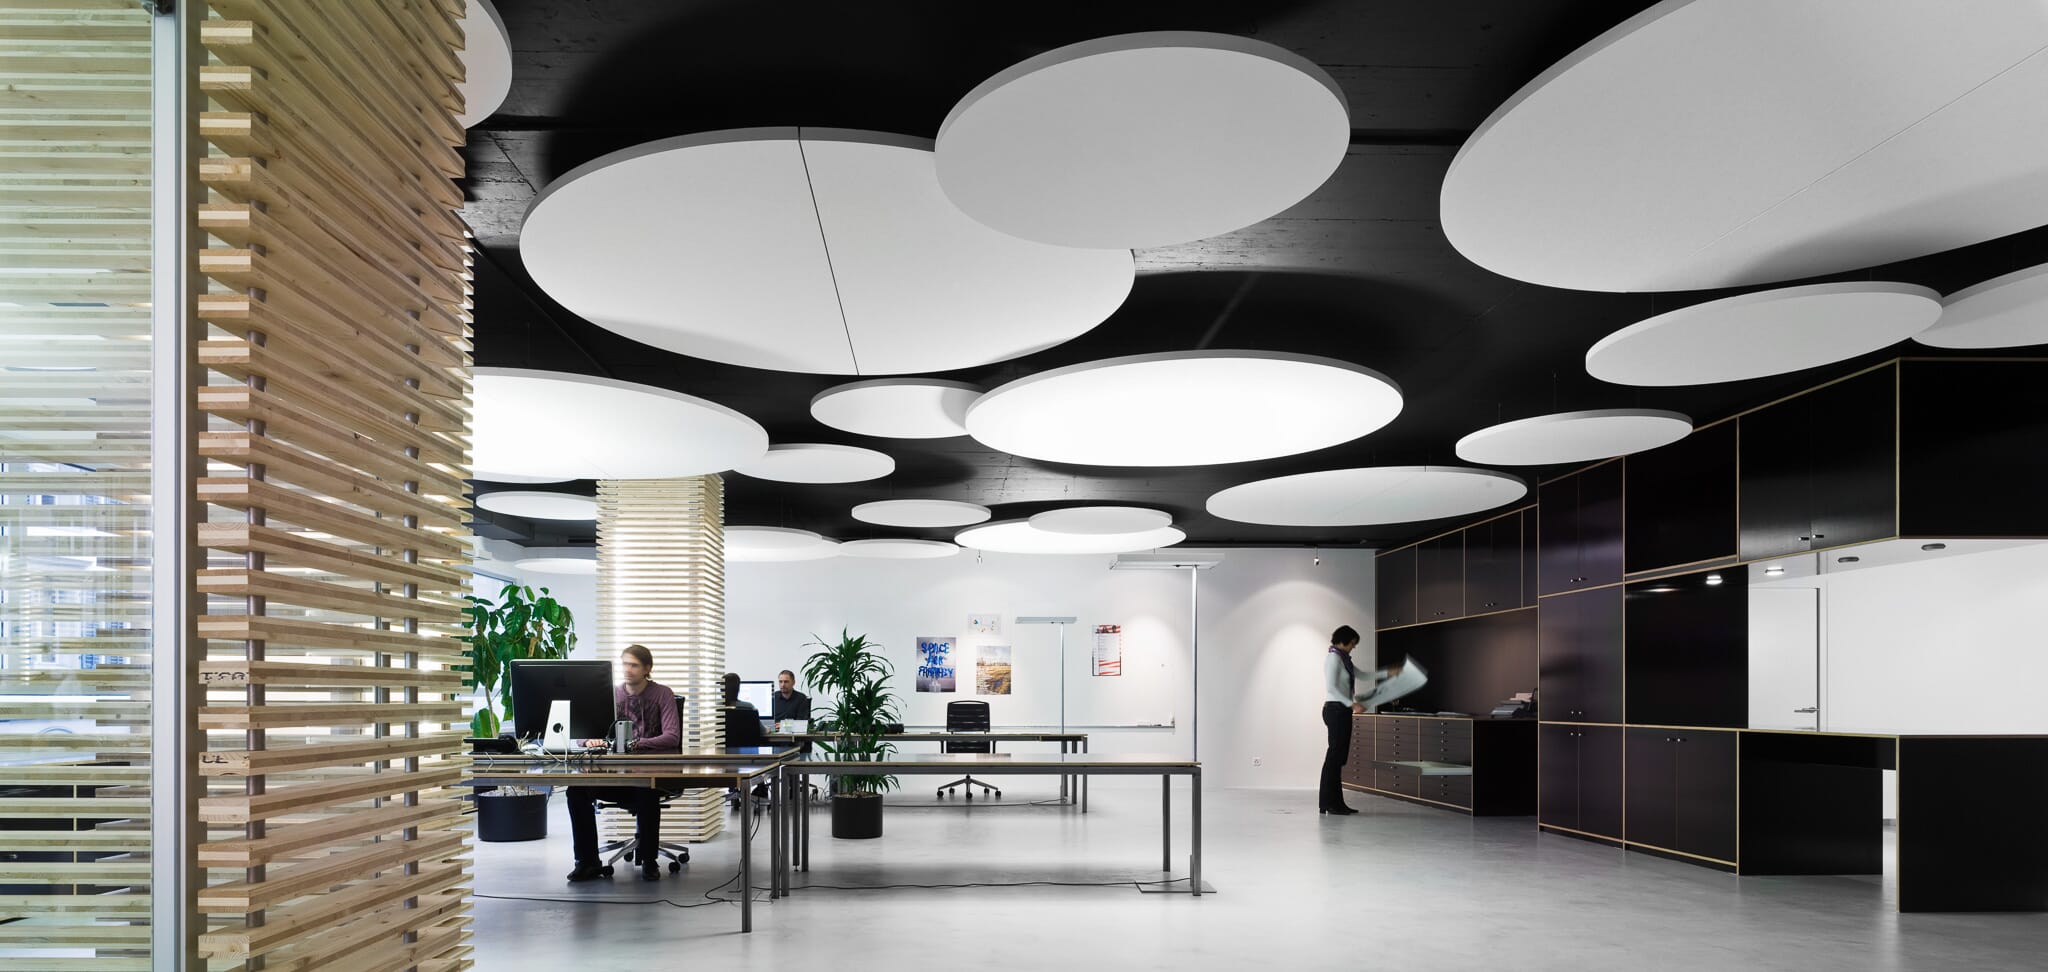
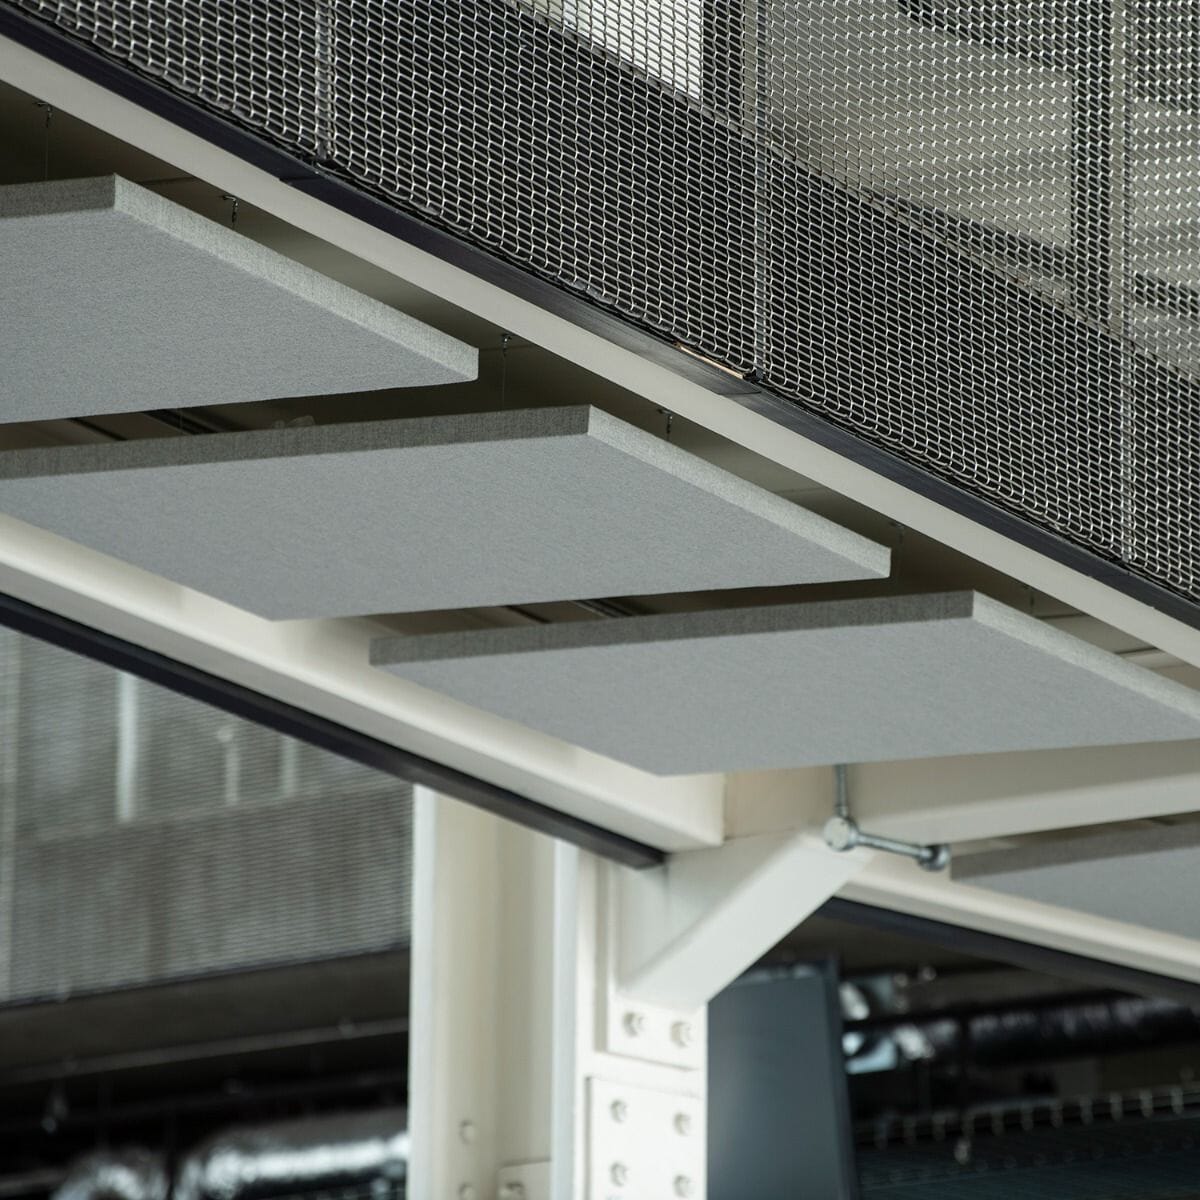
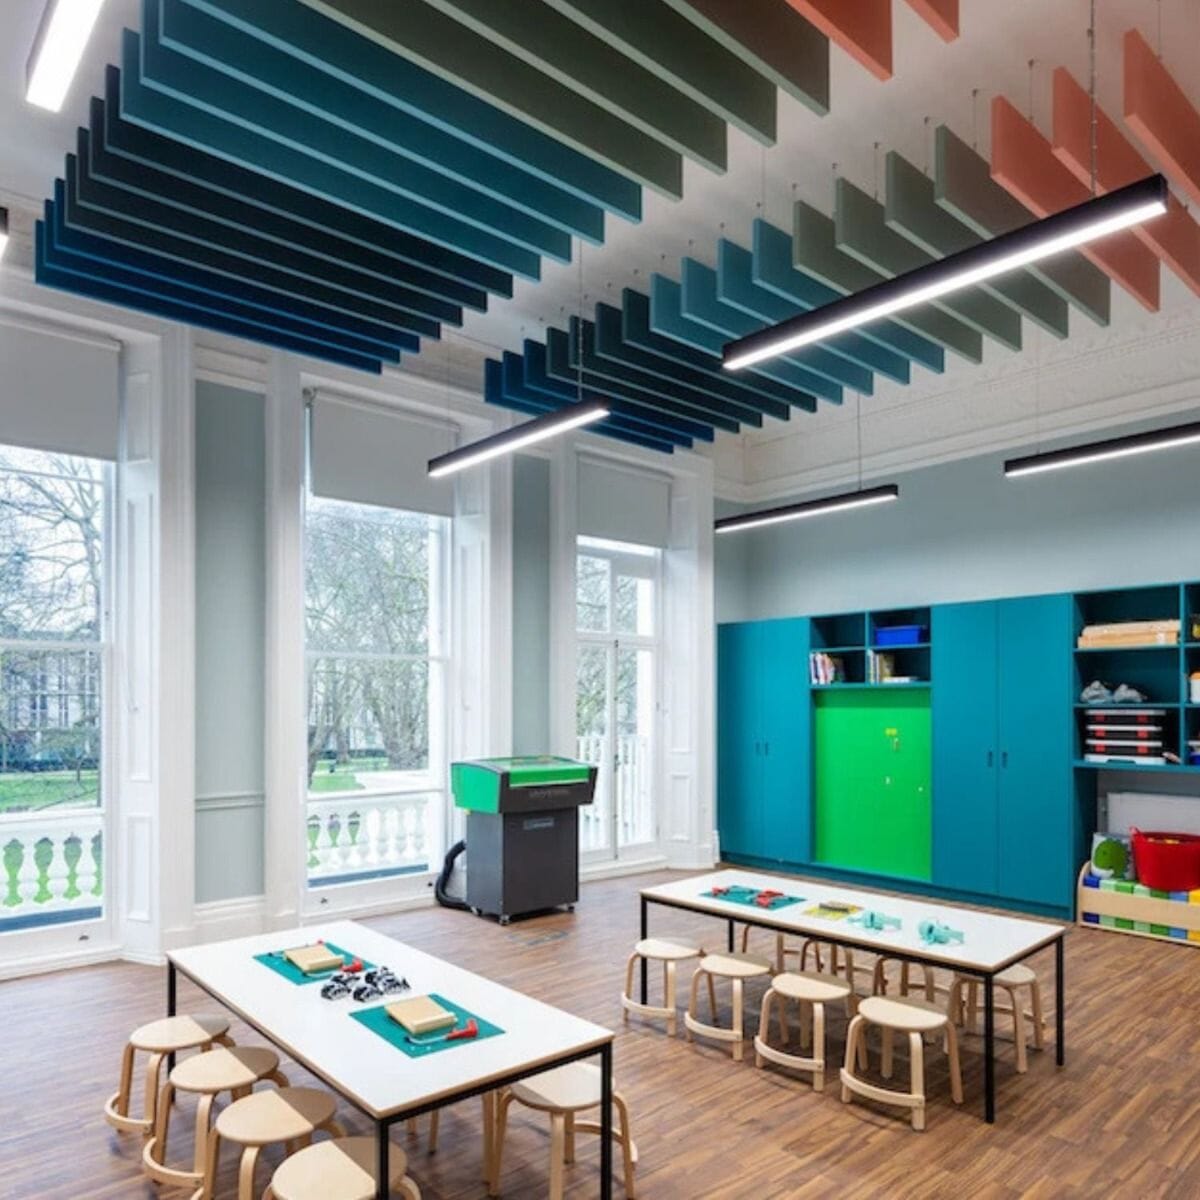
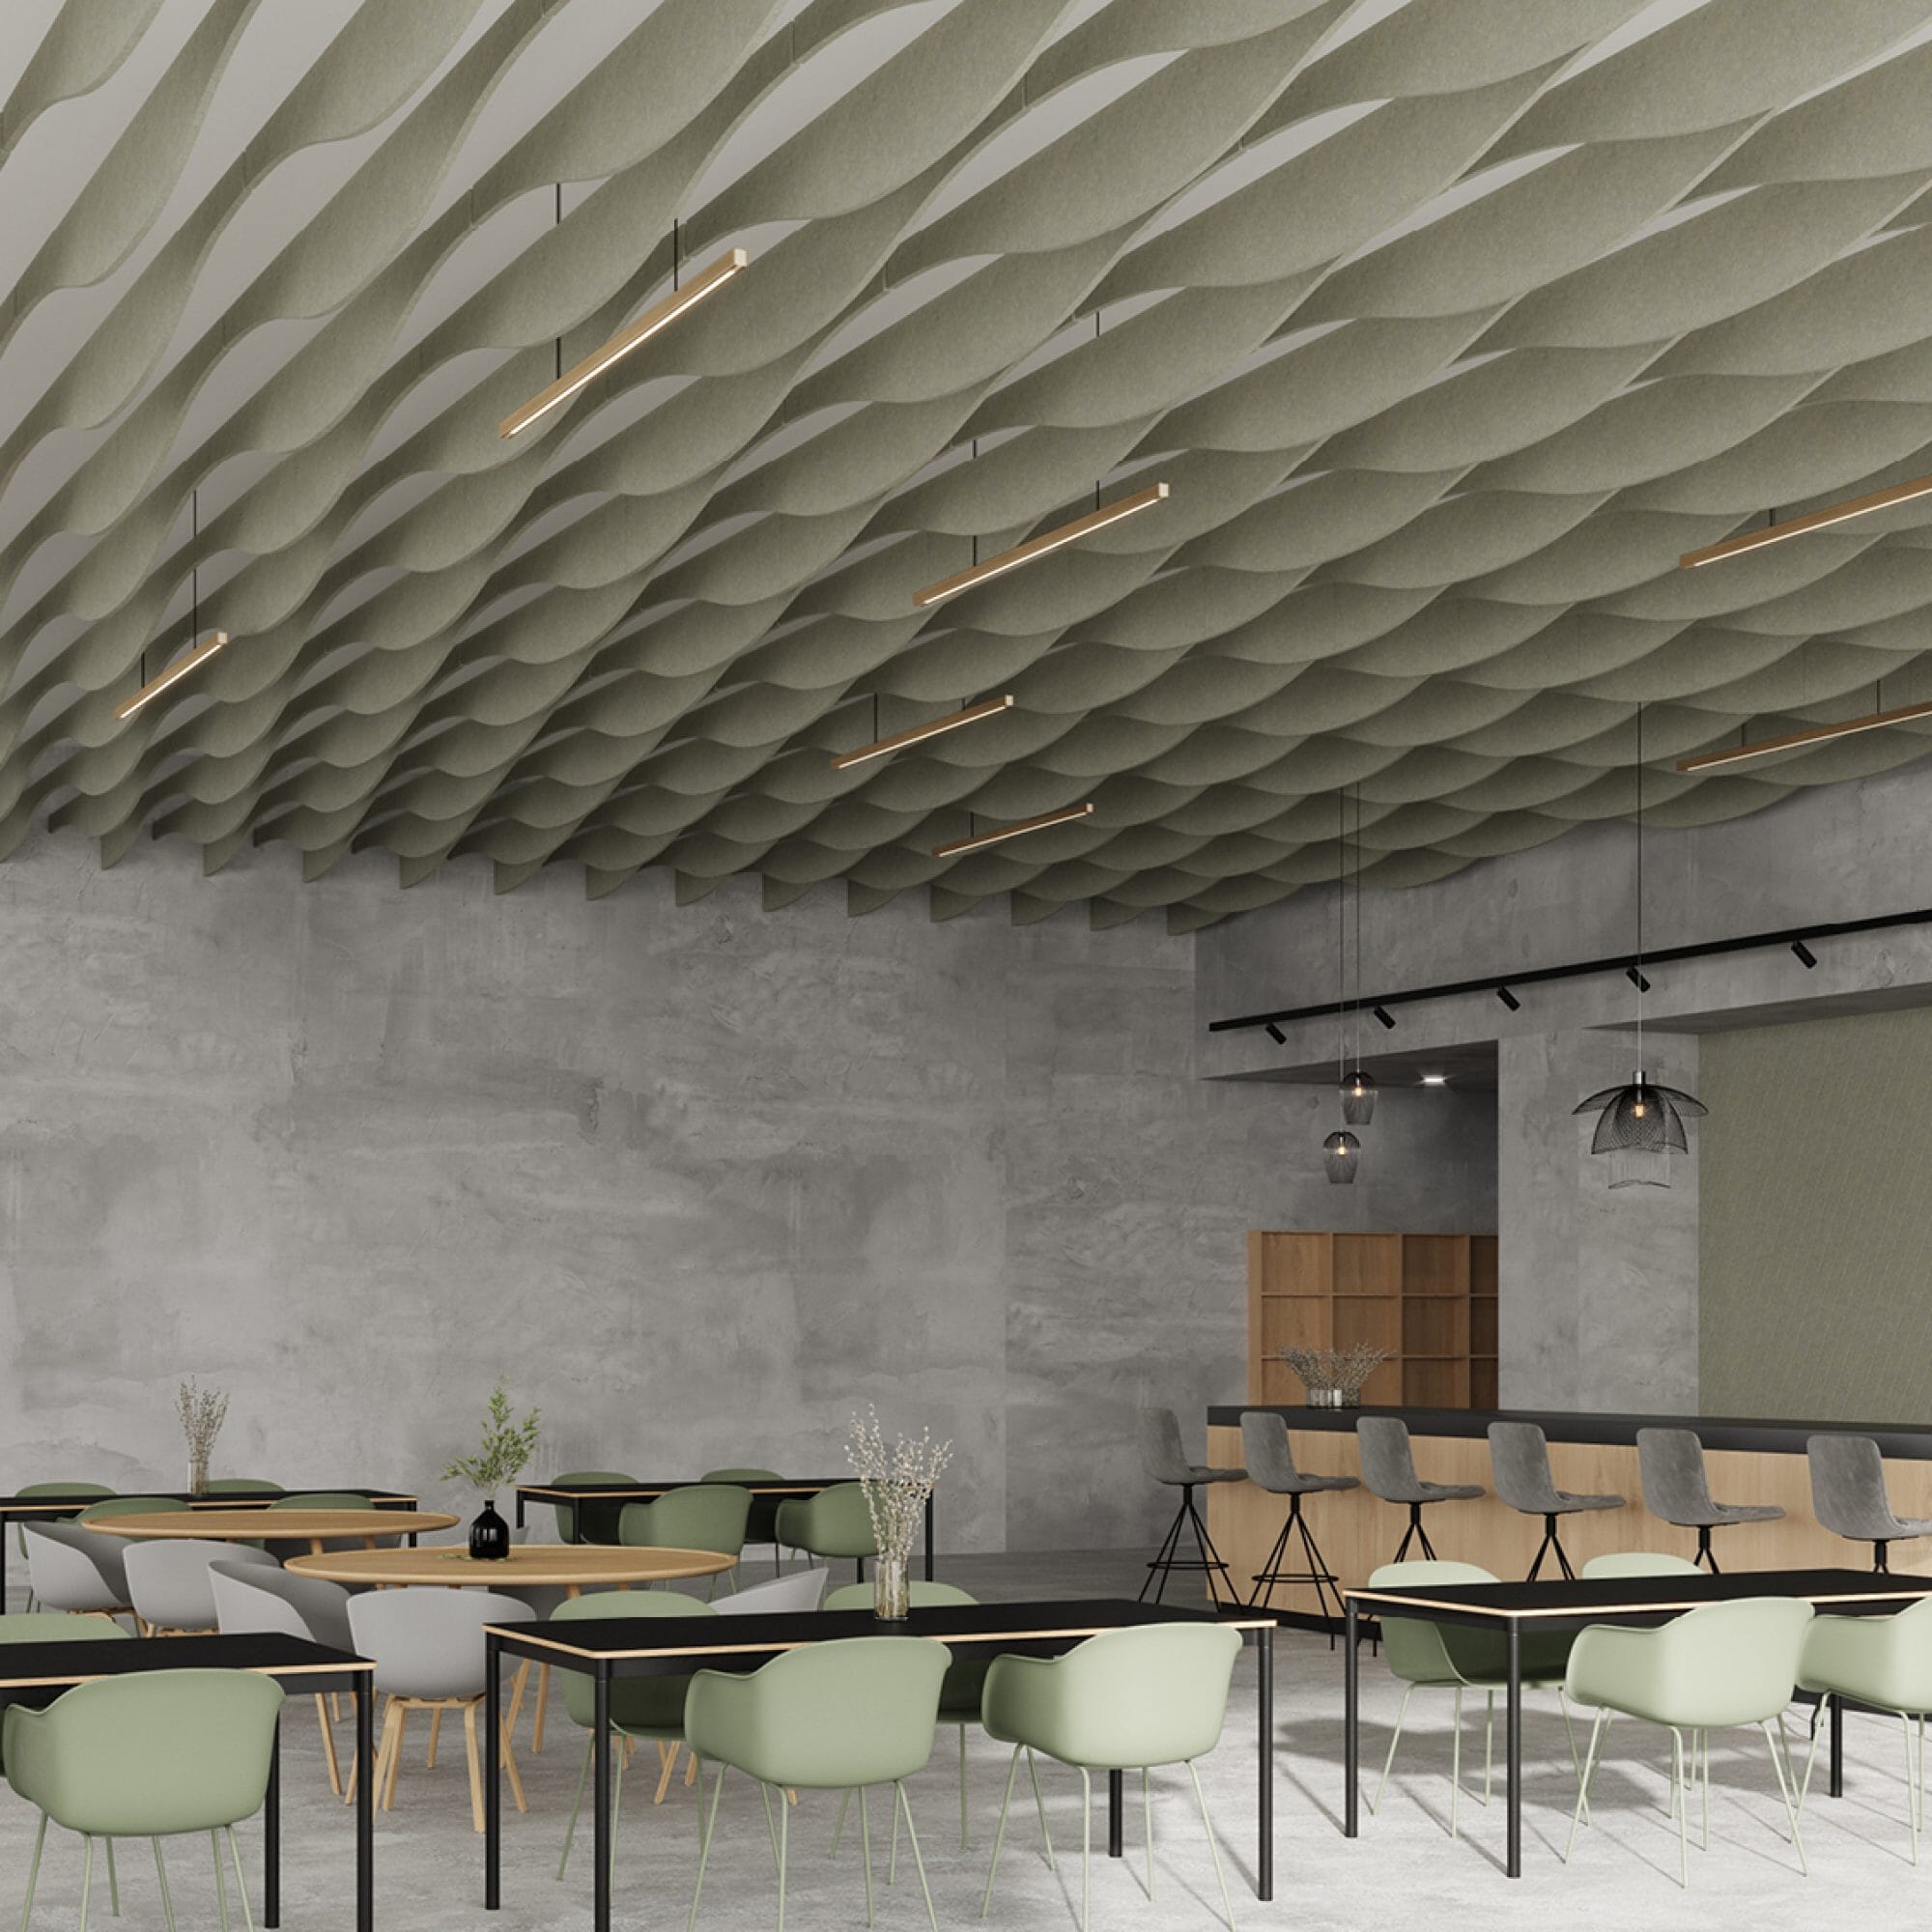
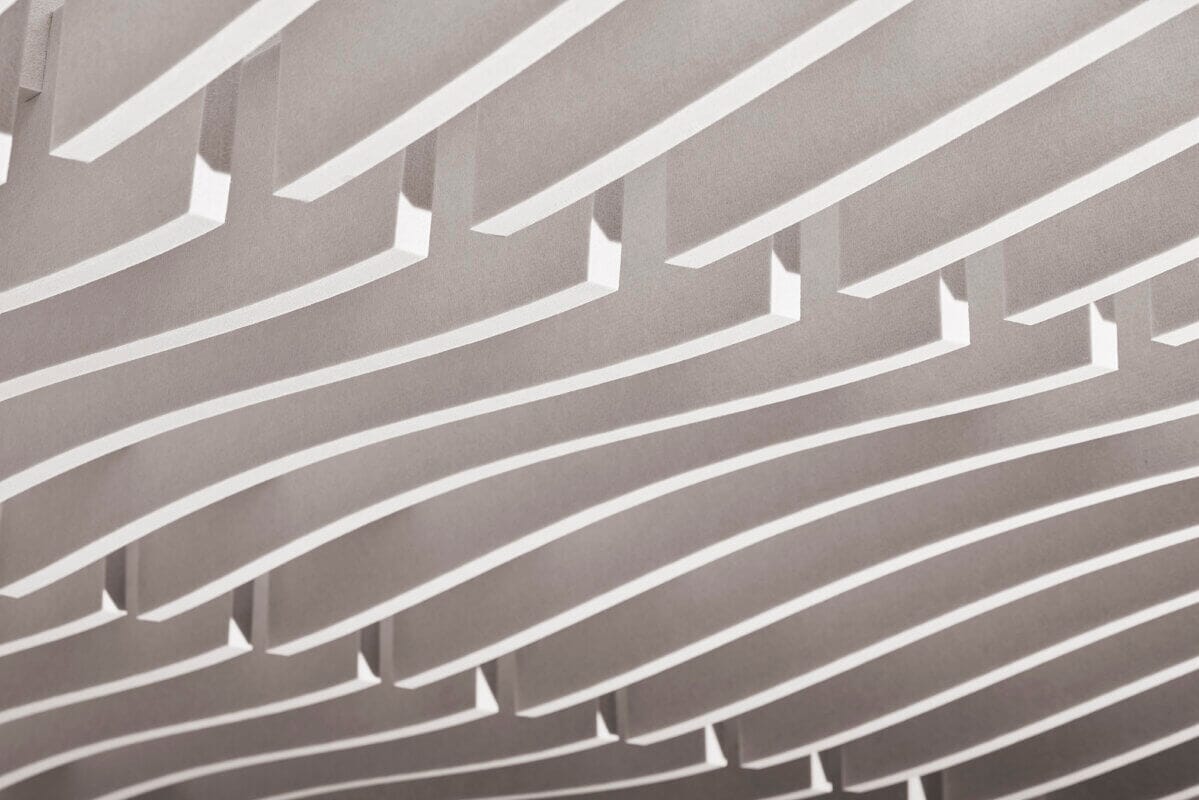
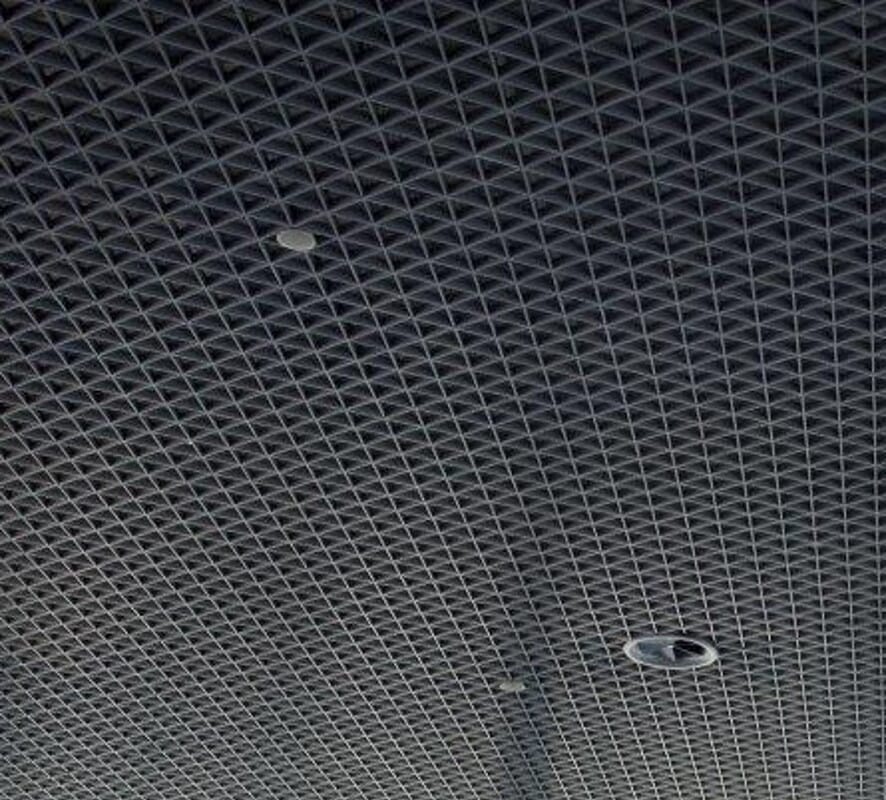
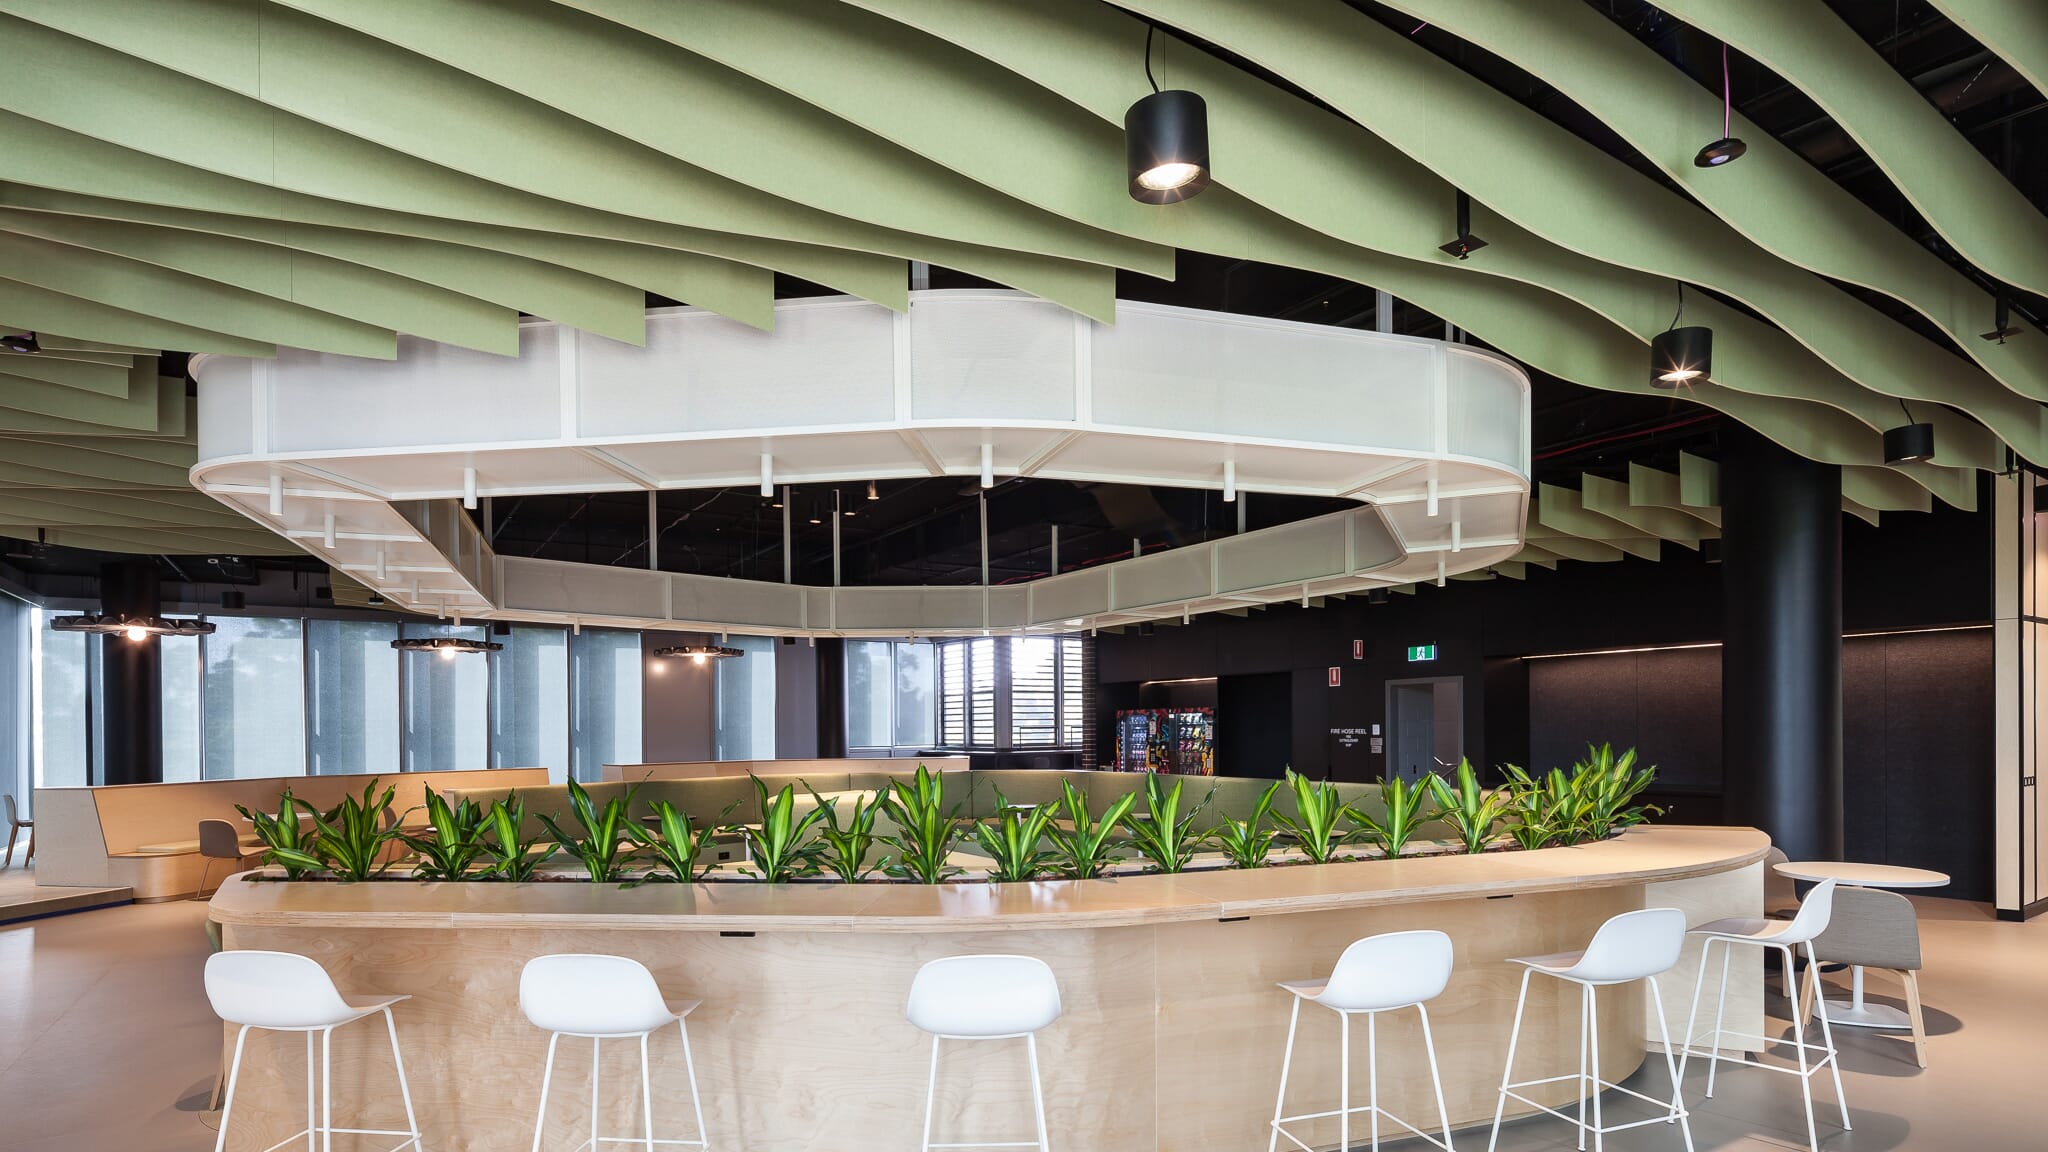
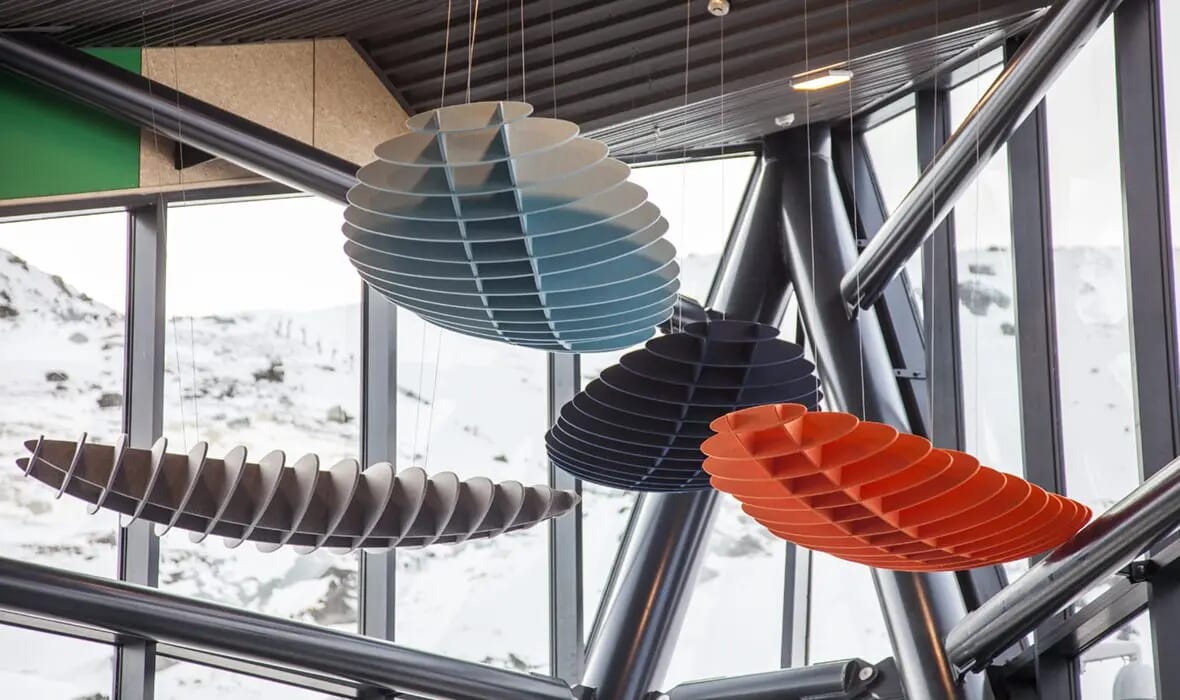
When properly designed, Ceiling rafts and baffles are suspended to allow airflow, lighting, and sprinklers to function normally. We always liaise with M&E (mechanical & electrical) consultants during design to ensure compliance with building systems.
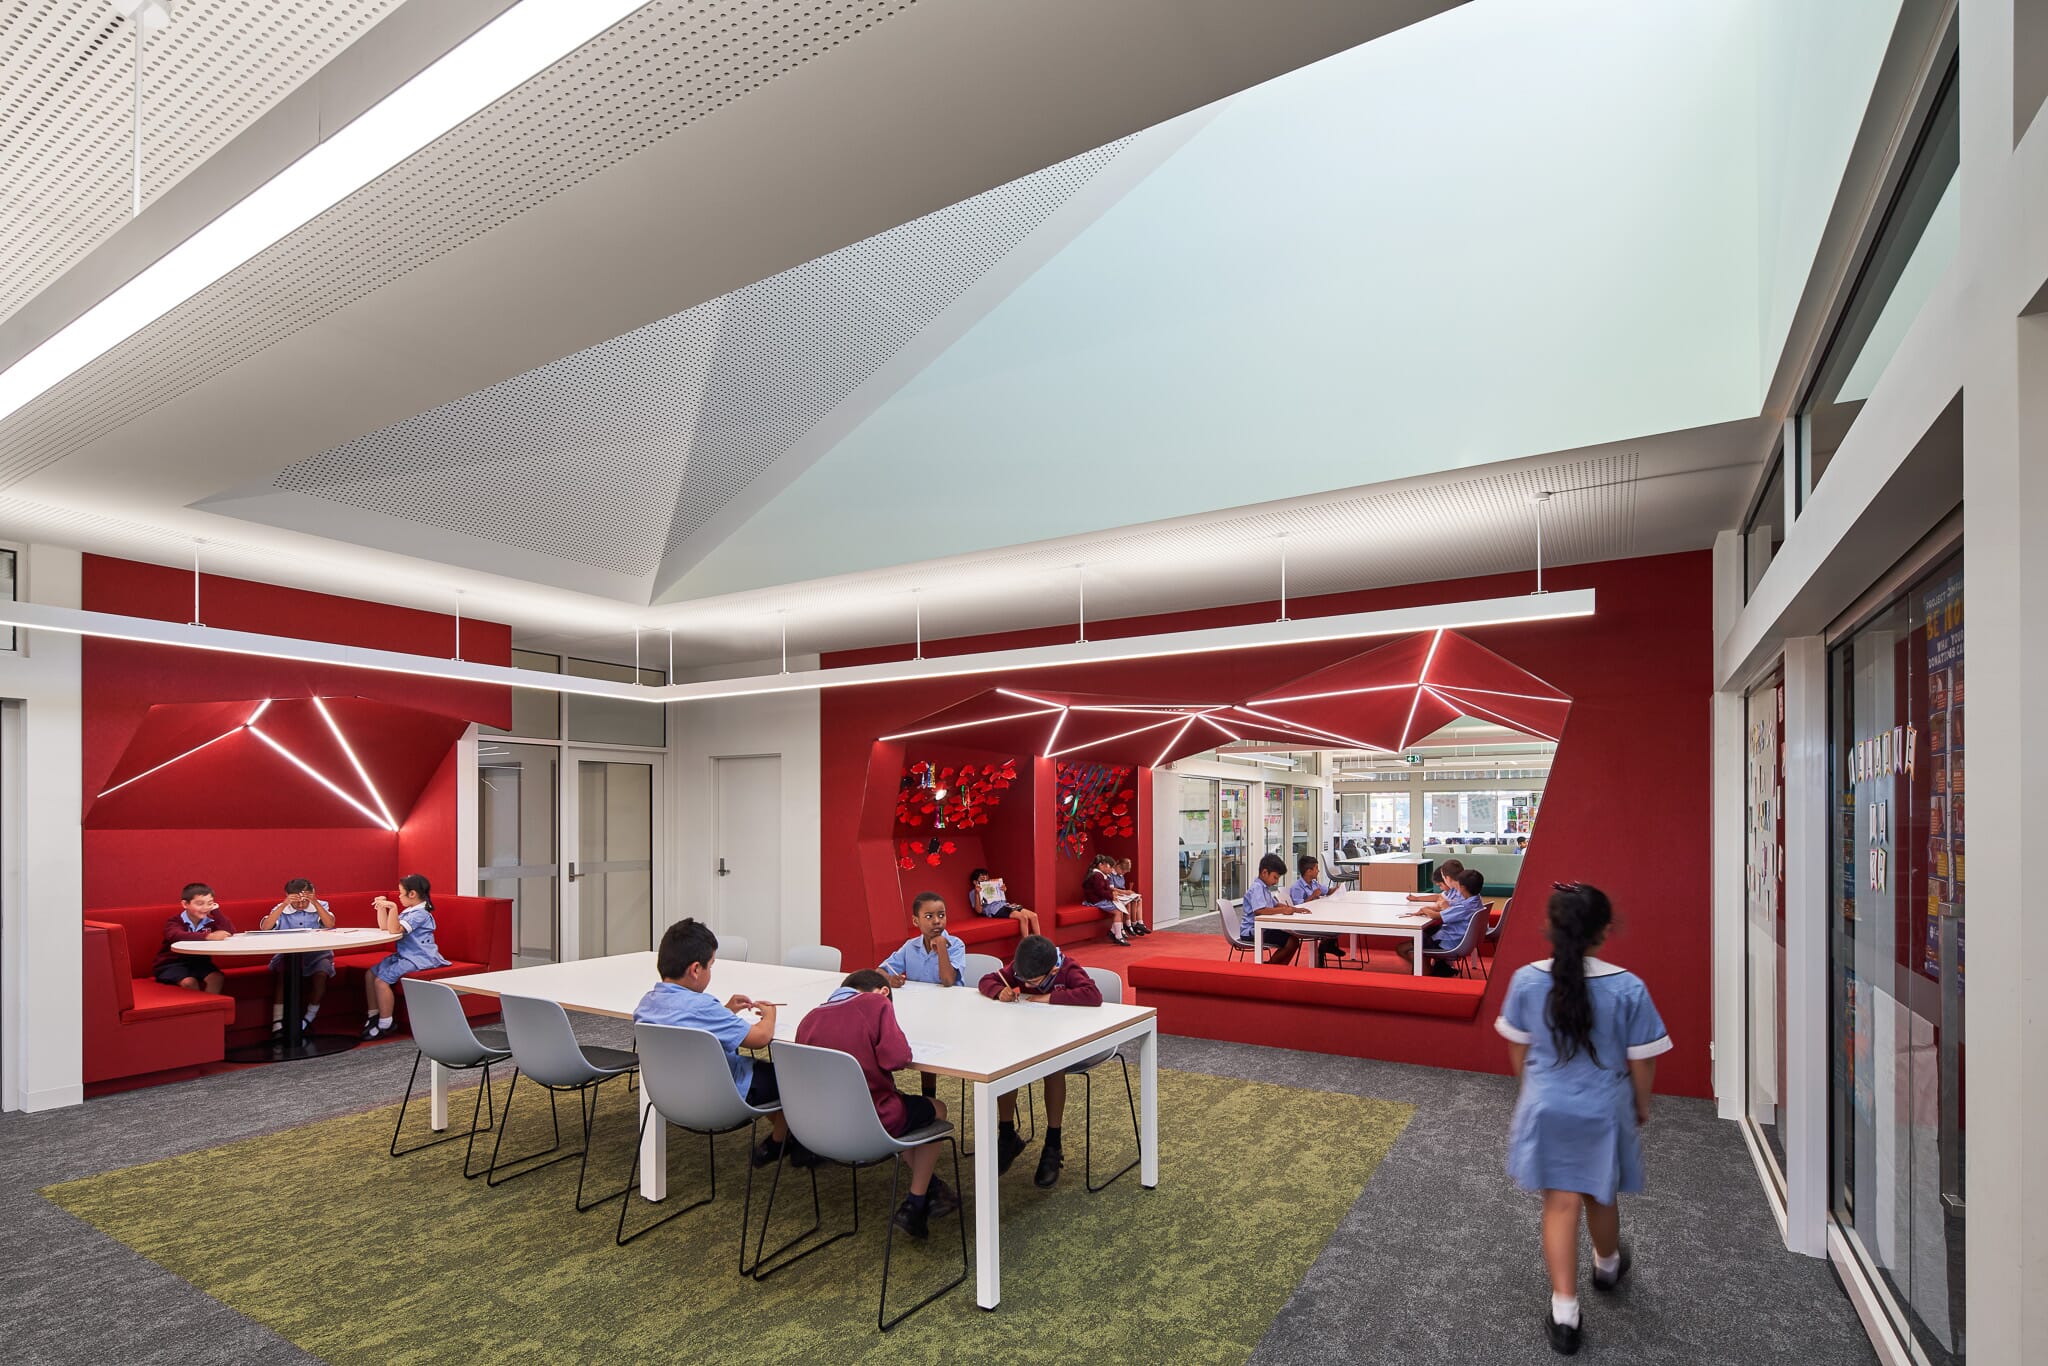
Yes. All products we install are fire-tested to European standards (typically EN 13501-1 Class B-s1,d0 or equivalent). We only specify panels that are safe for use in offices, schools, restaurants, and public buildings.
Resonics works around business hours to minimise disruption. Many acoustic treatments can be installed quickly and cleanly without major changes.
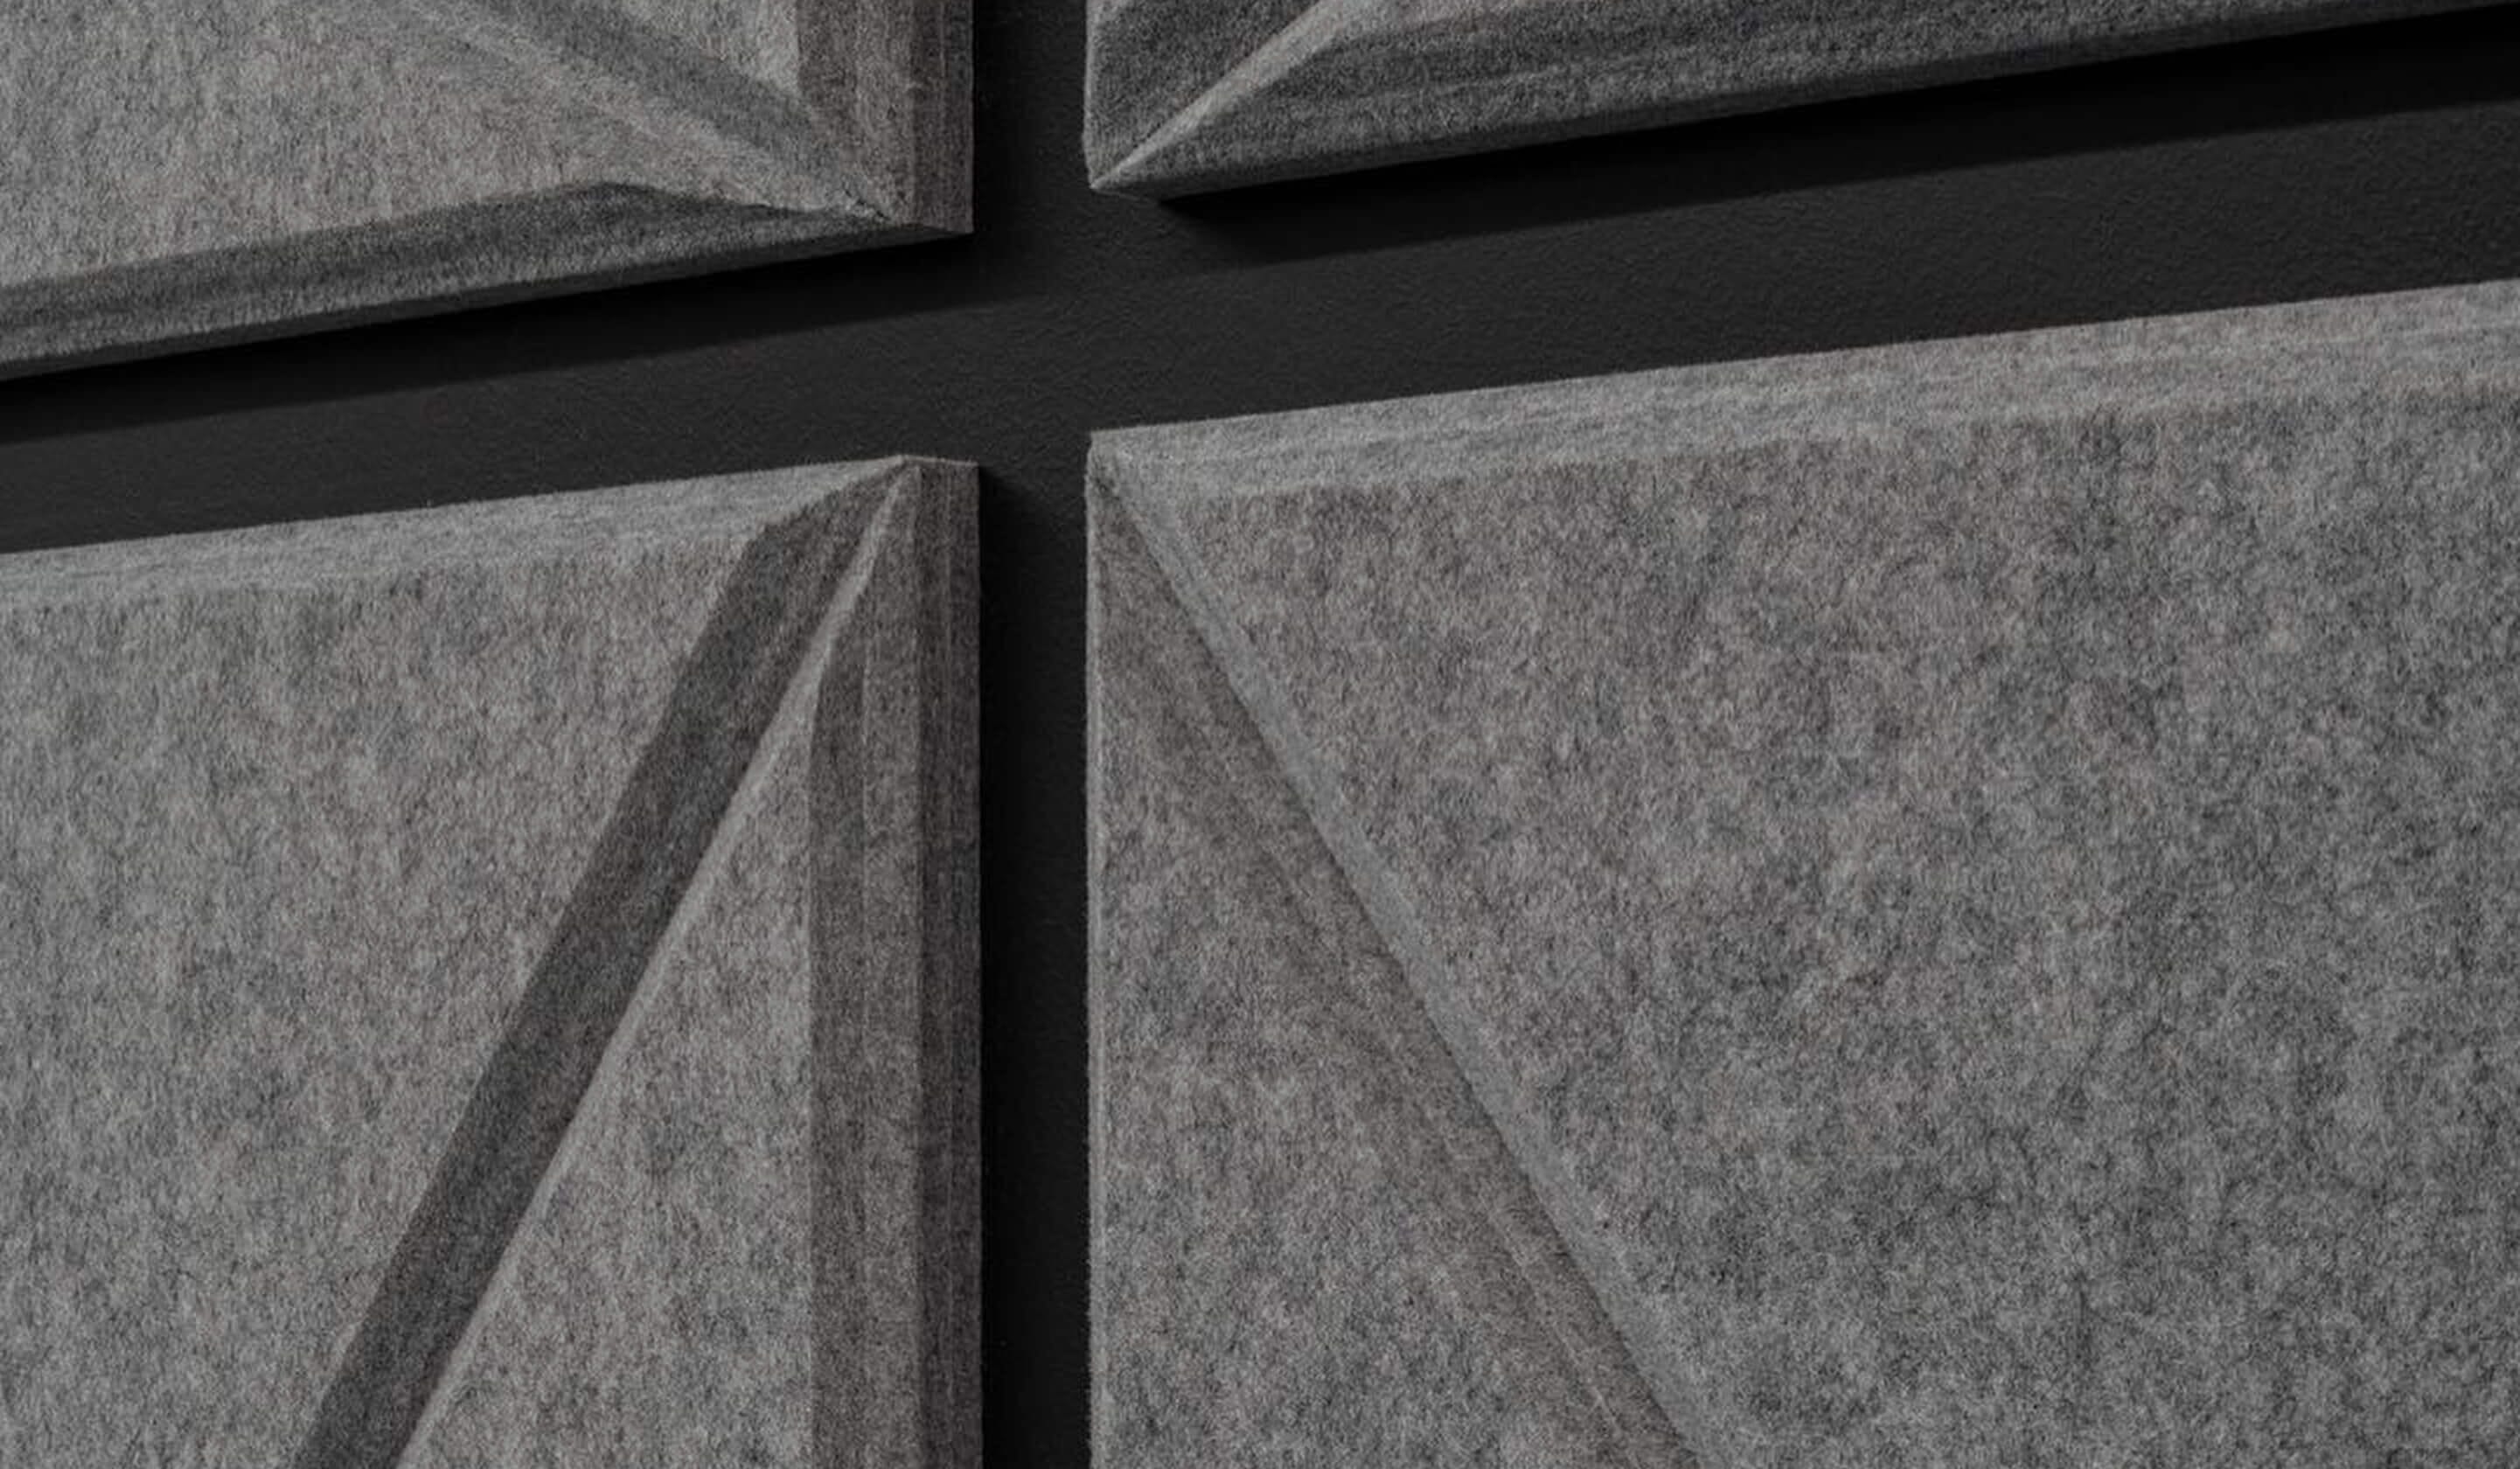
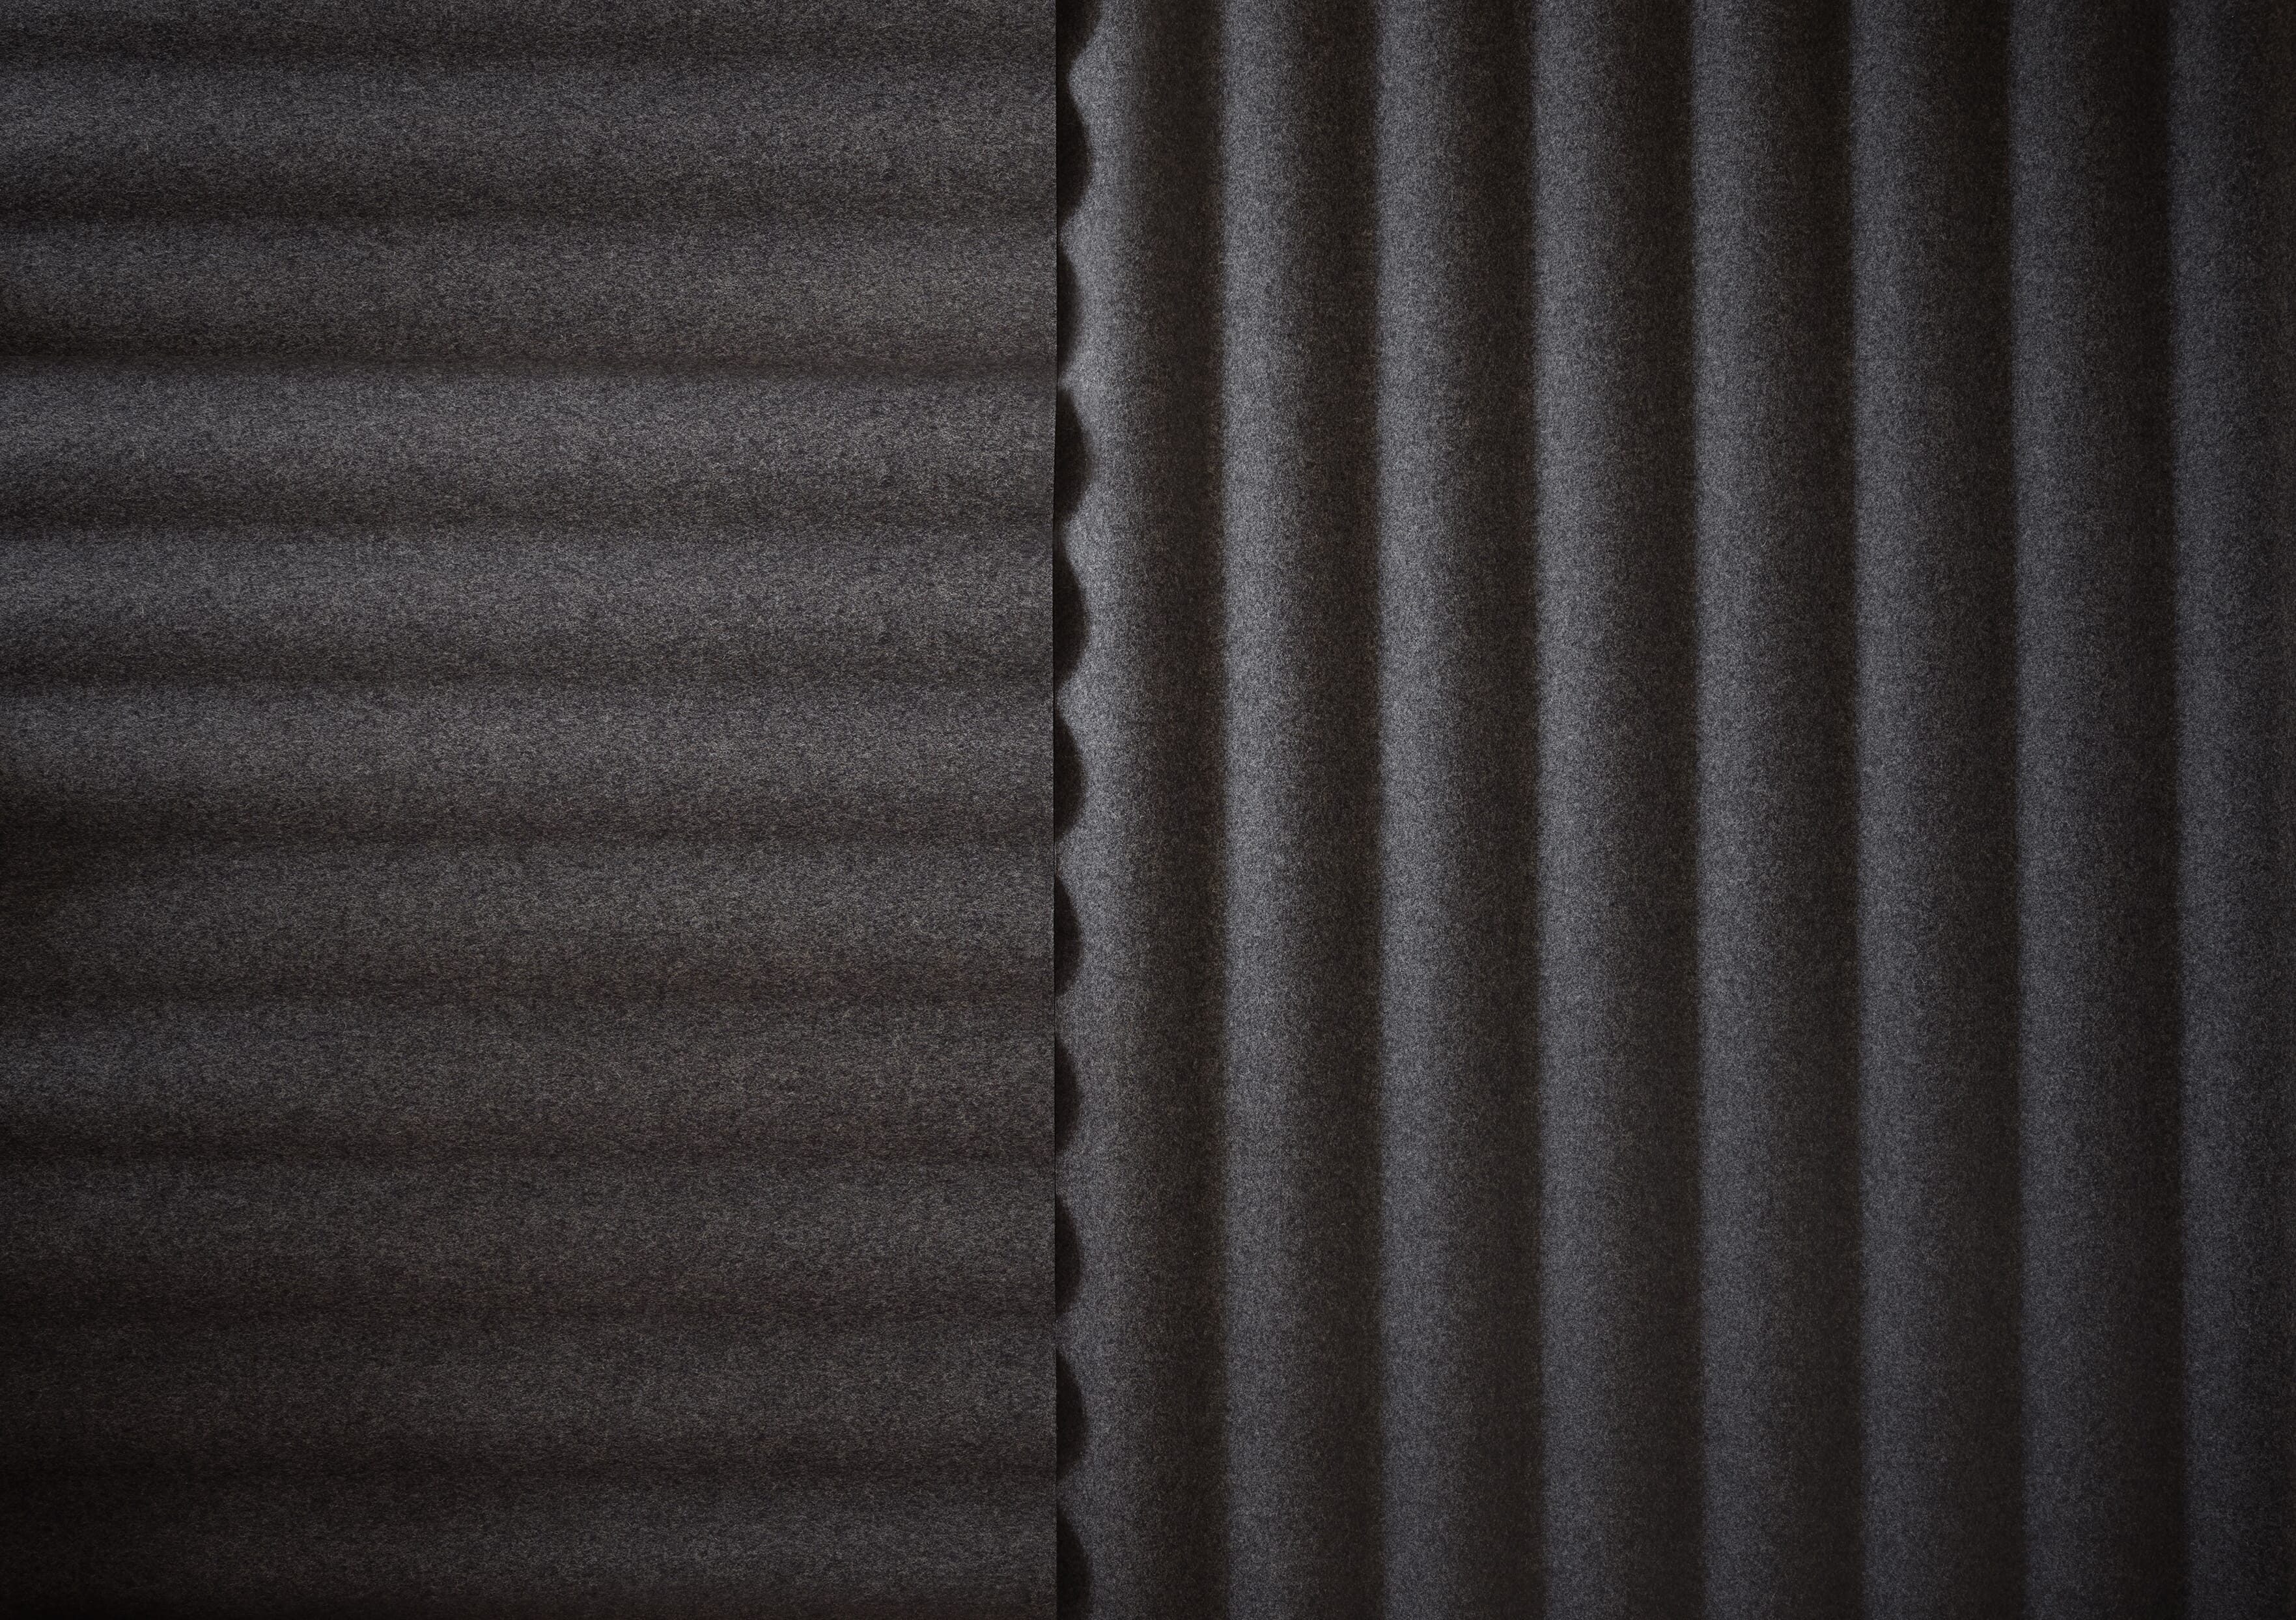
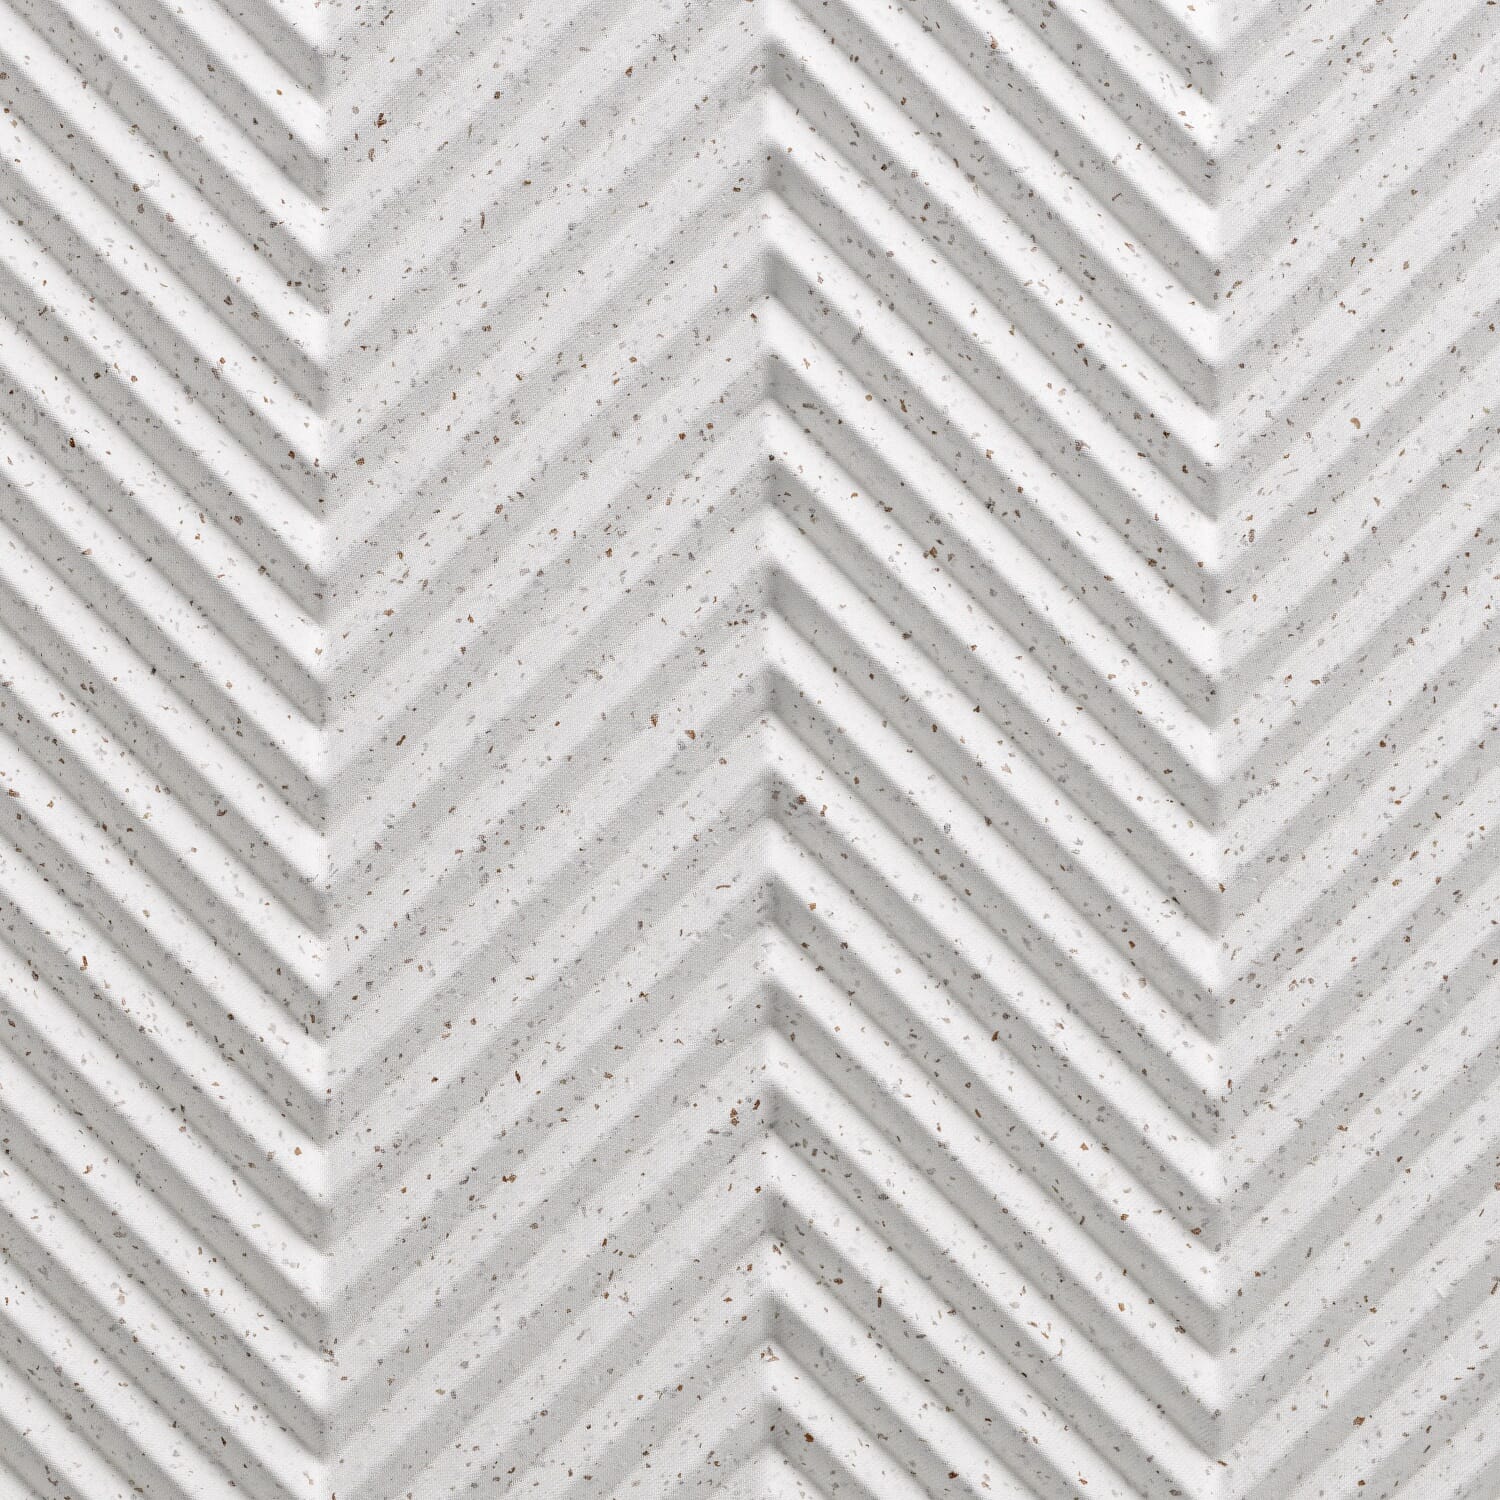
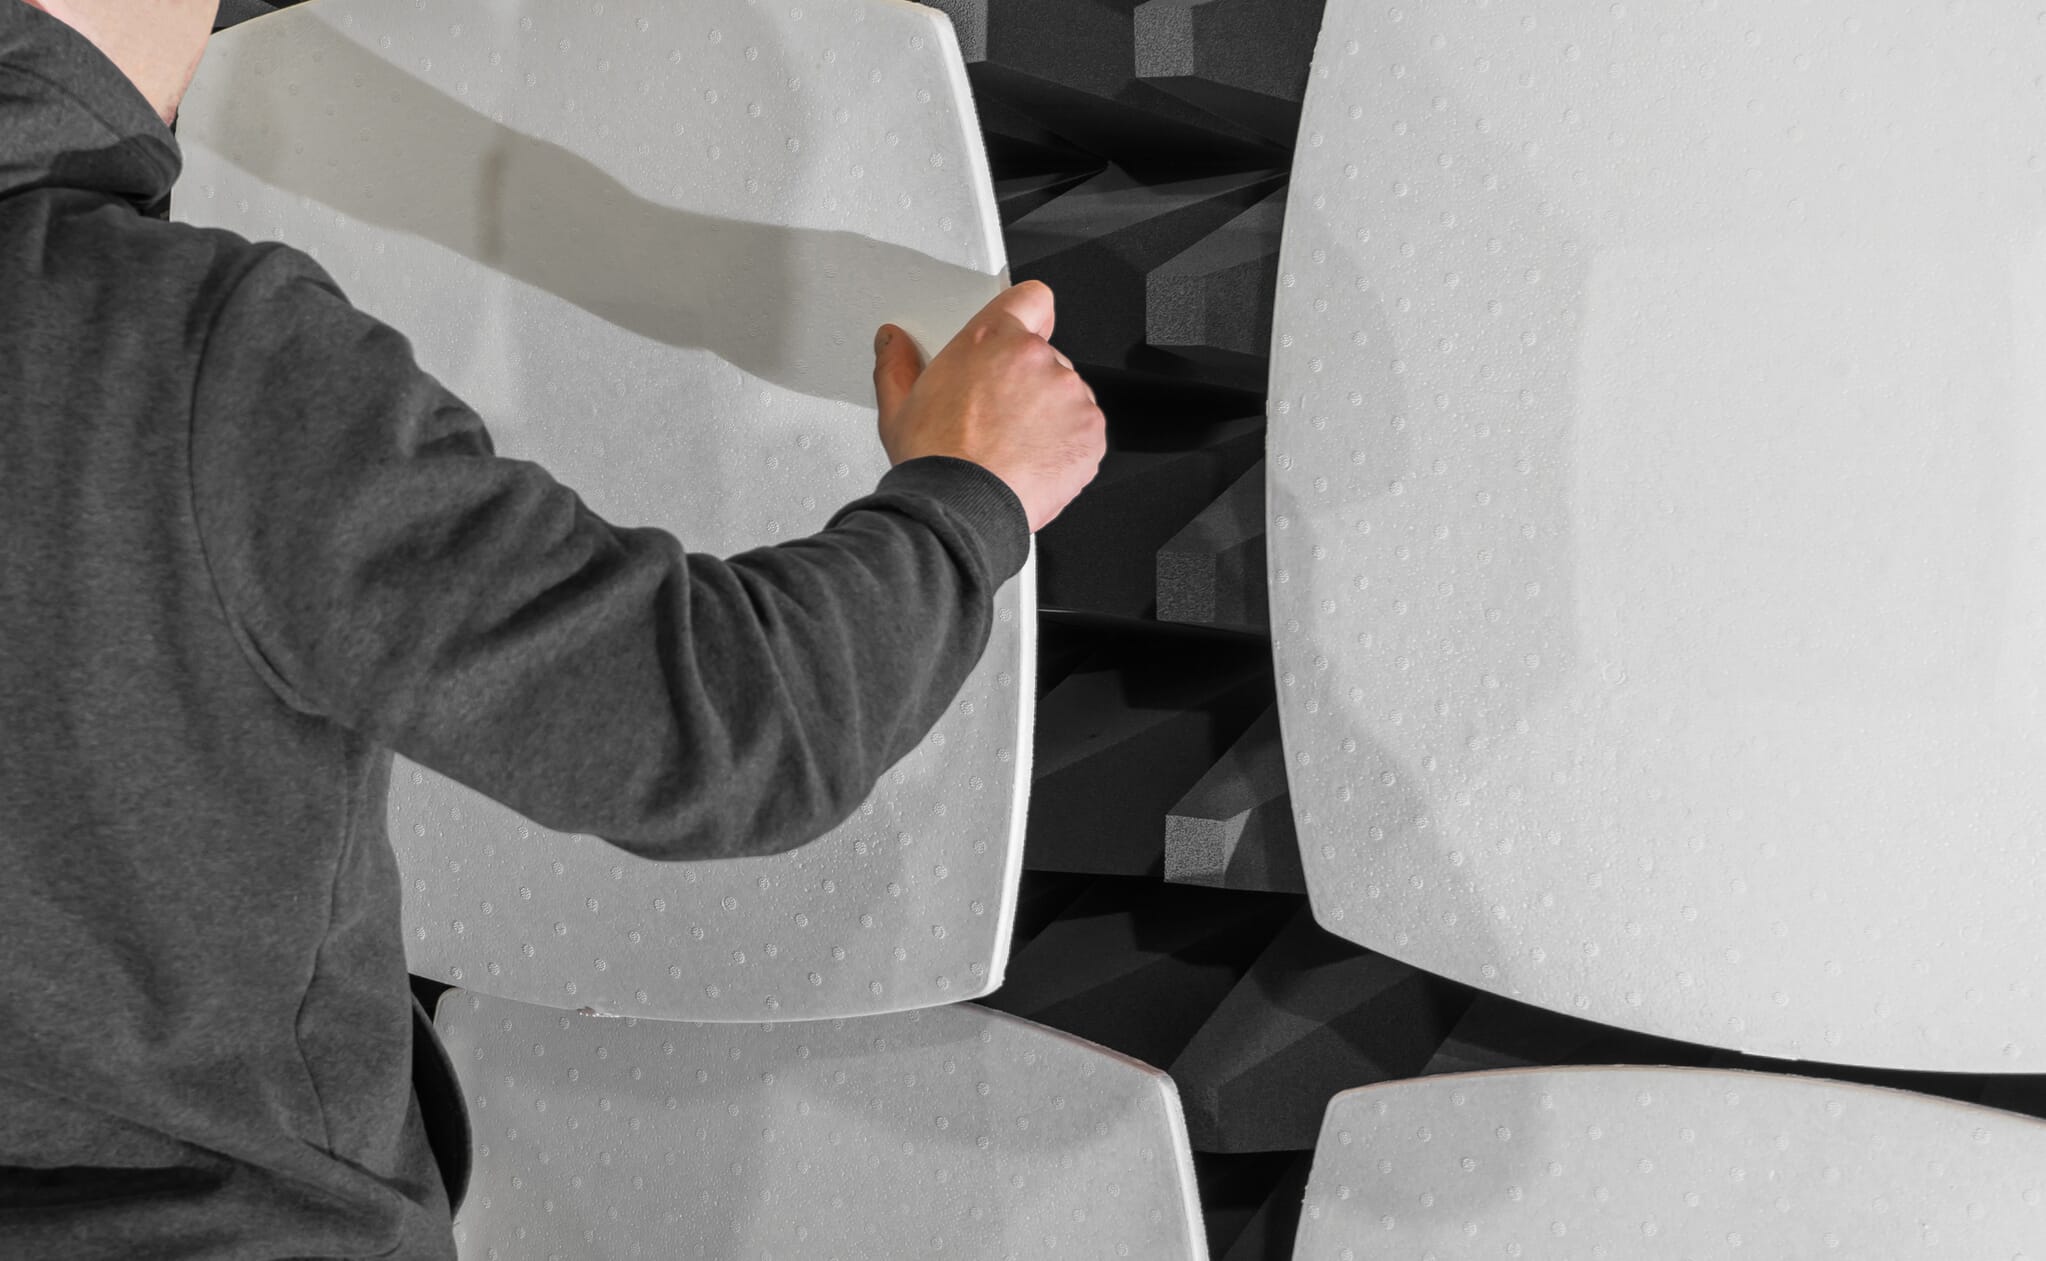
Acoustic panels work by absorbing sound energy that would otherwise bounce around the room. Their porous structure allows sound waves to enter and become trapped in the fibres, dissipating as heat instead of reflecting. They are particularly effective at absorbing mid-to-high frequency sounds such as speech, making them ideal for offices, schools and restaurants.
Most acoustic panels are lightweight, safe (low VOC, non-toxic), and easy to install on walls or ceilings. Plus, because many are made from recycled materials (such as PET), they are one of the most environmentally responsible products available.
Most projects are completed within a day or two. A small meeting room might be finished in just a few hours, while a large office floor or school hall could take several days. The timeline depends on the number of panels, site access, and working hours available.
We schedule works to minimise disruption — often installing out of hours or in phases if required. Our CAD designs and pre-installation planning ensure a smooth process, with clear timeframes provided in advance.
Not much. Most panels are made from durable, stain-resistant materials such as PET felt or fabric-wrapped glass wool. They can be lightly vacuumed or wiped with a damp cloth to remove dust. Unlike soft furnishings, they don’t need regular deep cleaning.
Panels should not be painted, as this can block their sound-absorbing pores. If a panel becomes damaged, it can be replaced individually without affecting the wider system. PET panels, in particular, are highly durable and maintain their acoustic performance for many years.
Prices vary depending on size, material, and finish, but as a very rough guide:
- Wall panels: from £80–£200 each
- Ceiling rafts: from £150–£400 each
- Baffles: from £60–£120 each
Installation costs are additional and depend on project complexity. The best way to get an accurate price is through our free site survey and quotation.
While acoustic treatment is an investment, it quickly pays back in improved productivity, wellbeing, and customer satisfaction. In offices, better acoustics reduce distractions and boost concentration. In restaurants, they improve ambience and encourage repeat visits.
Our clients


